
The face is an important step in the making of a stuffed animal or a doll. Let’s see what are safety eyes and noses, and how to attach them.
NOSE SHAPES AND TEXTURES
Very useful to give depth to the face, ready-to-apply noses offer a wide range of options. Among the more frequent options, there are triangular, round, heart, and snout shapes; made in plastic, velvet, or glass; and some are hand-painted, while others are painted industrially. The below list is non-exhaustive, there are more out there, but it will still give you an idea of what is available.
Use the arrows on each side to navigate through the gallery.
Triangular | Velvet
Triangular | Plastic
Snout (cat) | Plastic
Snout (dog) | Glass
Heart | Plastic
EYE SHAPES AND TEXTURES
The eyes, which you can buy in pairs or individually, are most frequently oval-shaped with circular pupils, vertical ones (suitable for stuffed cats or snakes), fully black ones, simple ones, shiny ones that make the eyes spark, etc. Some pairs are specifically made for dolls, especially those with eye sockets. The size allows you to customise the look: the bigger the eyes compared to the proportions of the face, the more different the face and facial expression will be.
Use the arrows on each side to navigate through the gallery.
Sparkling | Glass
Vertical | Glass
Black | Plastic
Circular | Glass
Cartoon | Plastic
HOW TO ATTACH THEM
Safety eyes and noses are particularly resistant. They come in multiple shapes, colors, and sizes. They’re measured in millimeters, which represent the diameter of the eye. They have a short and thick pin, which is secured with a washer. The washer is always provided, usually made of clear plastic, sometimes metal. To secure them, use a sewing punch (or any other sharp tool, except for scissors) to make a hole at the desired spot (unless you have already left a dedicated opening when sewing the head), then insert the element into the fabric. Once put in place, stuff the head temporarily to have a preview of the final result. If you are satisfied with it, take the stuffing out and secure the element with its washer from the inside of the stuffed animal, while making sure to not let the fur inside as well. To take the element out, the only thing you need to do is to take out the washer from the inside of the stuffed toy.
Tips #1
- You might need strength to secure the washer. So, to make it easier for yourself, use an installation tool specifically made for that purpose. You can find one on Etsy.com. Or you can also use snap pliers.
Tips #2
- Use position eyes to determine which size eye to use and the best position for them to be placed.
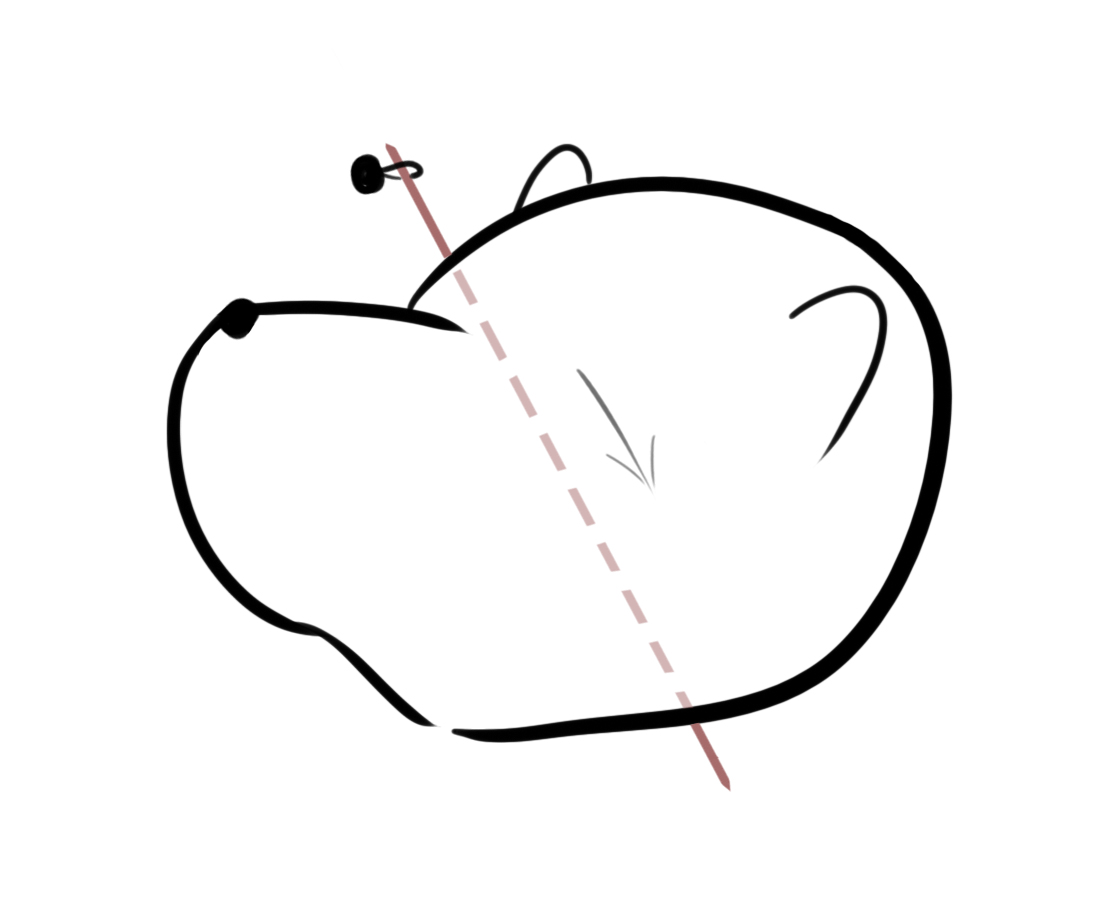
WITH WIRE LOOP
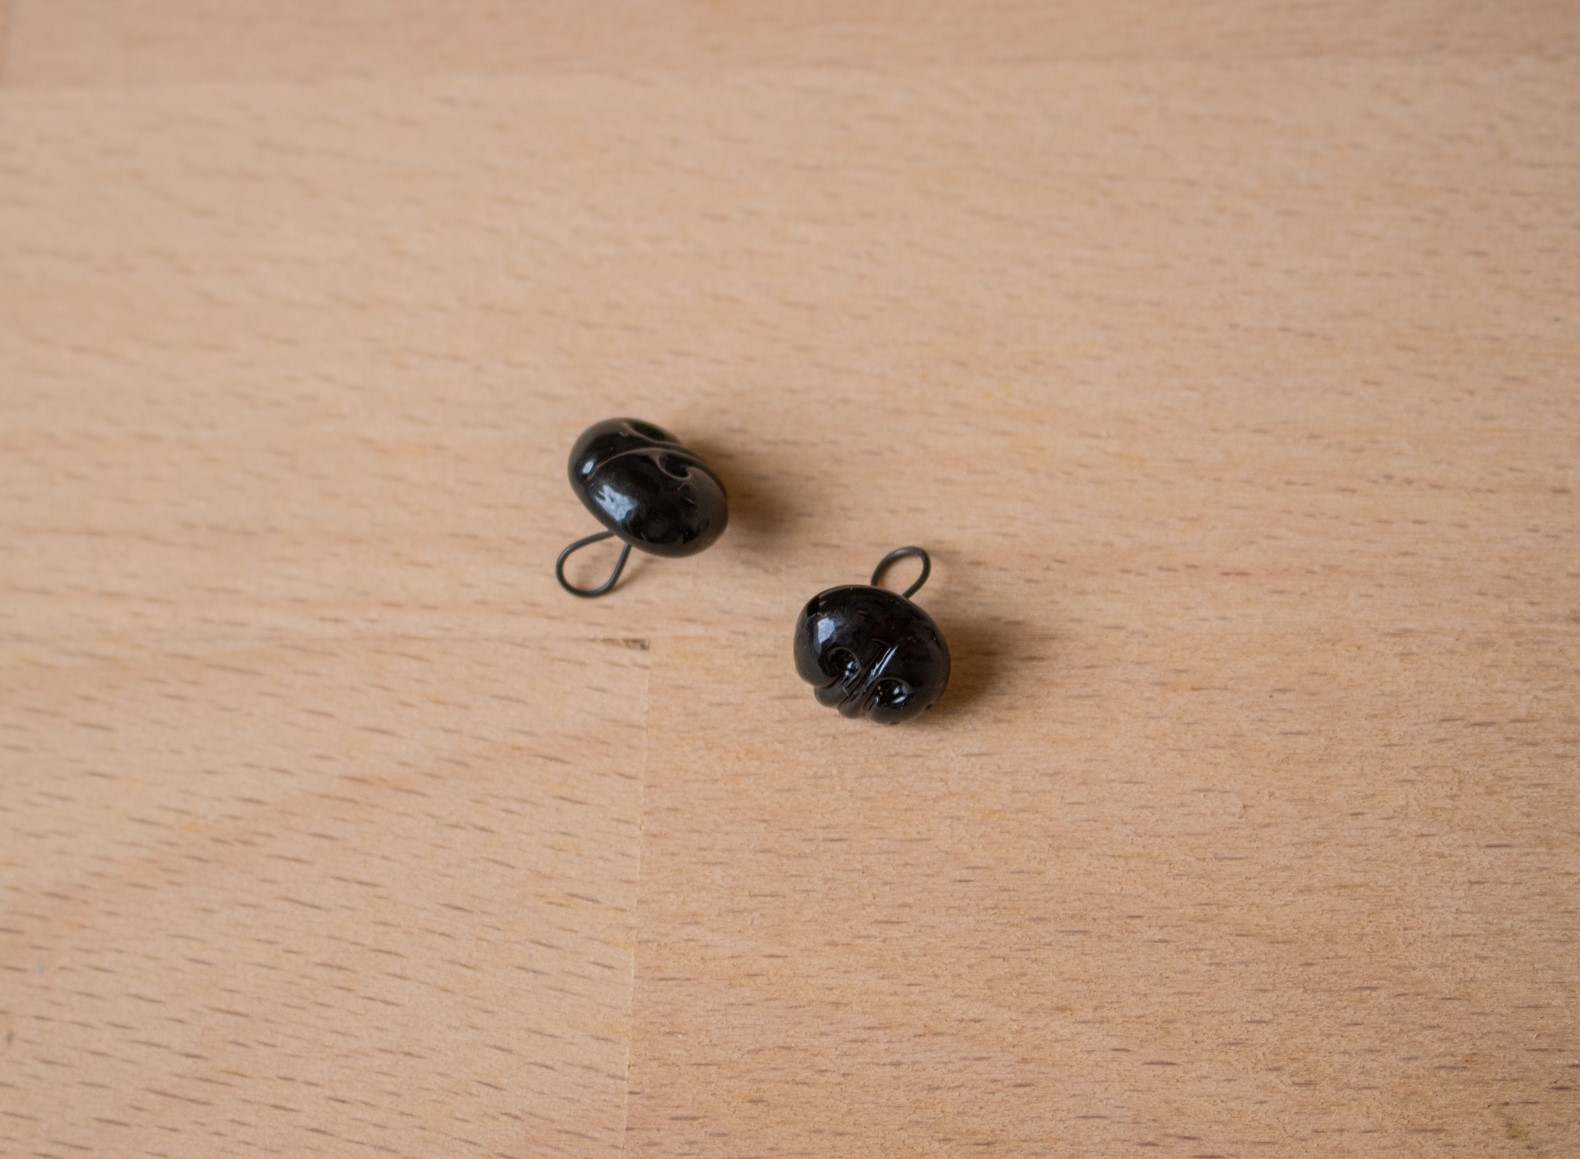
You can also find glass eyes and noses with round wire loops. Note that to use this type of element on a teddy bear, the head must be stuffed. This technique is particularly suitable for restoration if you would like to replace a nose or a eye without having to unstitch the head. Double thread a long needle with the loop, fold the loop on itself with the help of pliers (or your fingers will do) to make it flat. With an awl or a sewing punch, make a hole at the desired placement. Now, drive the needle in the hole, through the fabric, making it come out of the back of the neck. Pull the thread very tightly, inserting the loop into the hole, seating the eye flatly and firmly against the fabric. Tie securely a knot. You can stitch again the knot to tighten it further.
You can also find glass eyes and noses with round wire loops. Note that to use this type of element on a teddy bear, the head must be stuffed. This technique is particularly suitable for restoration if you would like to replace a nose or a eye without having to unstitch the head. Double thread a long needle with the loop, fold the loop on itself with the help of pliers (or your fingers will do) to make it flat. With an awl or a sewing punch, make a hole at the desired placement. Now, drive the needle in the hole, through the fabric, making it come out of the back of the neck. Pull the thread very tightly, inserting the loop into the hole, seating the eye flatly and firmly against the fabric. Tie securely a knot. You can stitch again the knot to tighten it further.


USING GLUE
For flat eyes, or round eyes with a flat back, you just need to glue them to the face, preferably with a strong glue that you can adjust, so that you have time to place them straight. This method is easier on smooth fabrics or short fur. For long fur, you will first need to trim the fur down to avoid creating an empty space between the element and the face.
ON WIRE
Occasionally, you will find eyes that are mounted on a wire. These ones are more frequently used for needle felting projects. The wire should be directly inserted into the face and secured in the wool. You can cut the extra wire that sticks out at the back of the head with pliers, if needed.
Do not hesitate to leave a comment below, you can even attach a photo.