Shy, candid, or playful, a stuffed animal’s smile is an essential step. You can make it match to the nose by using the same thread and by starting to embroider from it. In this article, we will learn how to embroider 4 different nose and smile shapes to change the facial expression. In addition to this little tutorial, use the video below, which shows step by step how to embroider them on a piece of felt.
CHOOSING THE EMBROIDERY THREAD
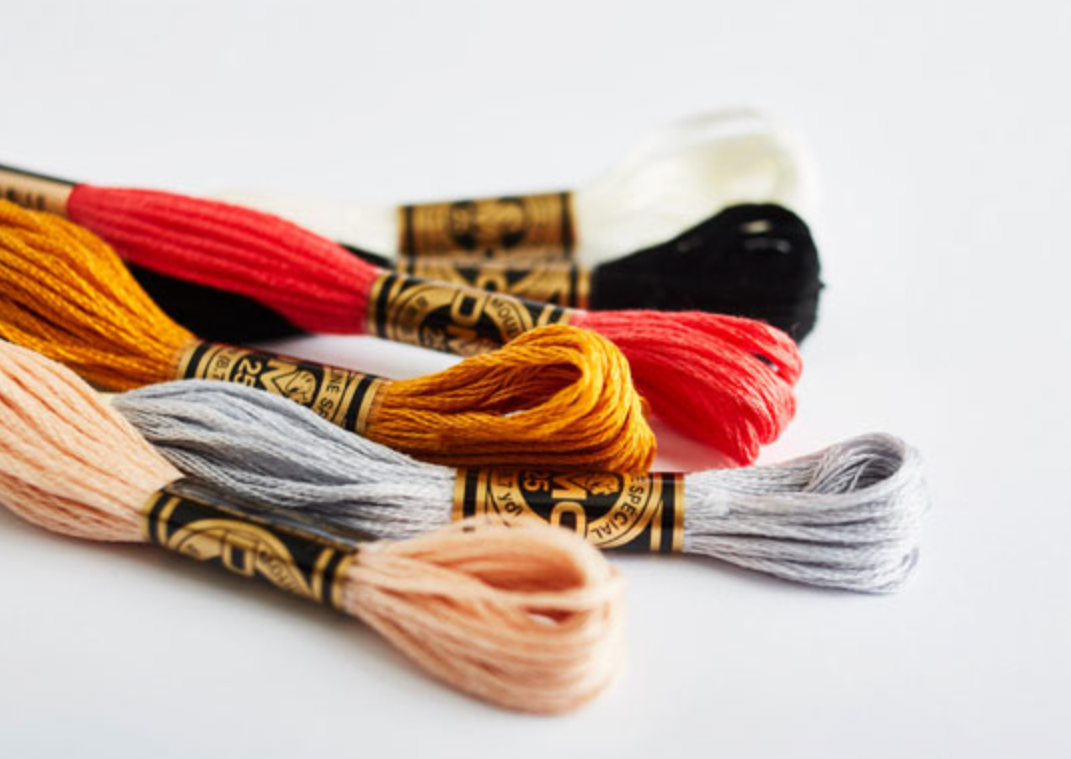
To embroider a smile and a nose, you can choose between stranded cotton or pearl cotton. The former is made of 6 strands that can be separated from one another, which gives you the choice for the thickness. It is more popular because it is very versatile. The latter only has one indivisible strand, available in multiple numbered thicknesses. It is easier to use for beginners and more willingly brings a 3D aspect to your creations. You will also find all kinds of effect threads: lights, stars, satin, metallic, phosphorescent, etc. You can buy higher quality skeins, such as the ones from DMC, or opt for cheaper ones that you will easily find in non-specialized stores. The cheaper options will allow you to have a variety of shades at a reasonable price.


EMBROIDERING SNOUTS
When embroidering the nose of your stuffed animal, you have infinite shape possibilities to choose from. Once you have assimilated the technique, you will easily grow your range. The number of stitches to sew depends on the thickness of the thread you have previously chosen and on the desired result. Among the most popular shapes, there is the triangular nose, the rectangular nose, and the “bear” snout. You can embroider horizontally (third picture) or vertically (other pictures). The sequence can be symmetrical: a stitch on the right side, then a stitch on the left side (first and second picture), or it can be divided into two parts: finish one side before moving on to the other side (forth picture).

- Follow the numbers to embroider line by line, from 1 to 2, 2 to 3, 3 to 4, and so on.
- Start by stitching from the inside out on number 1, so that the knot will not be visible (or hide it in the neck area).
- Once the shape is outlined, you can go through the entirety of the nose again to define it further and fill the gaps.
EMBROIDERING SMILES
Once the nose is embroidered, the only thing left is to make a smile to match. You have a wide range of different facial expressions there as well. Start with the highest stitch. I am alternating between straight stitch and back stitch. To see how to embroider them step by step, go to the second part of the video below. If the stuffed animal has long fur, you should use very thick pearl cotton or trim the fur.

You can find the video of this tutorial below.
Do not hesitate to leave a comment below to share your tips 😄
Thank so much for the video! I love that you show every step. I’m excited to add faces to my daughters ever growing sock monkey/cat collection ❤️
Thank-you so much !
Thank you for making this video. It really helps me out a lot with being a new beginner.
Obrigada😍
this tutorial helps a lot!! thank you!!
its help me alot..i hope u can make tutorial for eyes next time..thanks..~❤
Thanks ʕ•ﻌ•ʔ
This video is very helpful! I want to make stuffed animals and plush animals for dolls. Thank you for uploading this video!