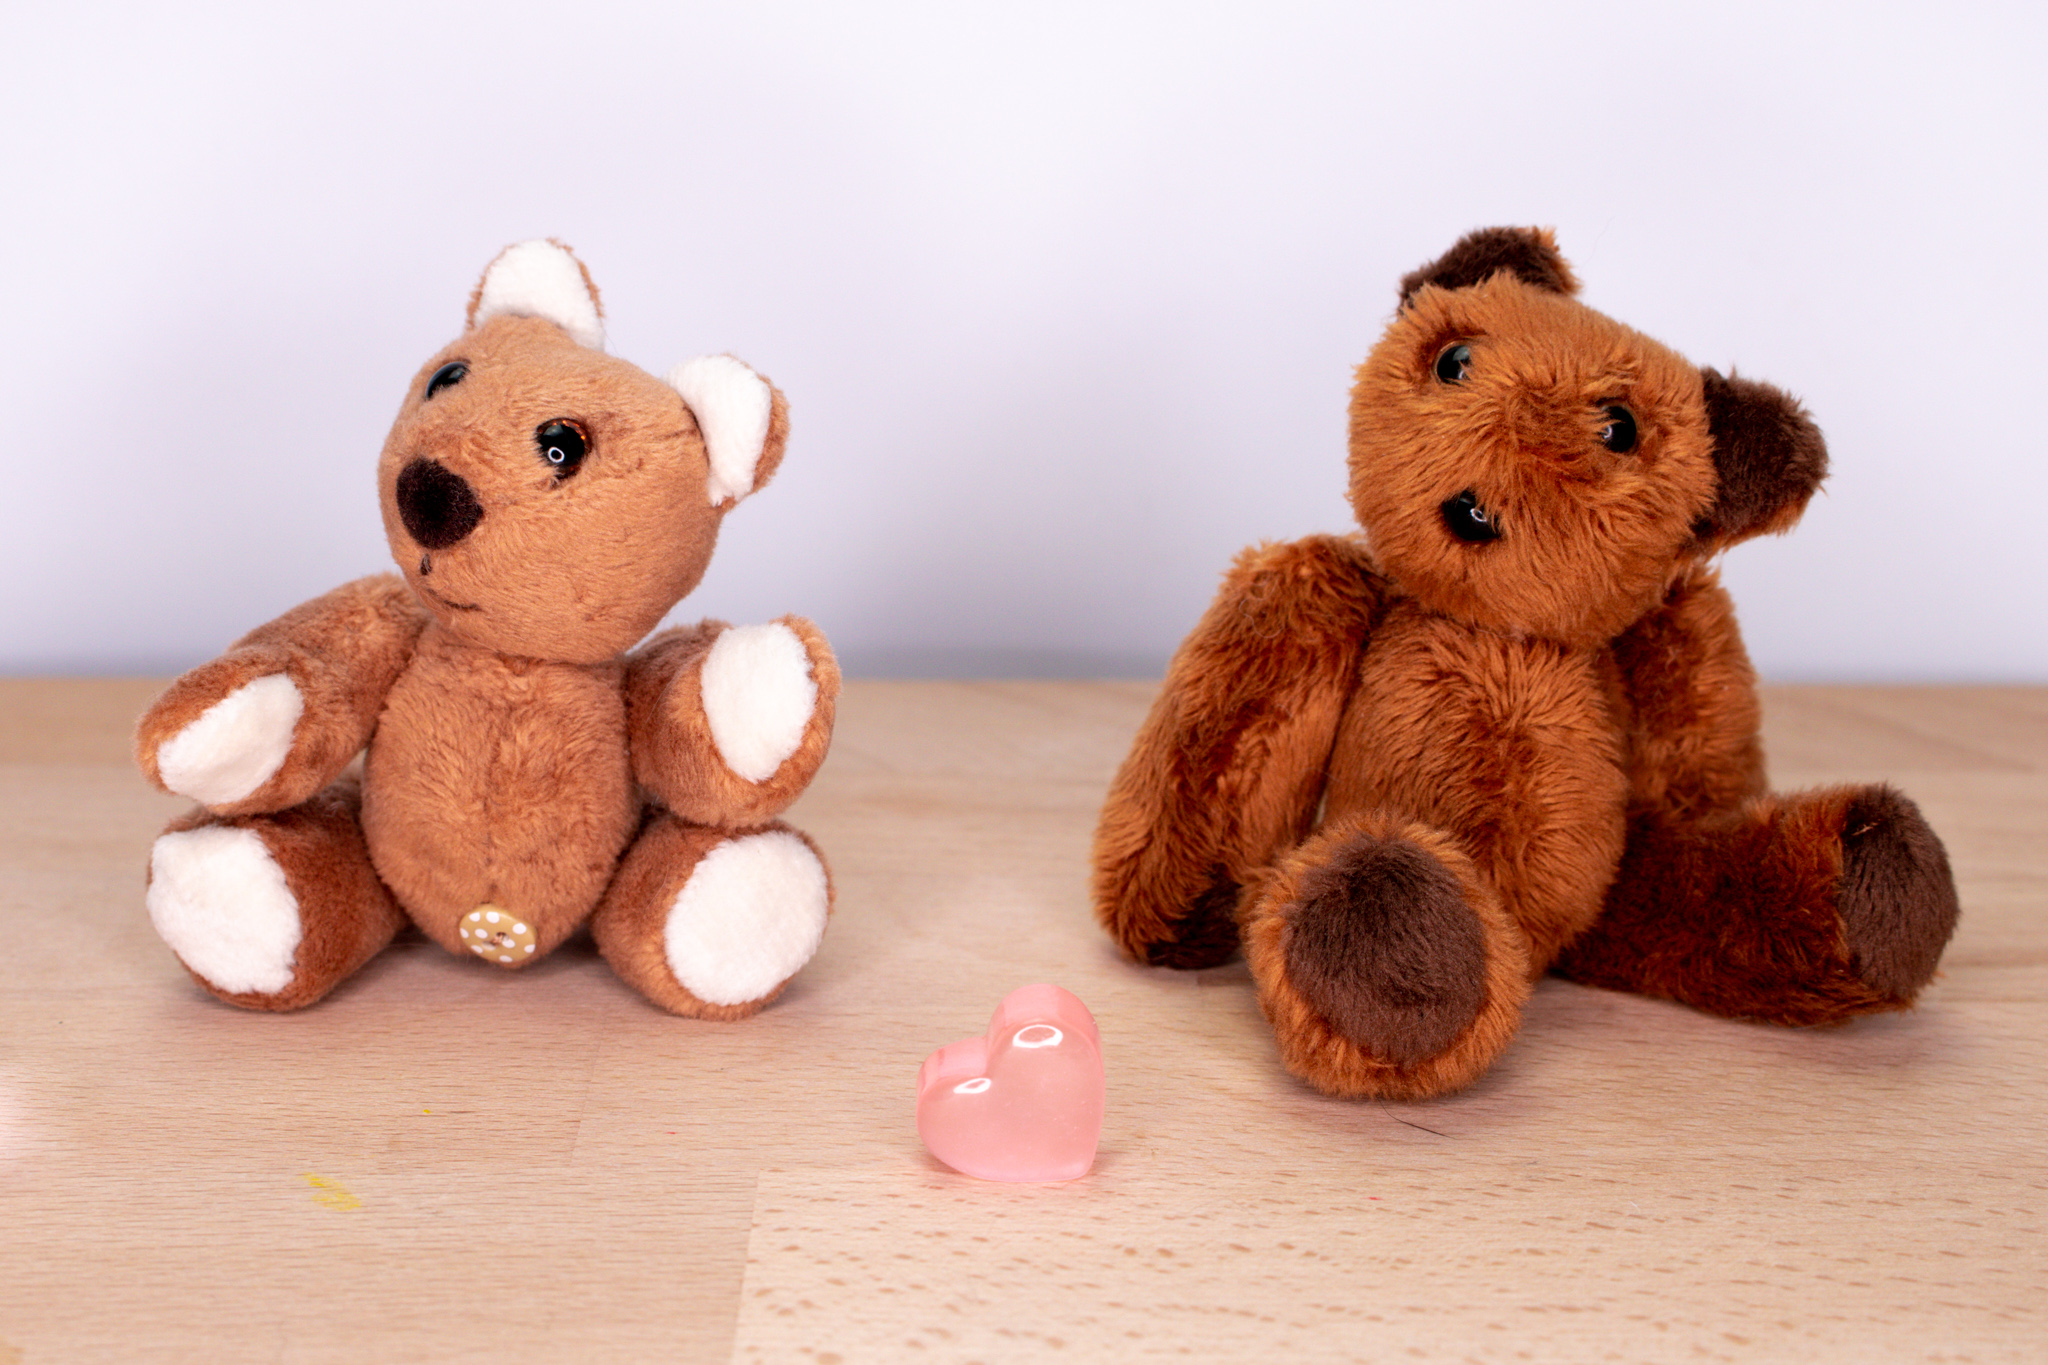
Because good things come in small packages, we will see in this article how to sew a miniature teddy bear! In a previous tutorial, we learned how to sew an average size teddy bear. This time, the steps are even more detailed! This means that this DIY is even more accessible for beginners, and a few techniques are different. With my pattern, you will create teddy bears of at less than 10 centimetres high. You can see the size difference between the taller one and the smaller one on this Instagram post. Because of the small size of this project, I would not recommend using a sewing machine, but I would rather suggest doing it by hand. You can find the list of supplies below, as well as the free printable pattern in A4 format.
SUPPLIES LIST
Light brown teddy Bear
Dark brown teddy bear
Materials/Tools
- Faux fur fabric (body):
Colour RF15 - Faux fur fabric (paw pads):
Colour n°02 - Glass eyes:
6mm | Sparkle brown - Velvet nose:
9x11mm | Dark brown: - Polka dot button: Buttinette.com
- Faux fur fabric (body):
Colour n°29 - Faux fur fabric (paw pads):
Colour n°37 - Glass eyes:
6mm | Light brown - Plastic nose:
6x8mm | Black
- Polyester fibre:
“Soft flocks” - Embroidery floss:
100pcs cotton embroidery skeins - Sewing threads:
Brown colour set - Bolts, nuts and washers :
3x10mm (limbs) + 4x12mm (head) - Scissors + pins + needles + sewing punch
Light brown teddy Bear
- Faux fur fabric (body):
Colour RF15 - Faux fur fabric (paw pads):
Colour n°02 - Glass eyes:
6mm | Sparkle brown - Velvet nose:
9x11mm | Dark brown: - Polka dot button: Buttinette.com
Dark brown teddy bear
- Faux fur fabric (body):
Colour n°29 - Faux fur fabric (paw pads):
Colour n°37 - Glass eyes:
6mm | Light brown - Plastic nose:
6x8mm | Black
Materials/Tools
- Polyester fibre:
“Soft flocks” - Embroidery floss:
100pcs cotton embroidery skeins - Sewing threads:
Brown colour set - Bolts, nuts and washers :
3x10mm (limbs) + 4x12mm (head) - Scissors + pins + needles + sewing punch
ADDITIONAL INFORMATION
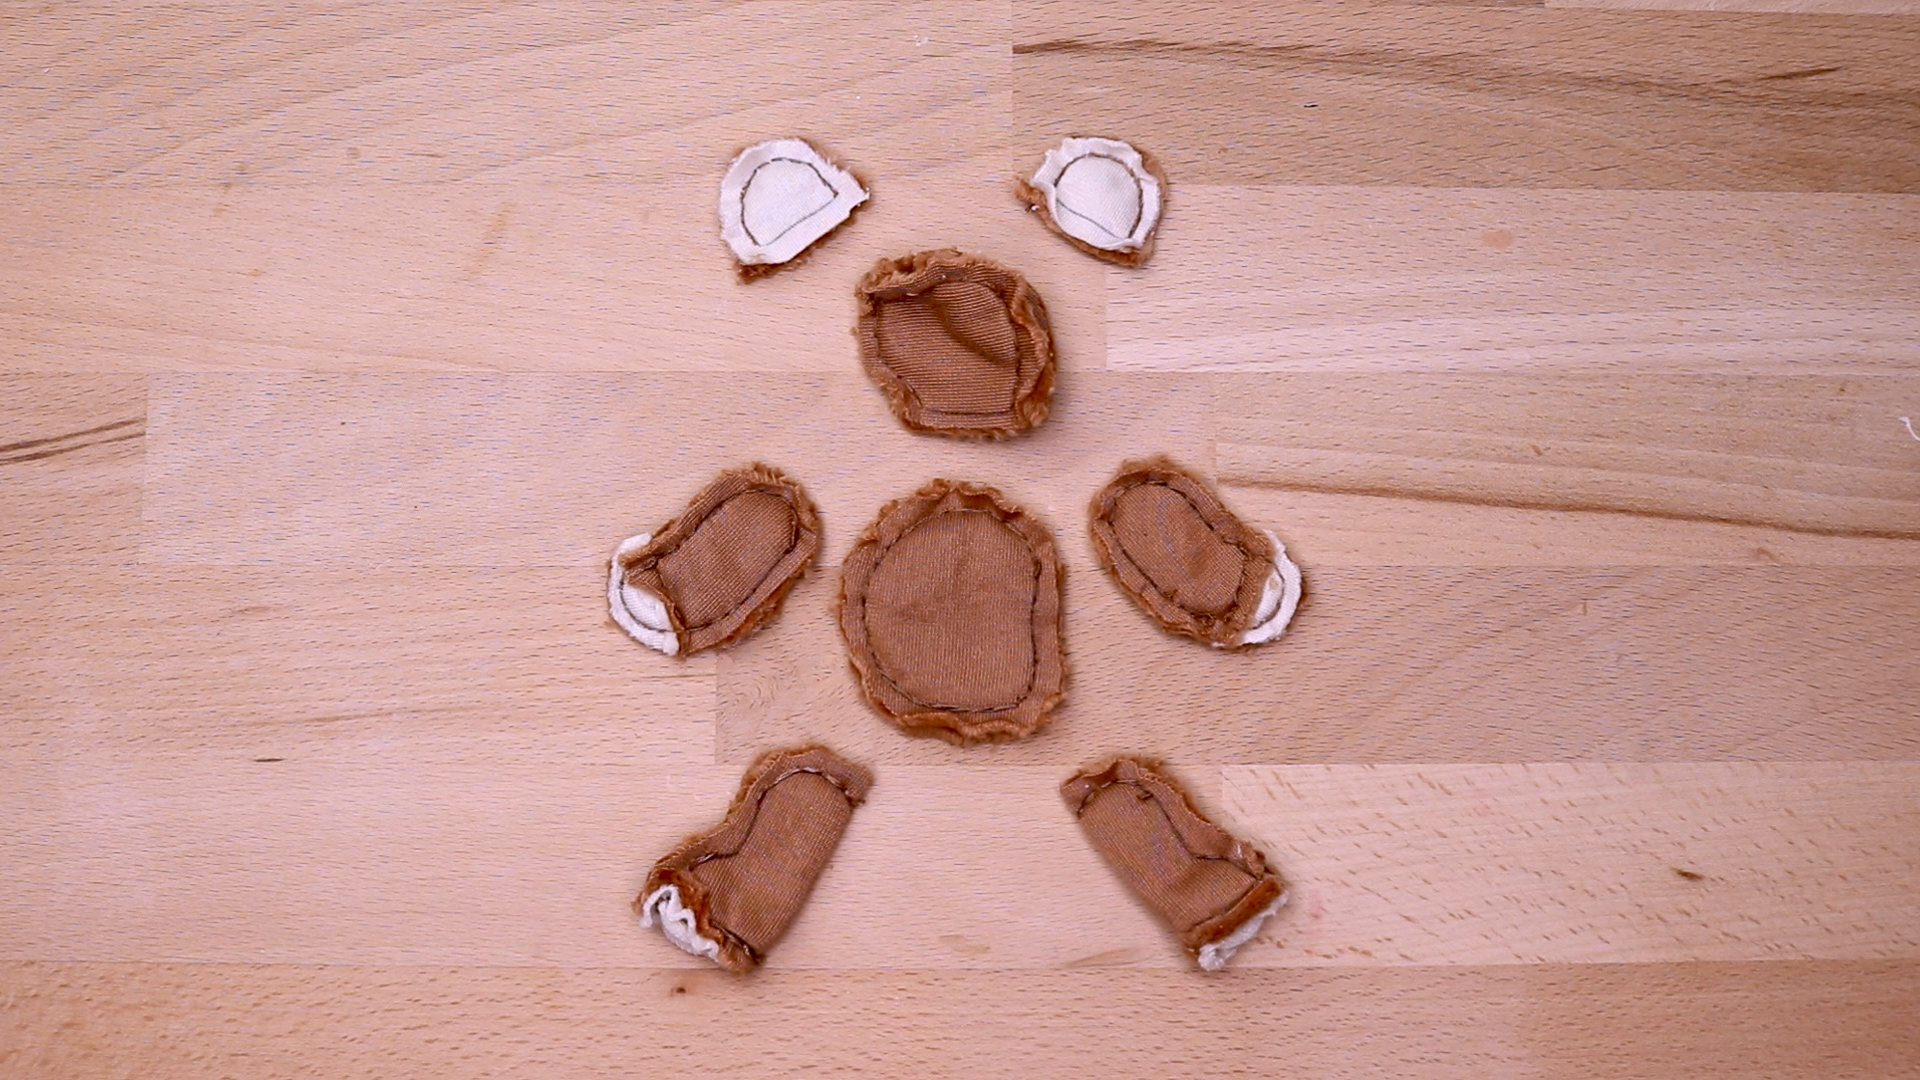
PREPARING THE PIECES
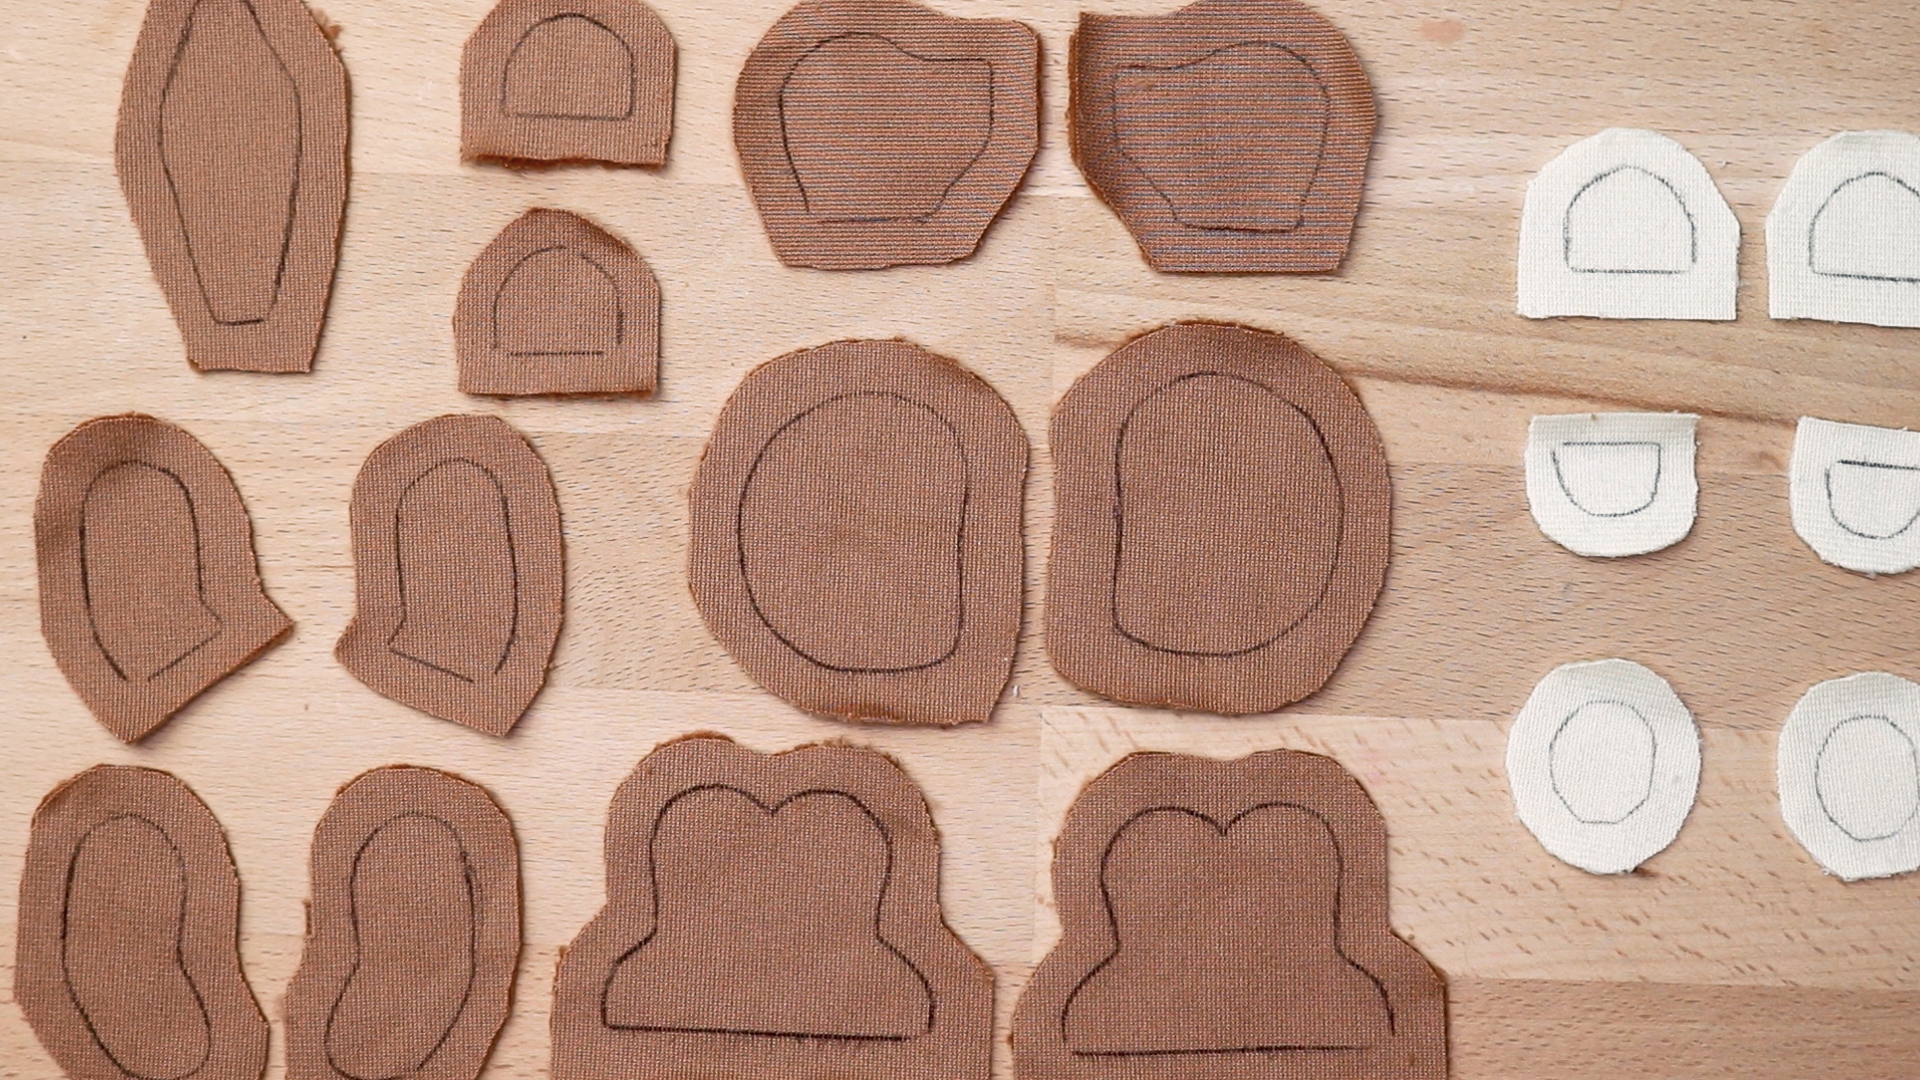
For many pieces, simply trace the pattern once on the fabric, then a second time with the pattern flipped so it looks like the mirror image of the first one (image 1 + 2). Use a pen or a pencil, do not use felt-tip pens as they can stain your hands and thus, the fabric you are handling. Make sure to follow the direction of the pile (nap), it is indicated by a black arrow on image 3. Lastly, cut the fabric leaving at least 1 centimetre of seam allowance (image 4). Put reference marks for the joints.
Click on the pictures to show them in full size.


- Head
- Body
- Paw
- Sole
- Ear
- Forehead
- Inner arm
- Outer arm
- Leg
SEWING THE BODY
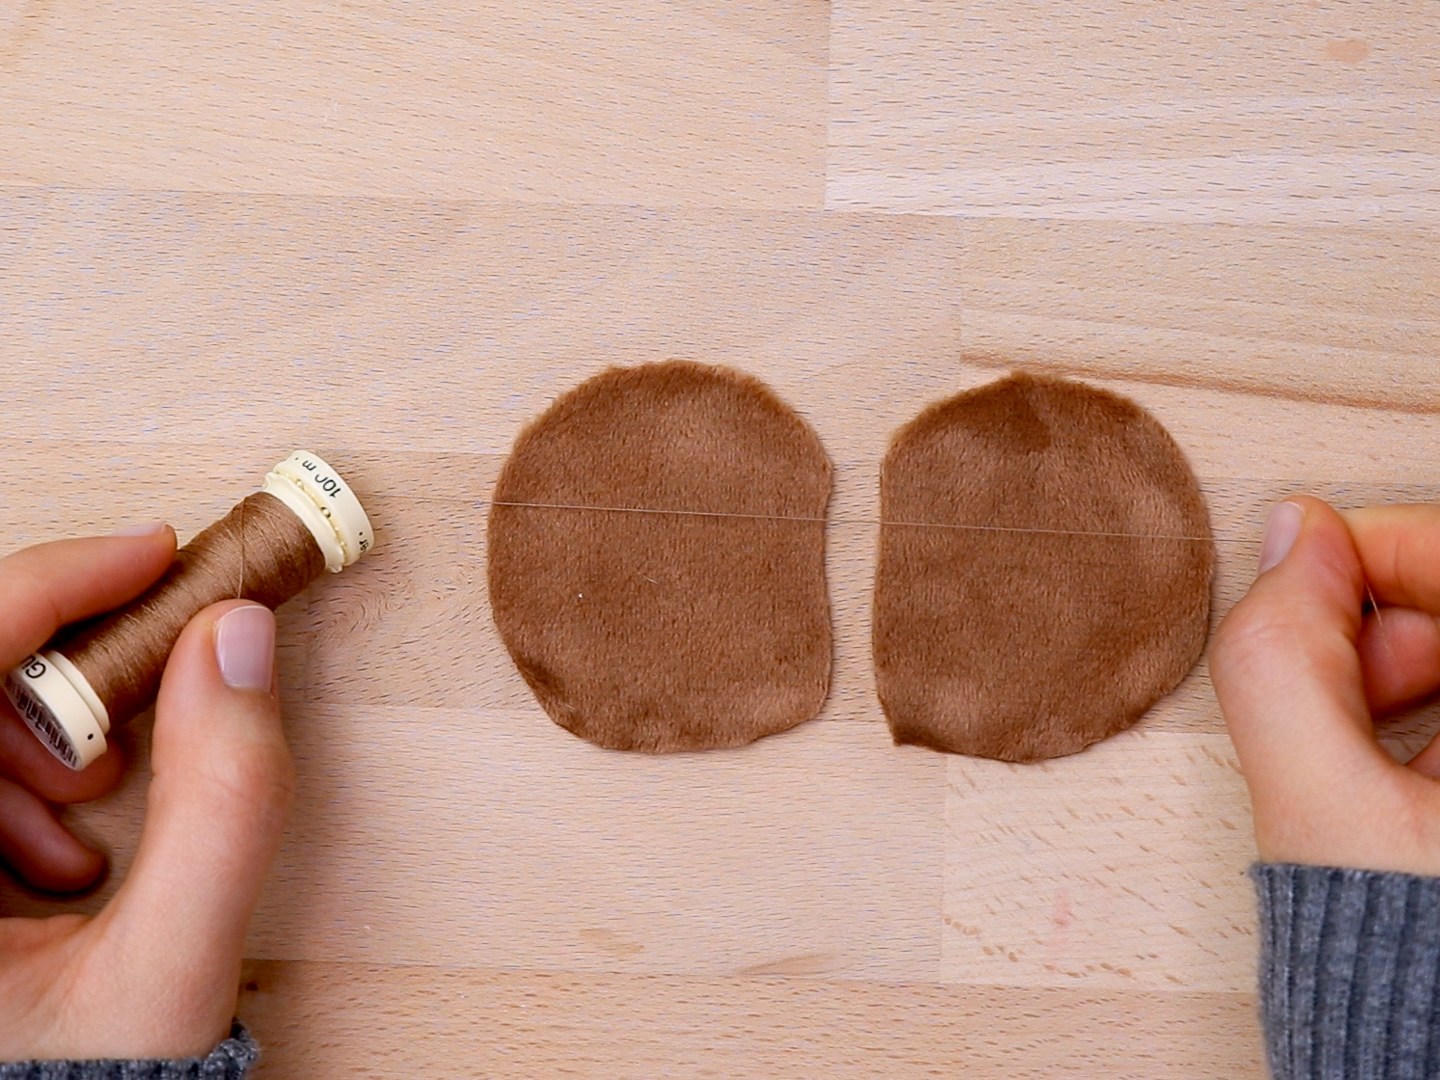
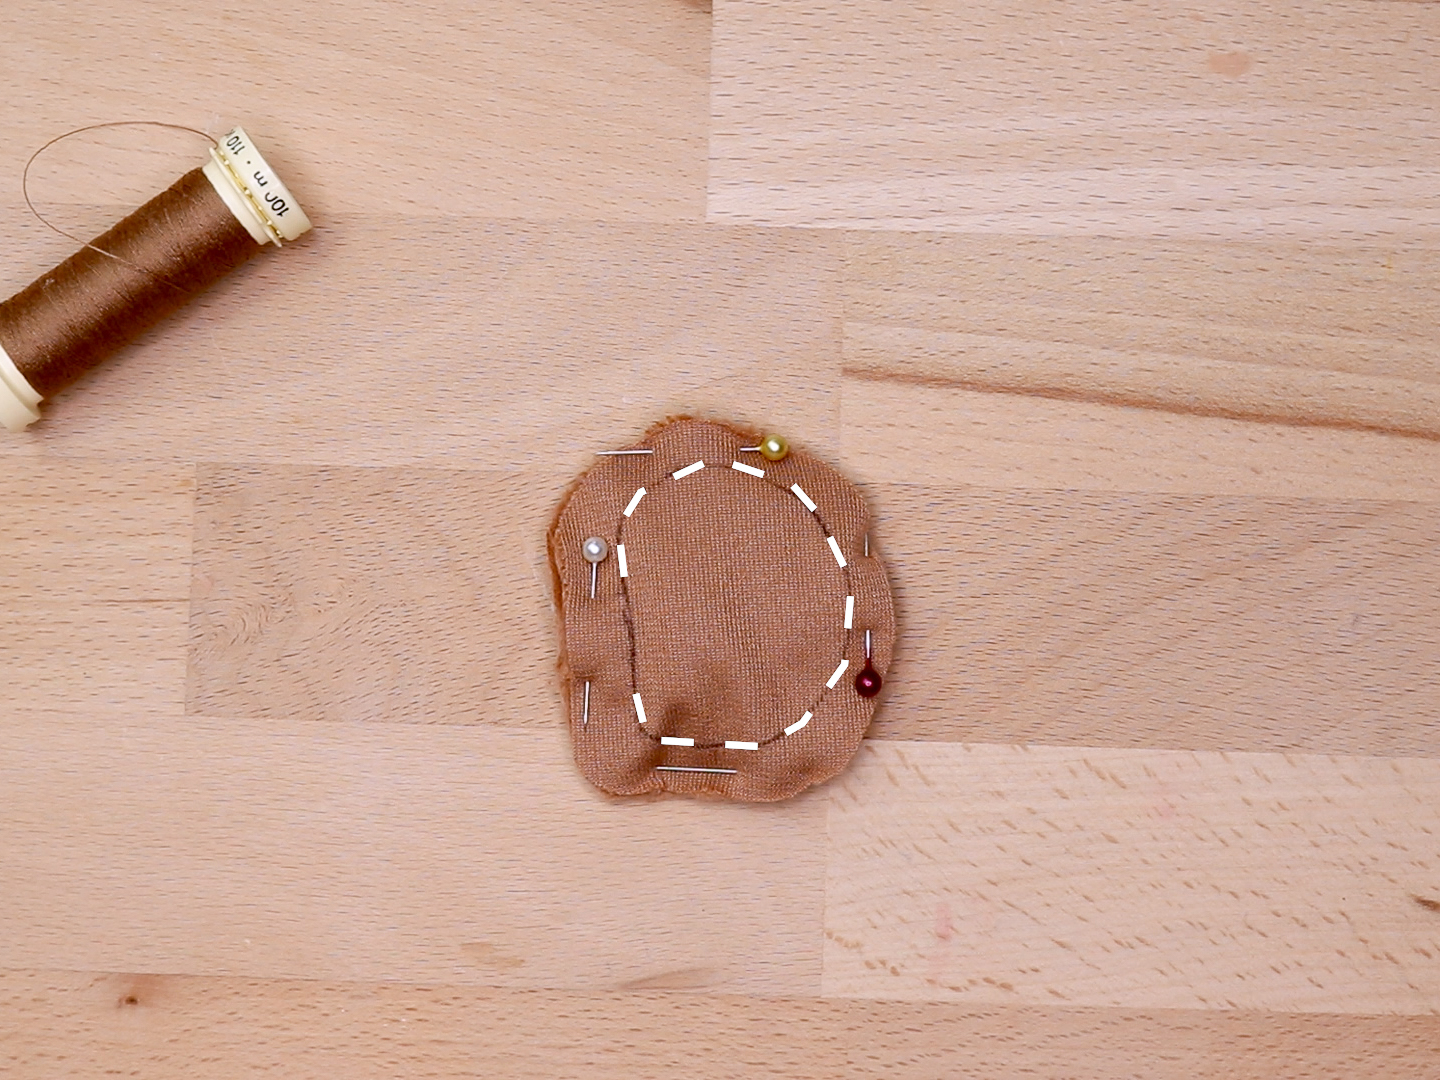
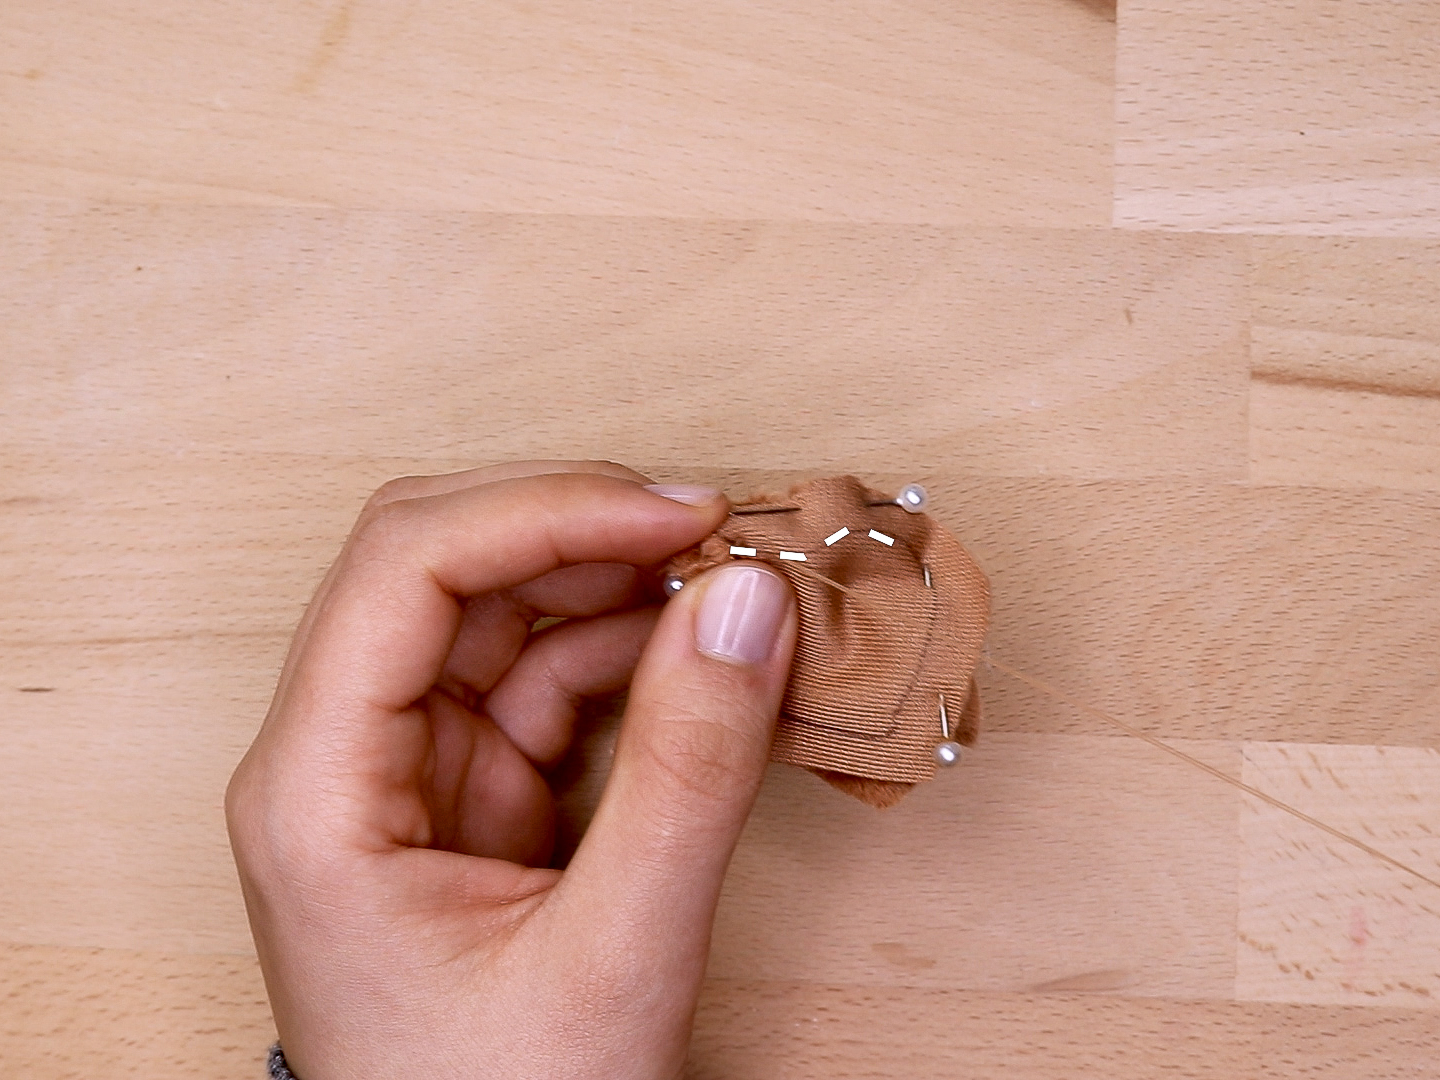
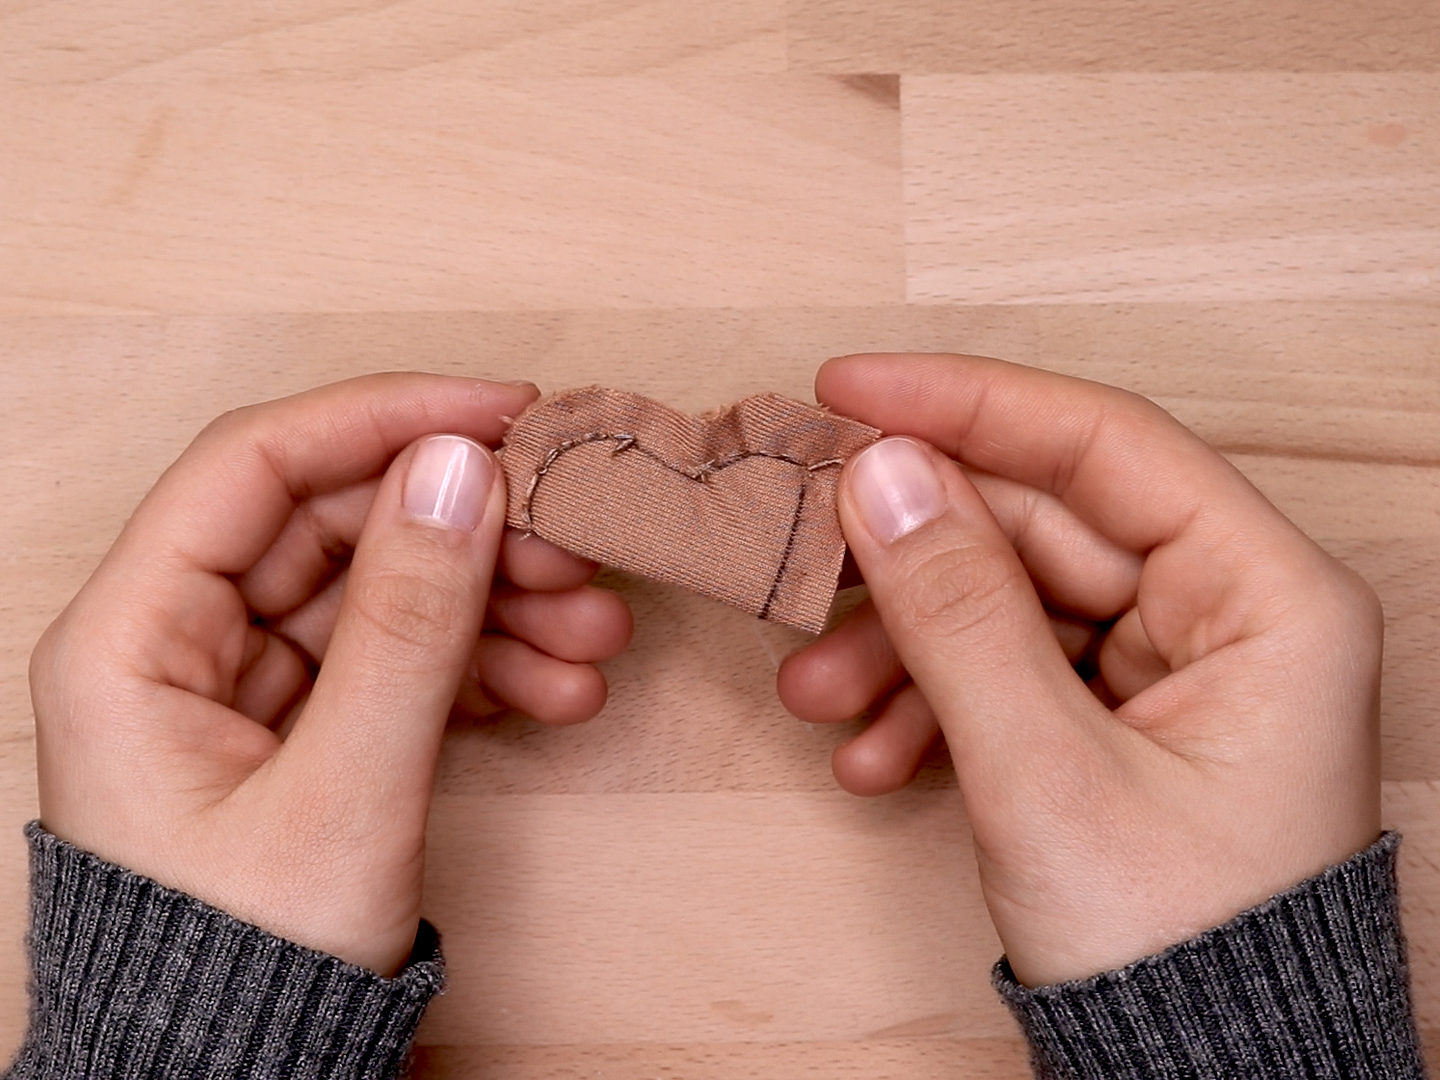
This method is different from the one used for the big teddy bear: instead of sewing four pieces together, we will only work with two. Use a thread of a colour that blends nicely with the fabric (image 1). Transfer one piece onto the other, the right-sides facing and the fur in the same direction (image 2), then pin it all the way around. Sew the fabric along the dotted line on image 3, without forgetting to leave an opening on the side, which we will use to turn it right-side out later, and stuff it too. There you go! The piece that constitutes the body is ready (image 4).


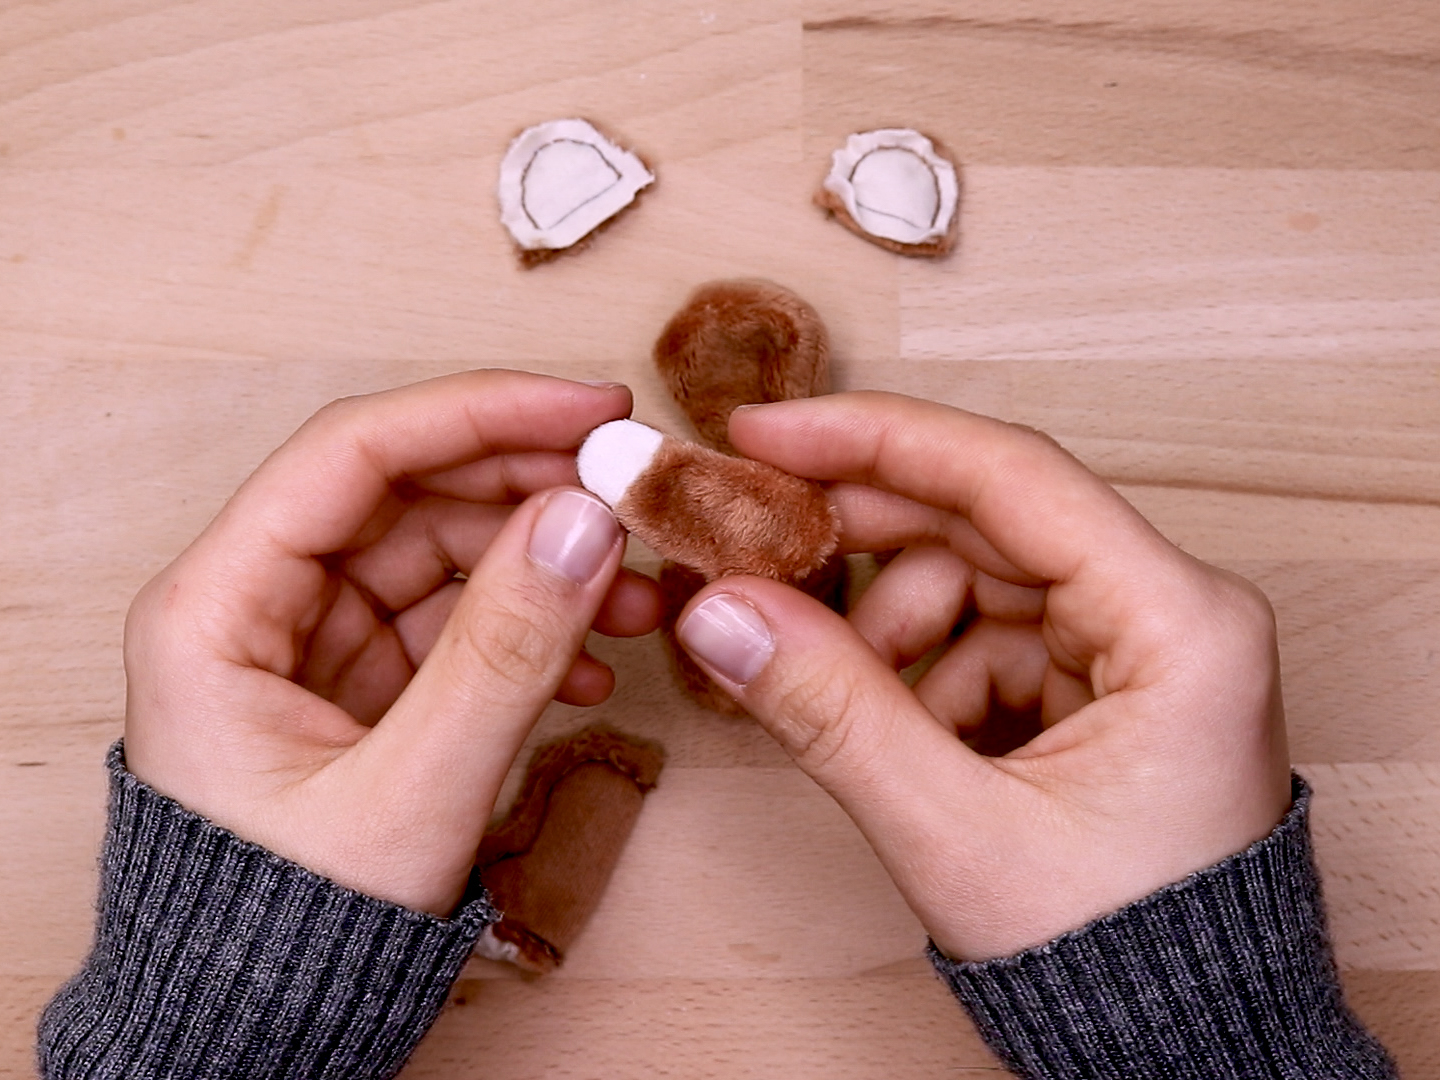
SEWING THE HEAD
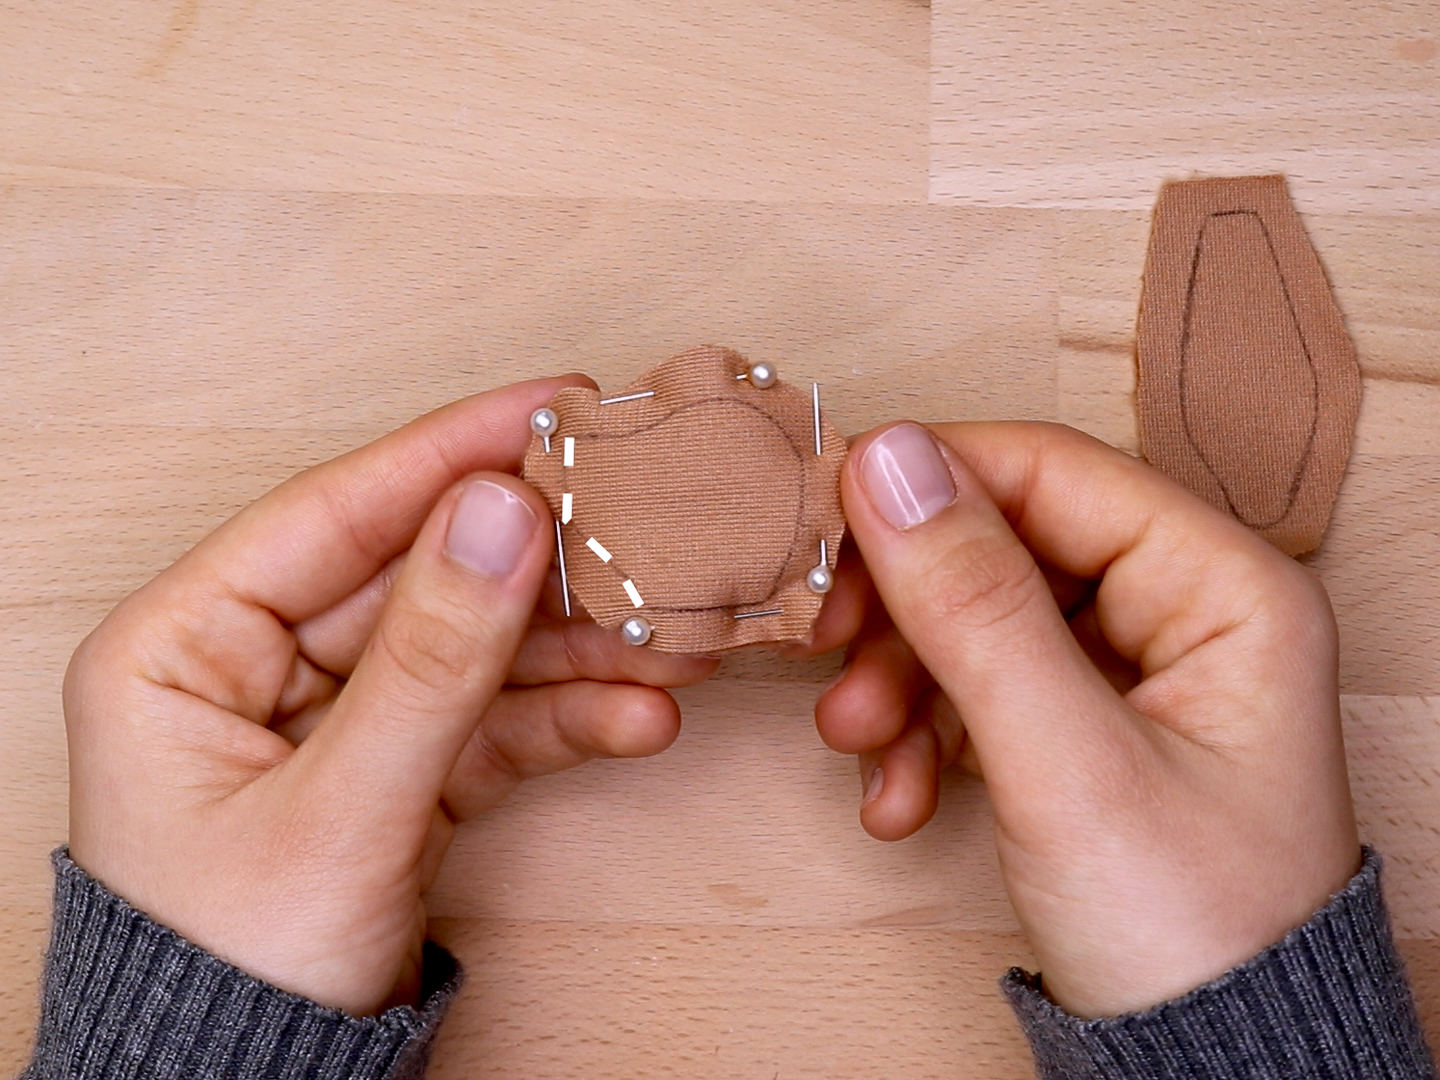
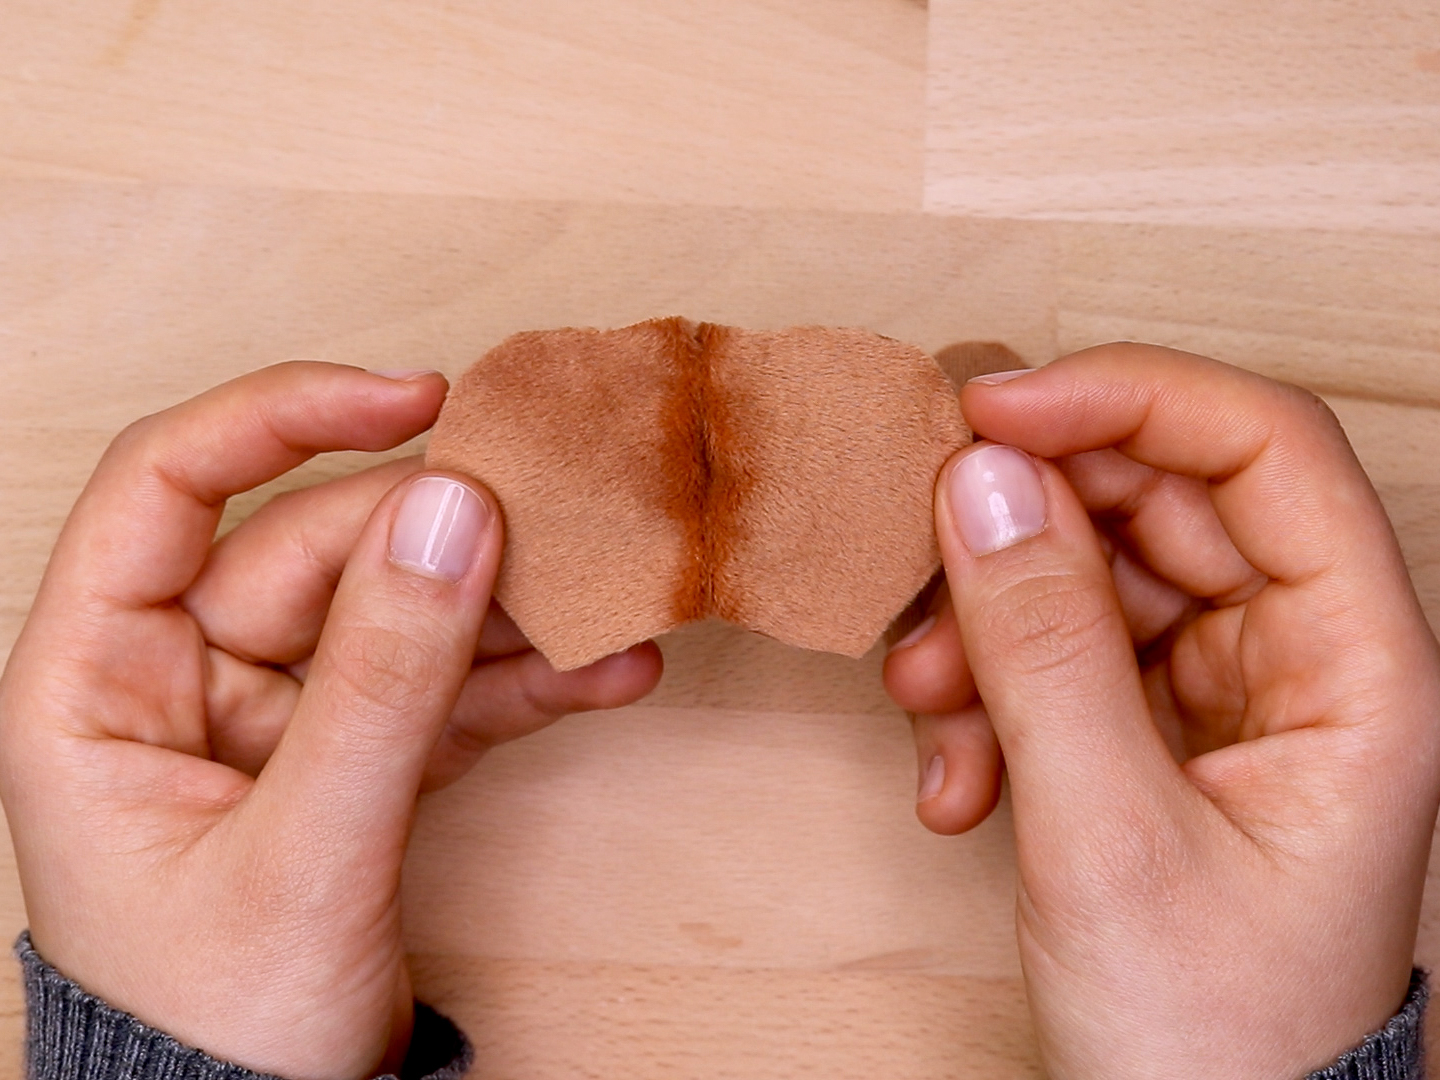
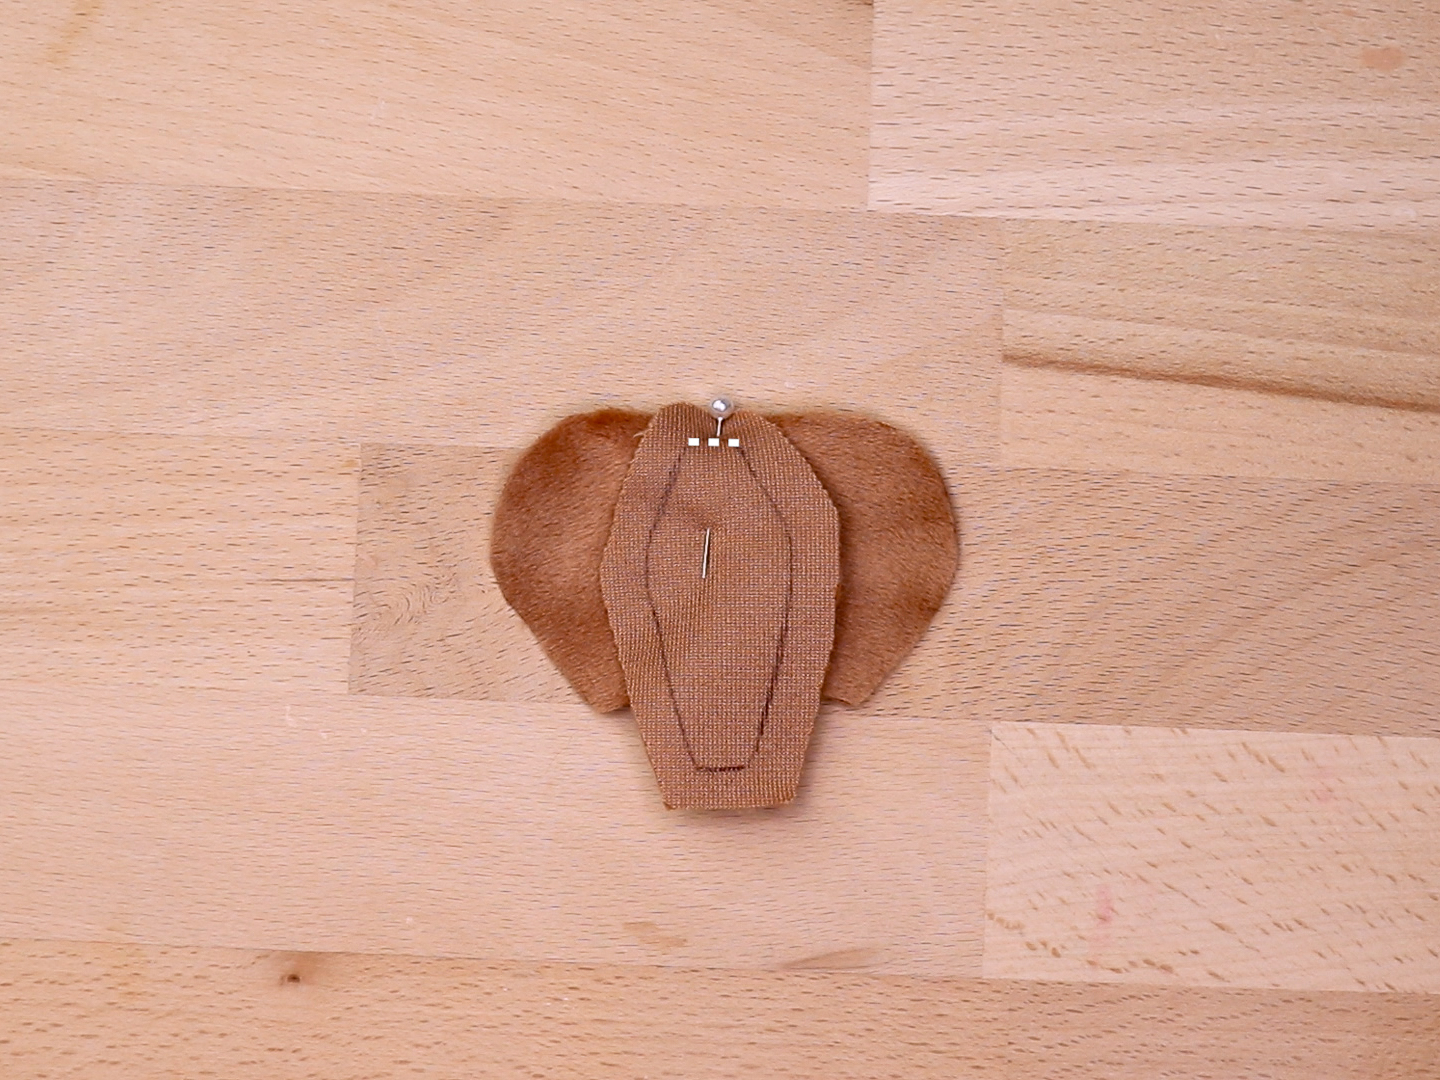
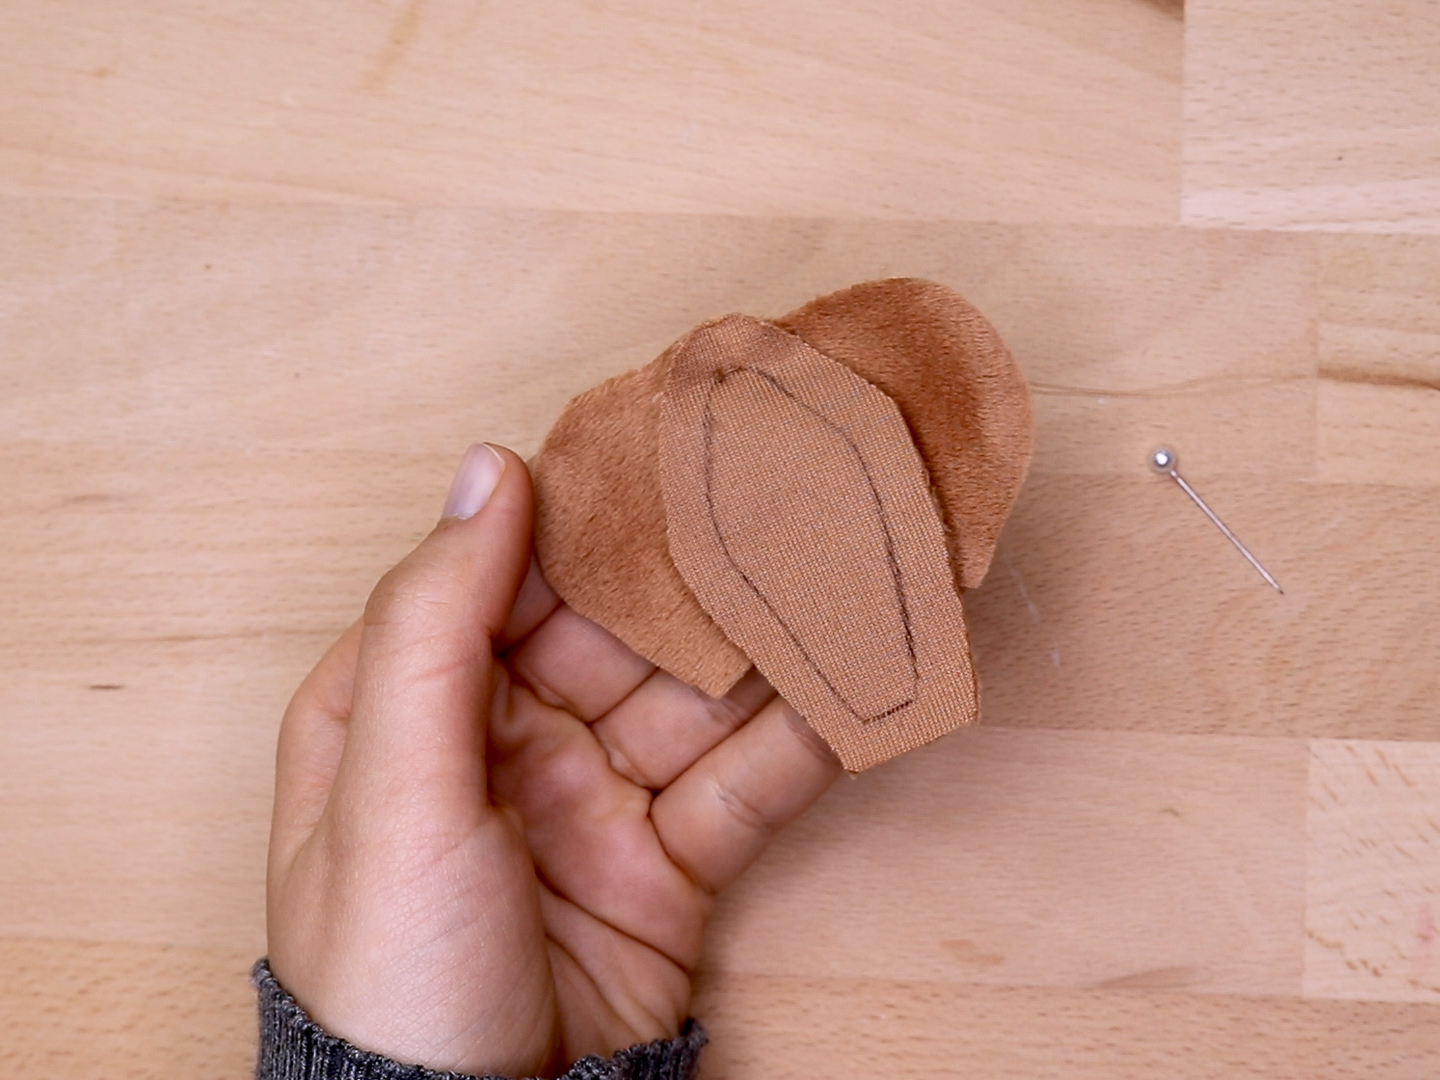
You have three pieces of fabric: the forehead, and the side of the head in two copies, one being the mirror image of the other (image 1). Start by connecting the two sides together (image 2), fur against fur, then pin them and sew the part of the snout indicated by the dotted line on image 3. You will end up with one single piece (image 4). Now, add the forehead piece (image 5), fur against fur as always, giving the impression of an elephant’s trunk. Pin and then sew the small part indicated by the dotted line on image 7. Our three pieces are now combined in one (image 8). Pin one side of the forehead to one side on the head (image 10), then sew the first few centimetres like indicated by the dotted line on image 11. Do the same thing for the other side and continue alternating between the two until you reach the neck, which you will leave open for now (image 12).


SEWING THE EARS
After the most difficult part, here is the easiest one! Take two sets of two pieces of fabrics and lay them one against another, fur against fur. Pin them and then sew the outline (image 2), leaving the bottom part open. And voilà, you now have your two beautiful ears (image 2)!


SEWING THE PAW PADS
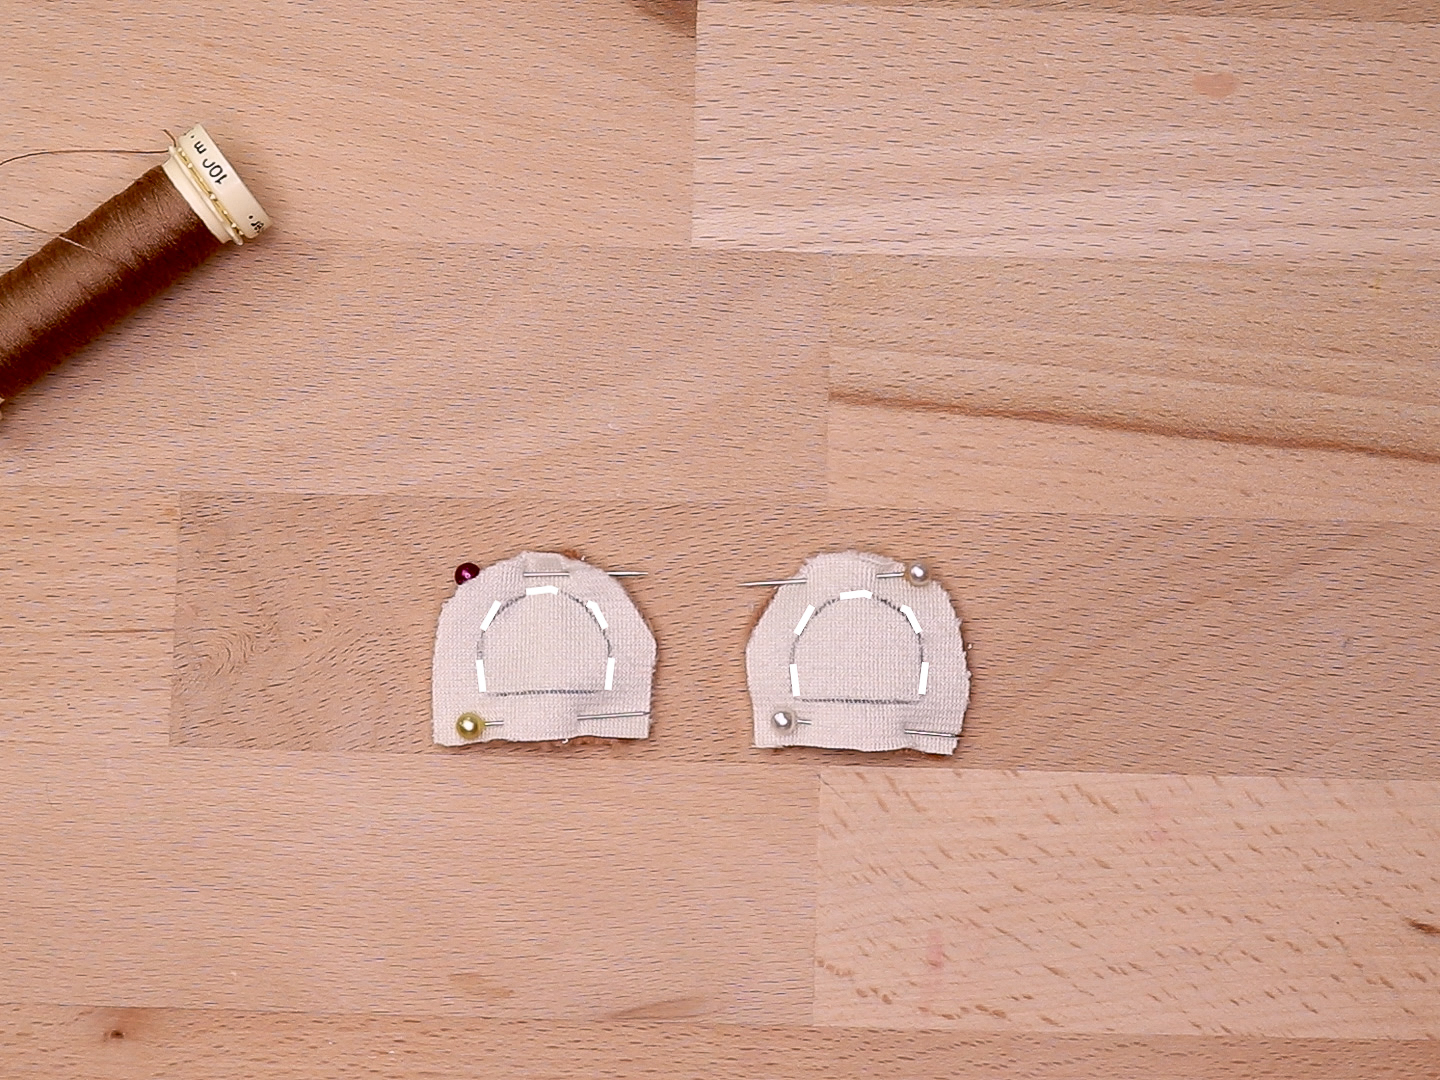
To sew an arm completely, you need to start by connecting the palms to the inner arms (they are the shortest arm pieces). Put one of the palms at the bottom of an inner arm piece, paying attention to which side it goes on (left or right). Turn the palm upward and pin it so that the two pieces are fur against fur (image 2). Sew along the dotted line on image 3. Repeat these steps to end up with two inner arm pieces with their palms attached.


SEWING THE ARMS
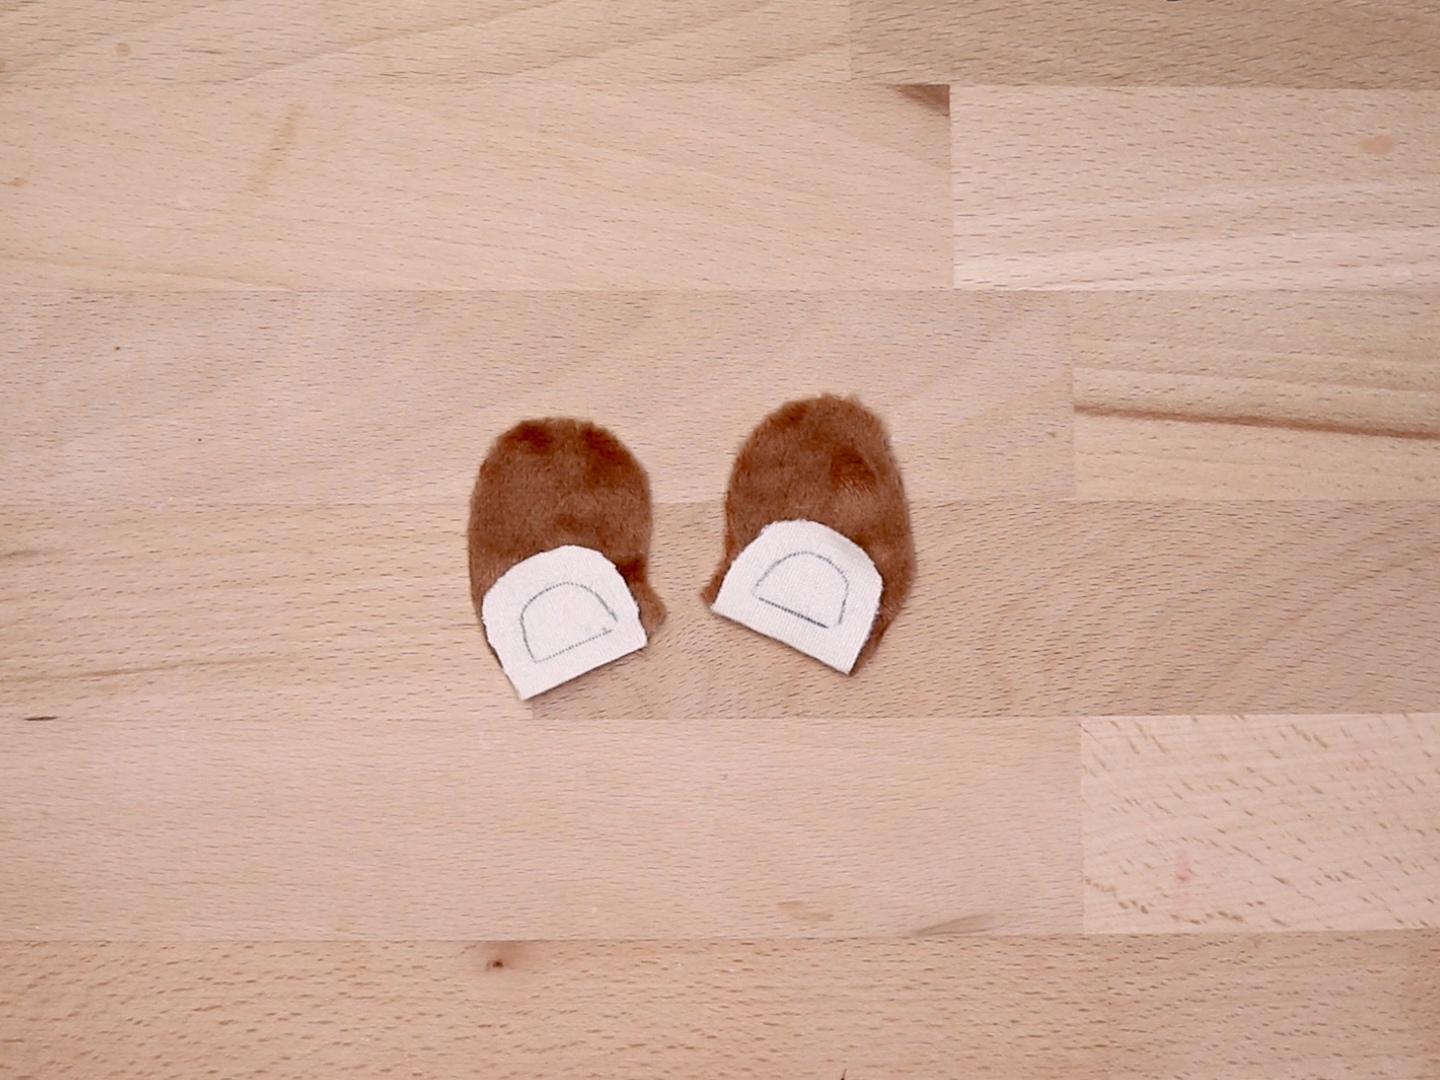
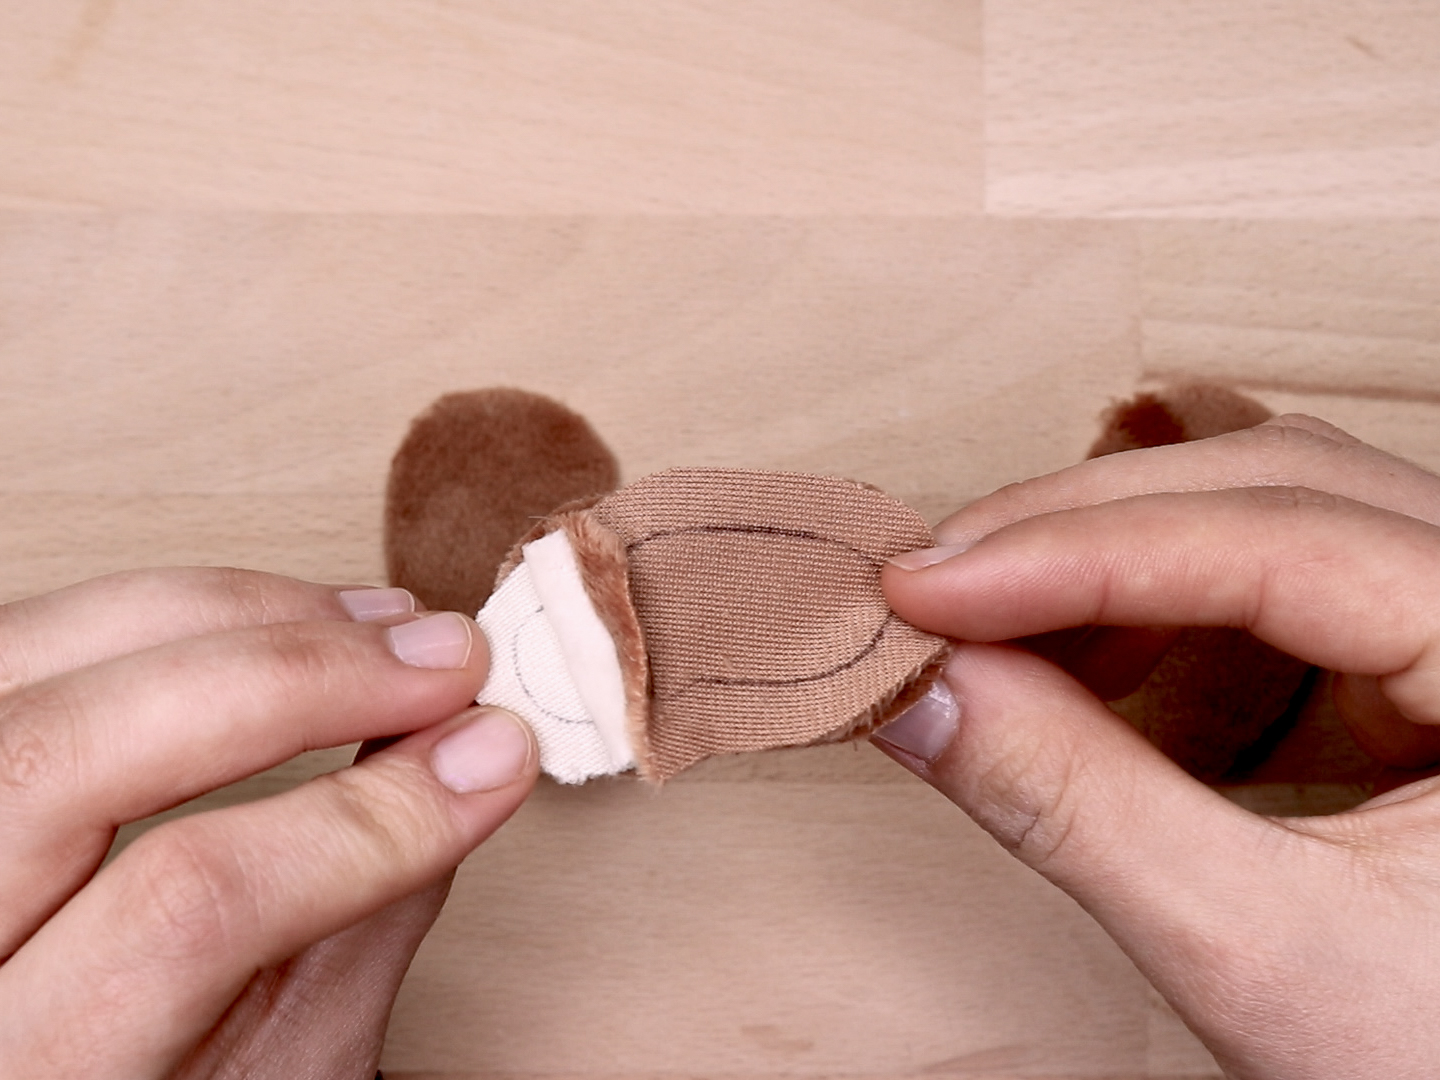
Lay an inner arm piece, now complete with the palm, against an outer arm piece, fur against fur (image 2). Pin the fabric and sew along the dotted line on image 3, leaving an opening at the back. Repeat the process so you end up with two complete arms, a left one and a right one, with their palms turned inward.

SEWING THE LEGS
STEP 1 TO 4: fold one leg in half lengthwise on the right-sides, so that you work on the wrong side, pin it then sew along the dotted line, leaving an opening for the sole, and another one to turn the fabric right-side out and to stuff the leg later.
STEP 5 TO 8: take one of the soles and put it against the dedicated opening. Make sure that the good side faces the inside of the leg. Pin the outline and sew it to attach the two pieces together. Repeat the same steps to make another leg.

- Leg
- Arm
- Head
- Ear
- Body
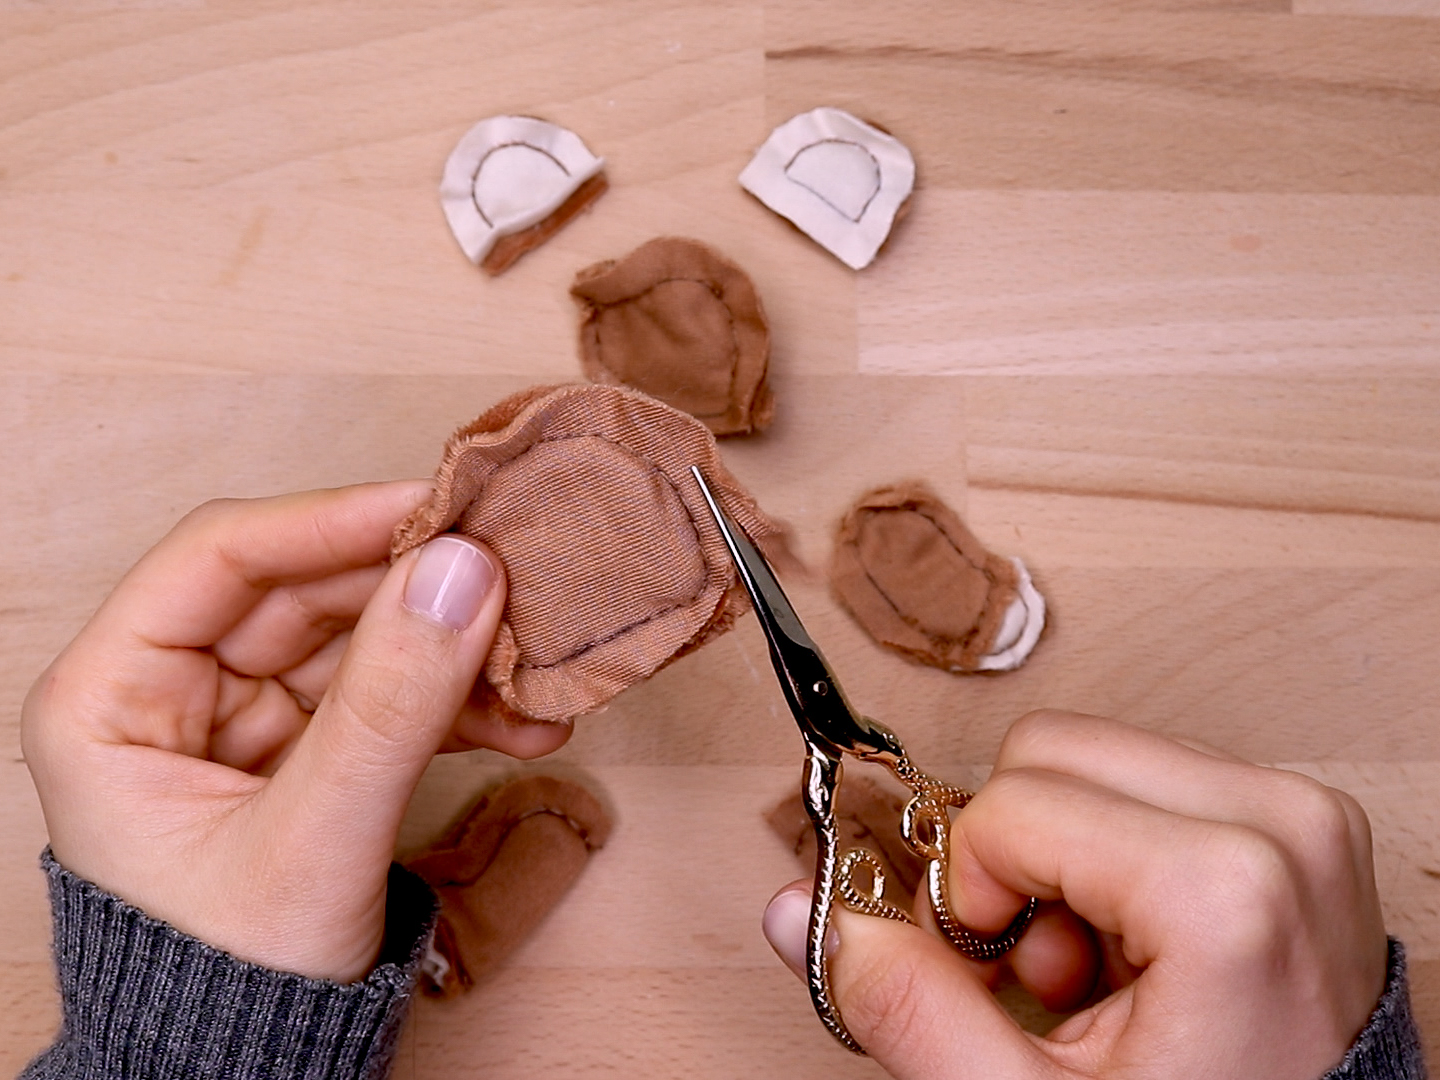
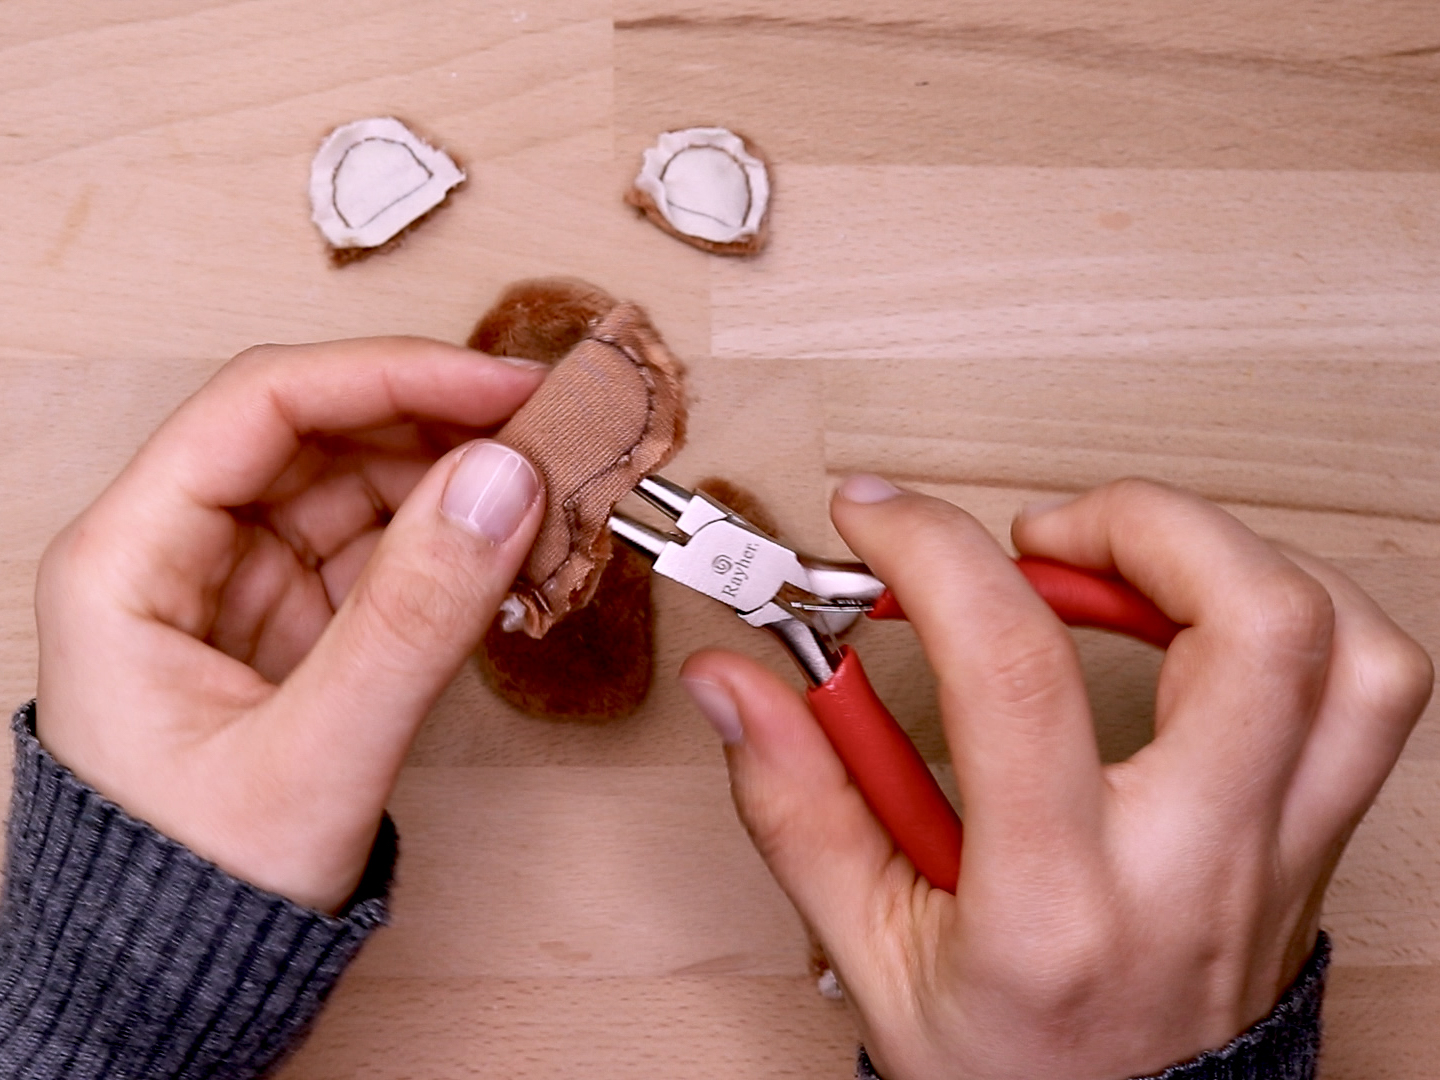
TURNING RIGHT-SIDE OUT
If needed, start by reducing the seam allowance with scissors (image 1). You now need to turn the body pieces right-side out. If the teddy bear was bigger, you would be able to do it with your hands, but because the elements are so small, it is better to use pliers (with a round edge to avoid damaging or putting a hole in the fabric). Pinch the inside and bring it towards the outside (image 2).

CREATING THE FACE: THE EYES AND THE NOSE
For more detailed information about safety eyes and noses, take a look at this article.


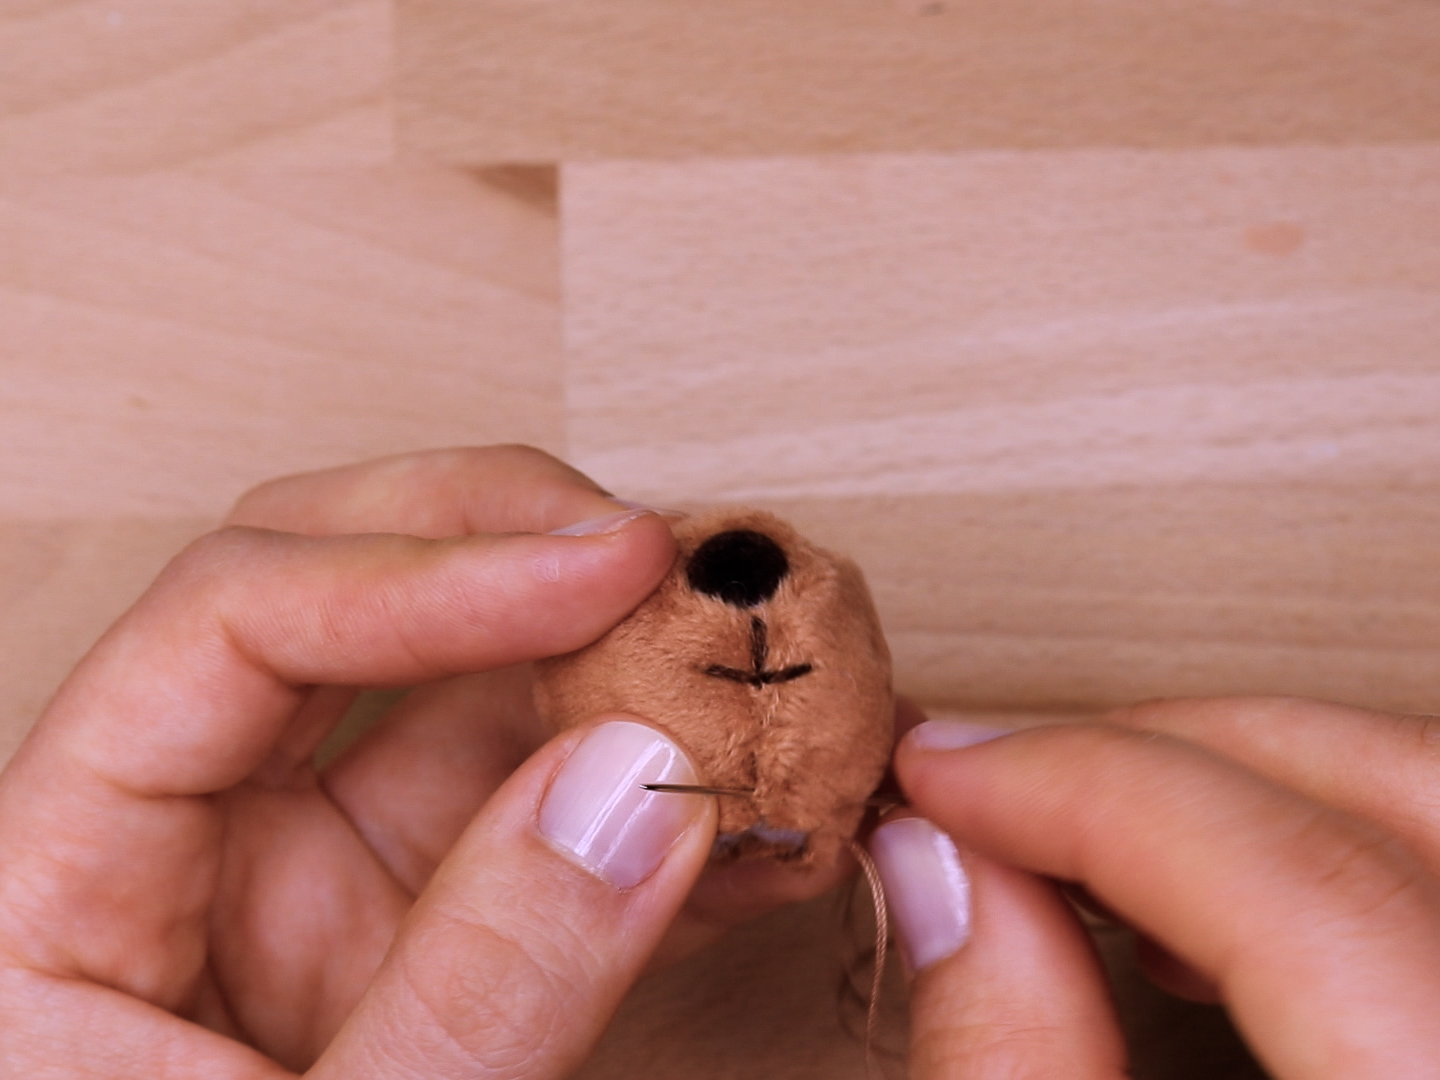
CREATING THE FACE: THE SMILE
To switch things around compared to the previous tutorial, I suggest embroidering the smile before closing the opening of the head. Use a thread that matches the colour of the nose and an embroidery needle. Start from the inside of the head in order to hide the knot (image 1), then embroider the desired smile (see the video at the bottom of the page for the step-by-step process). With the help of small pliers, take out the stuffing that might come out with the thread.
For more detailed explanations on embroidering smiles, this article is here for you.


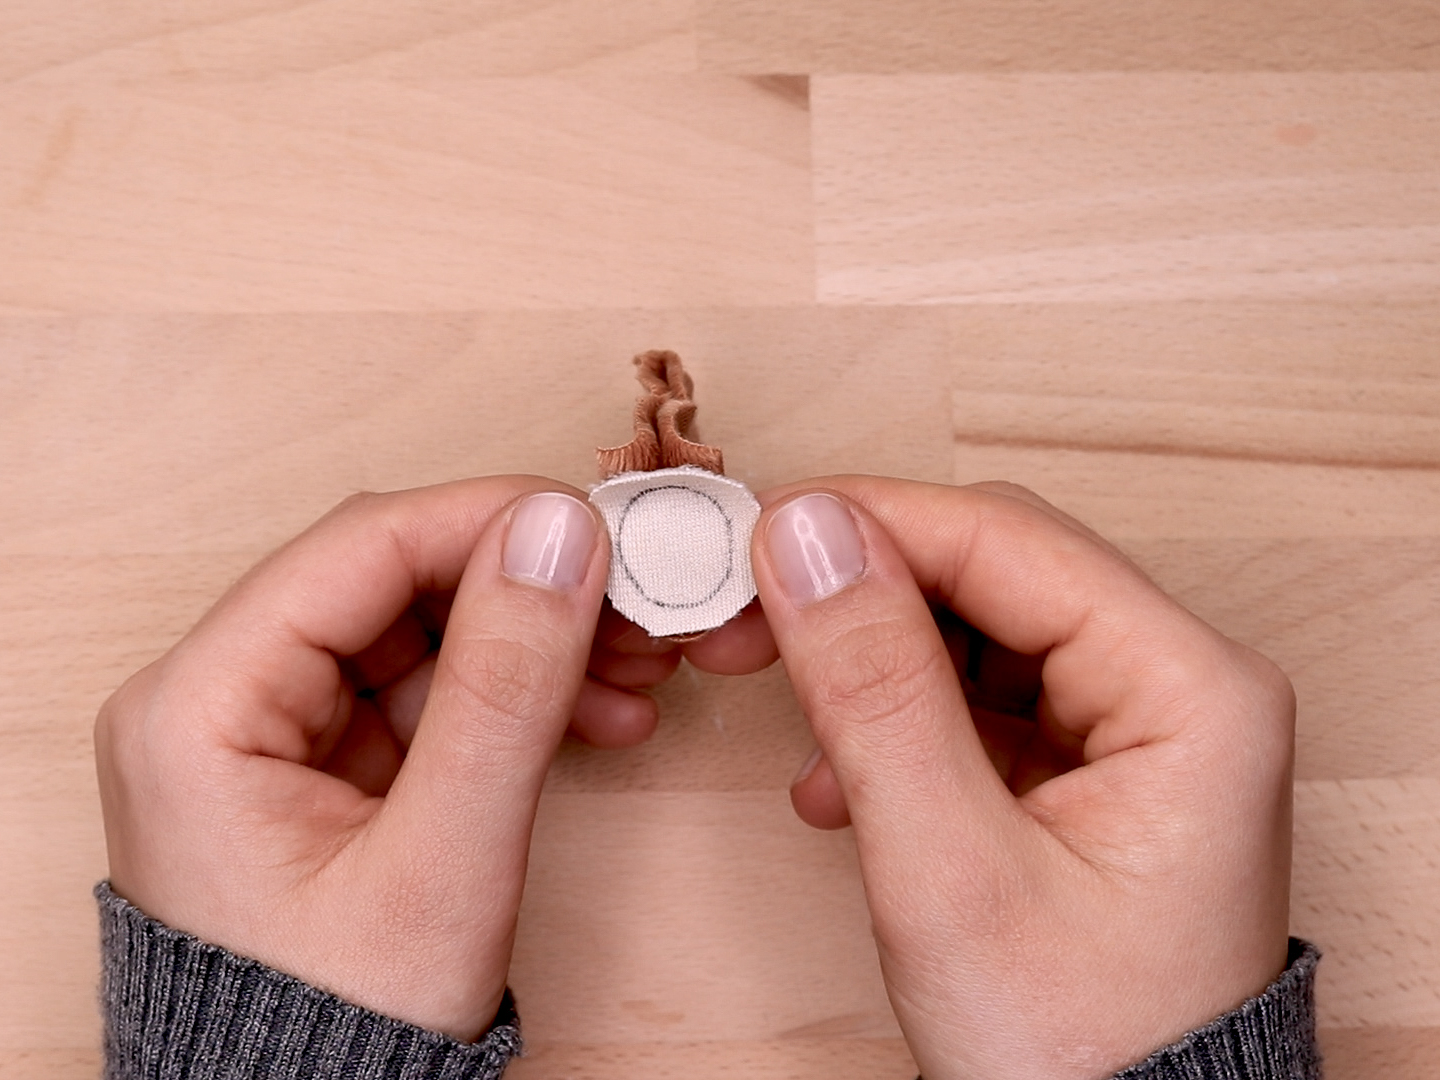
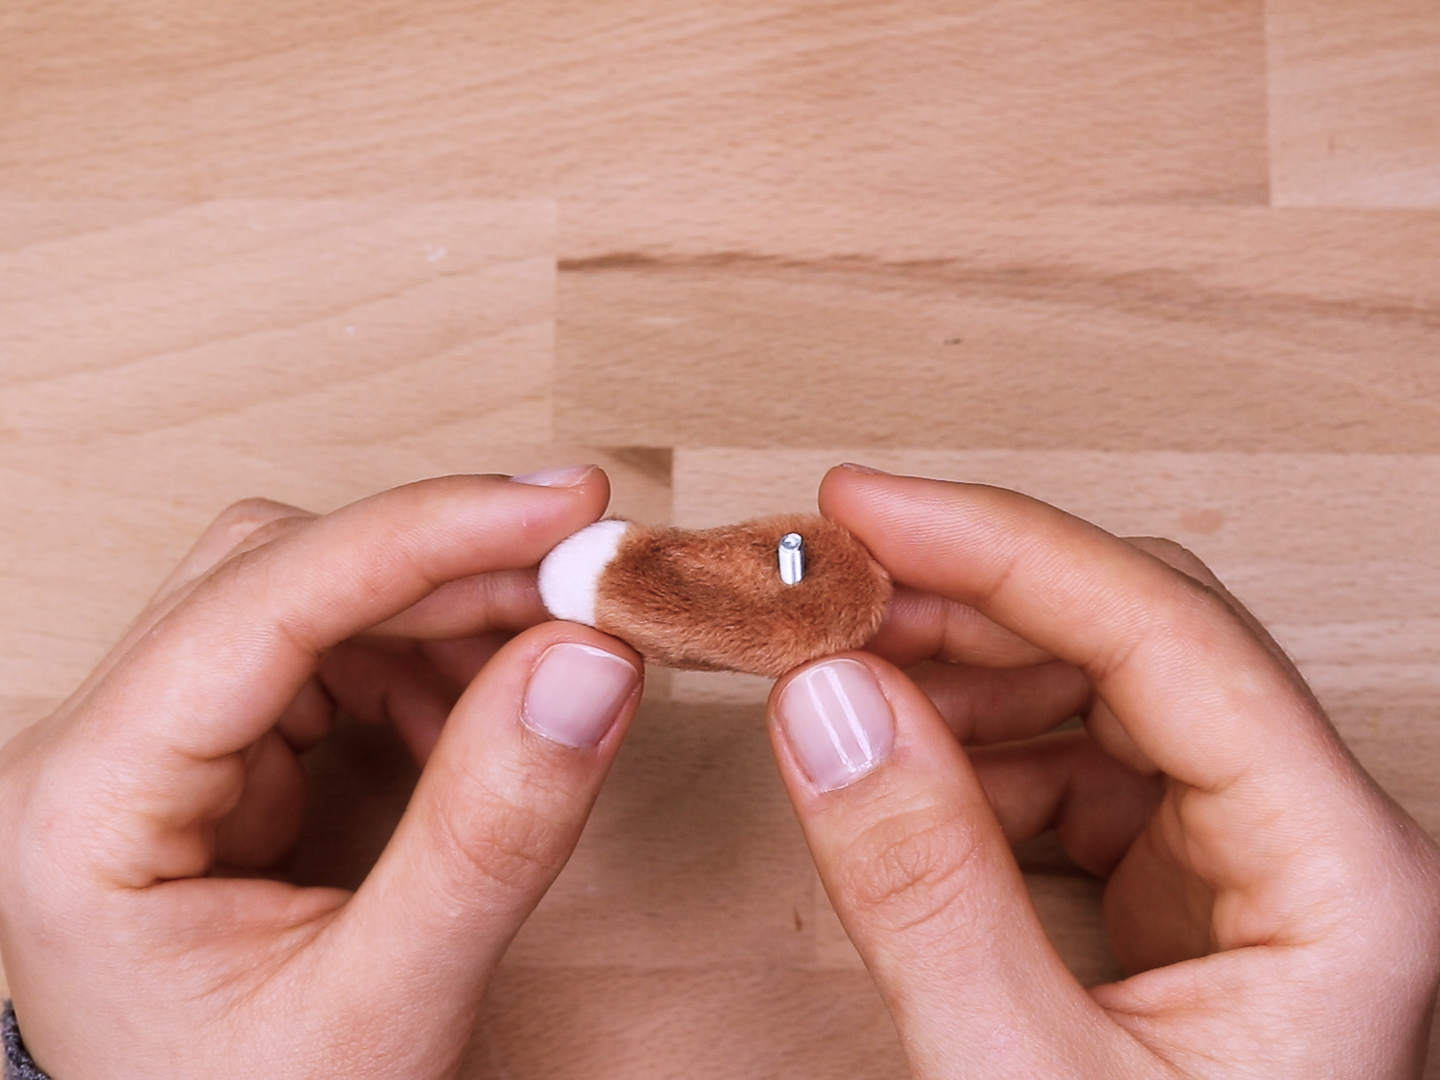
ADDING THE JOINT FOR THE HEAD
Now, we are going to close the opening of the head. Sew with a running stitch all the way around the neck (image 2). Put a bolt in a disk through the opening (image 3), letting the pin stick out, then pull on the thread to close the neck and tie a knot. You should have a result such as the one in image 4.


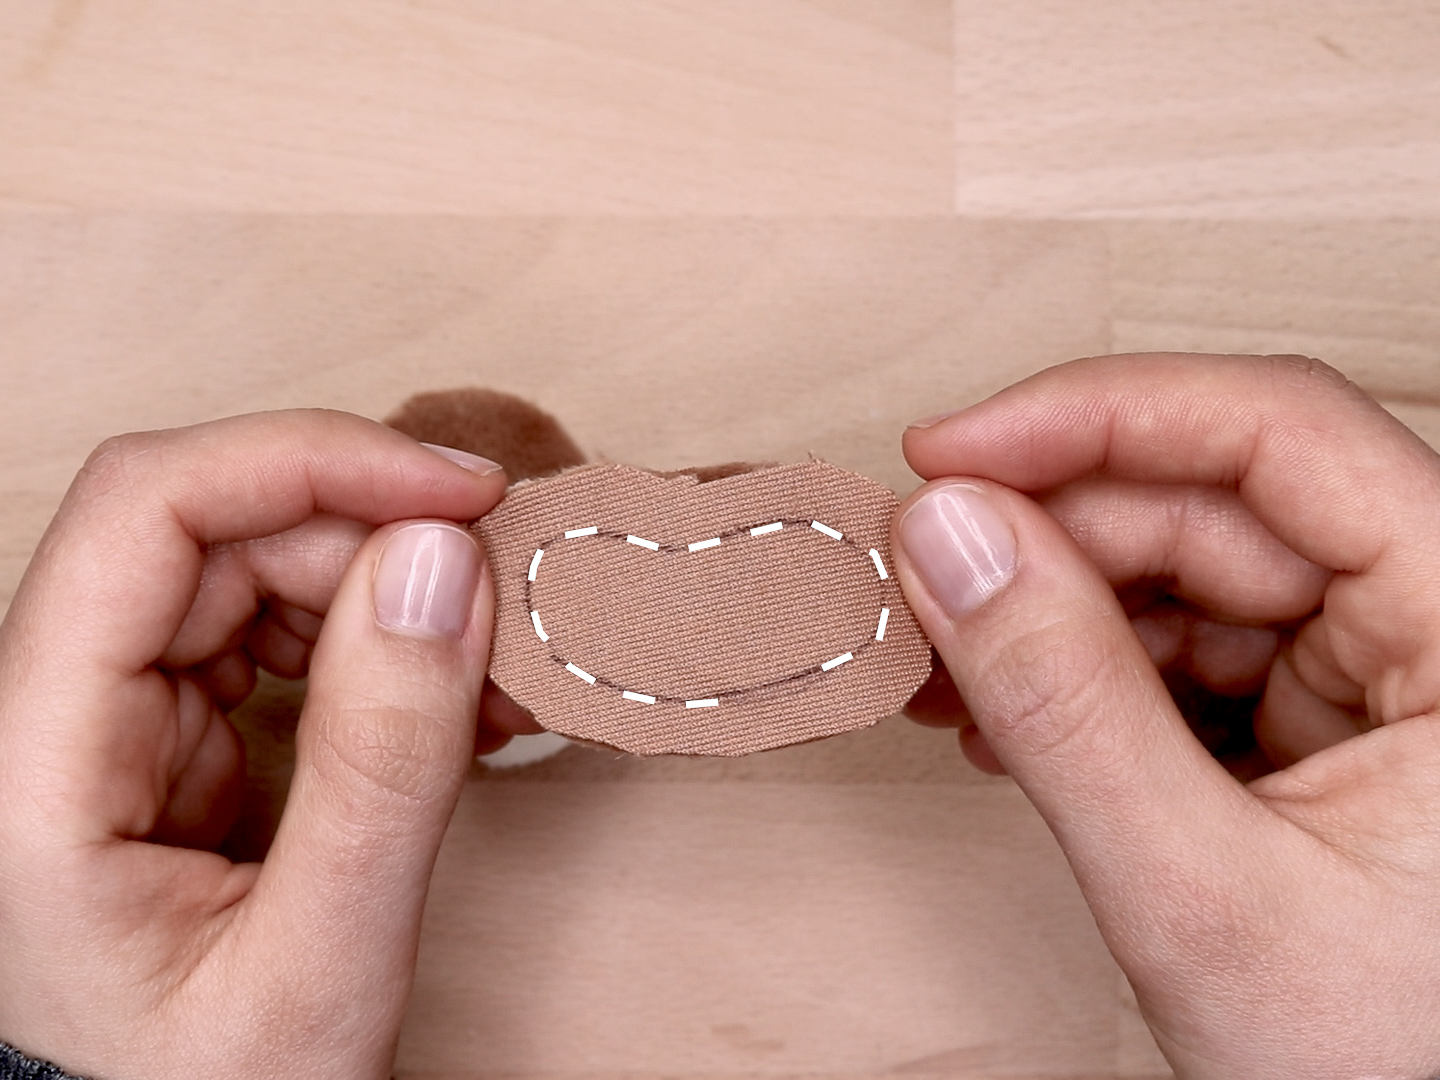
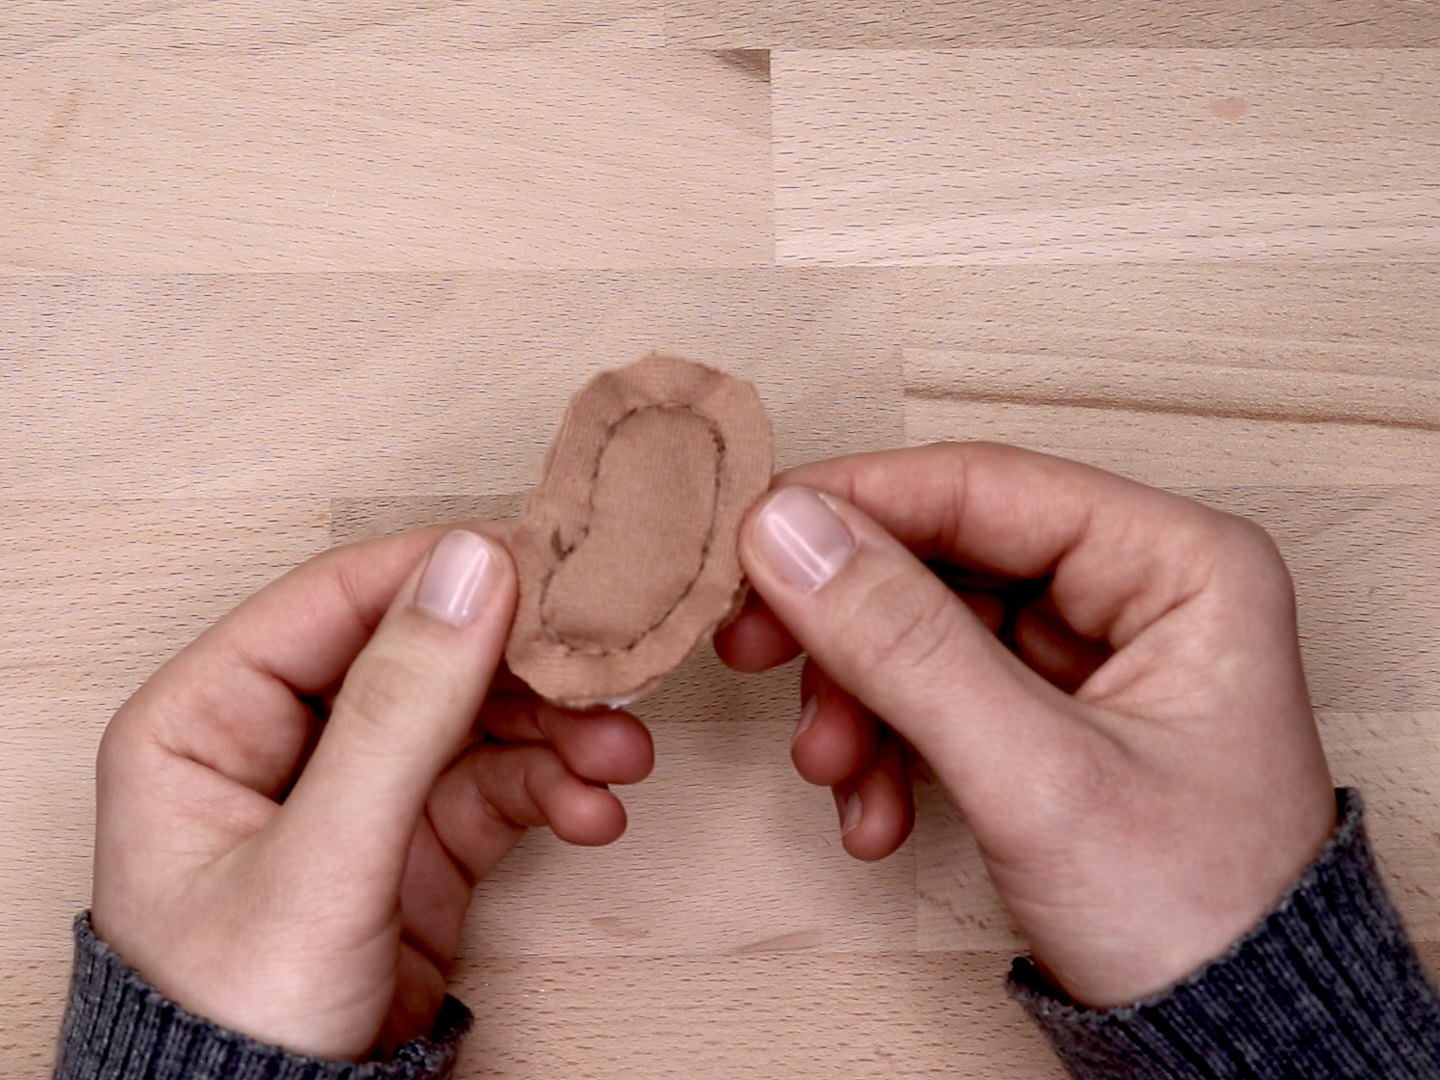
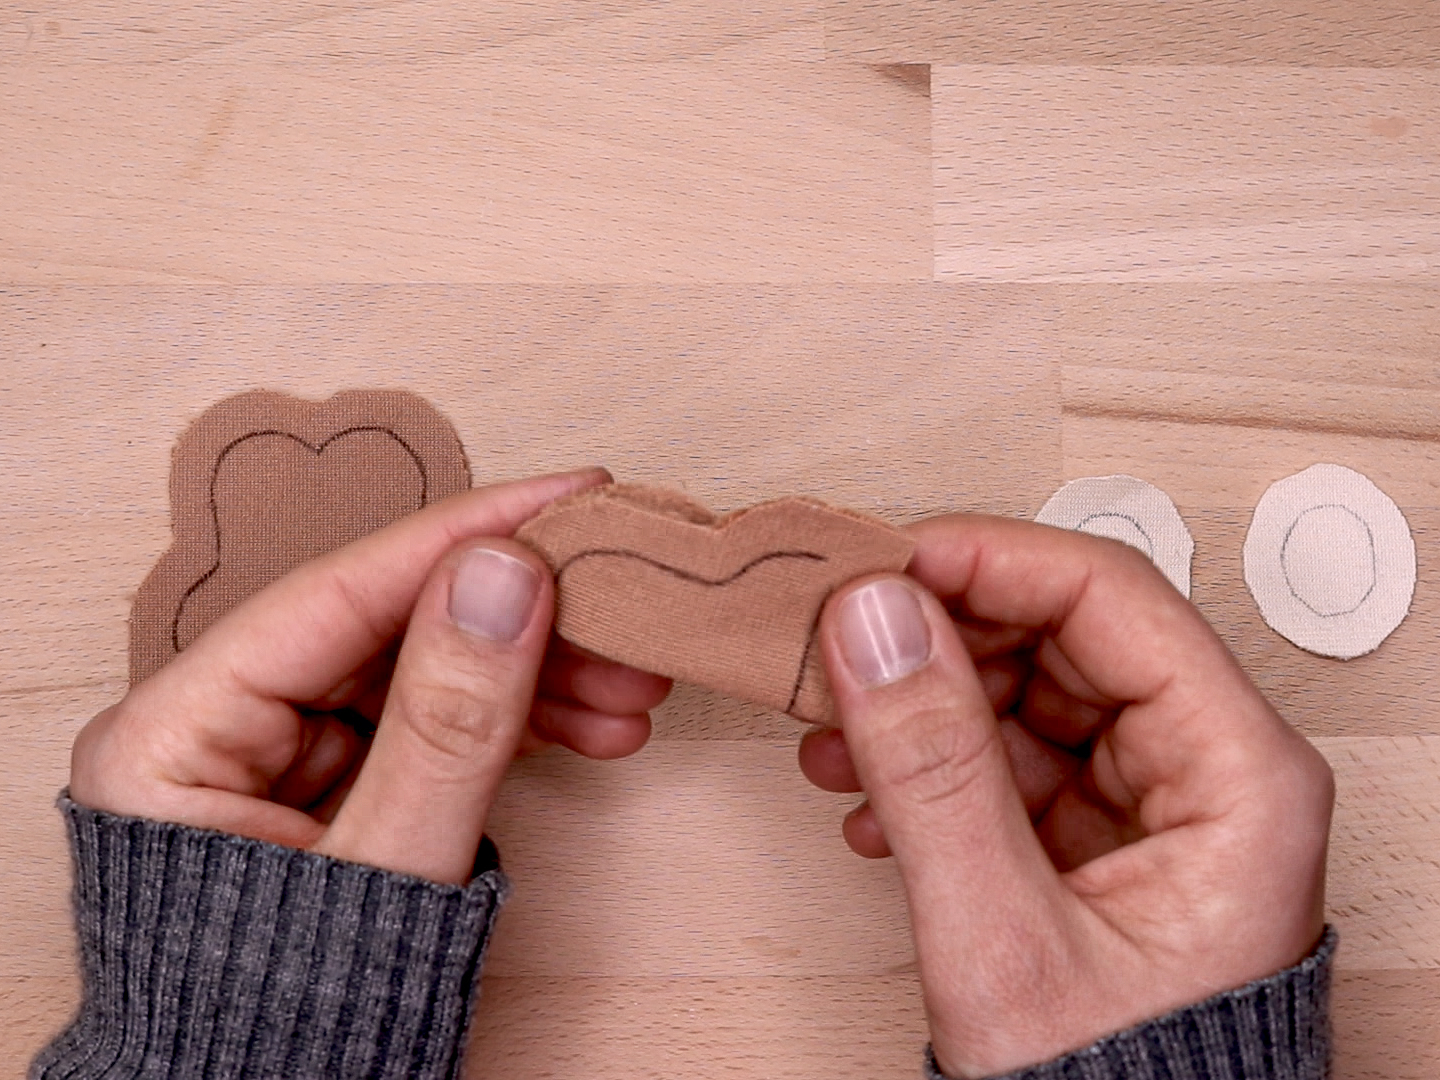
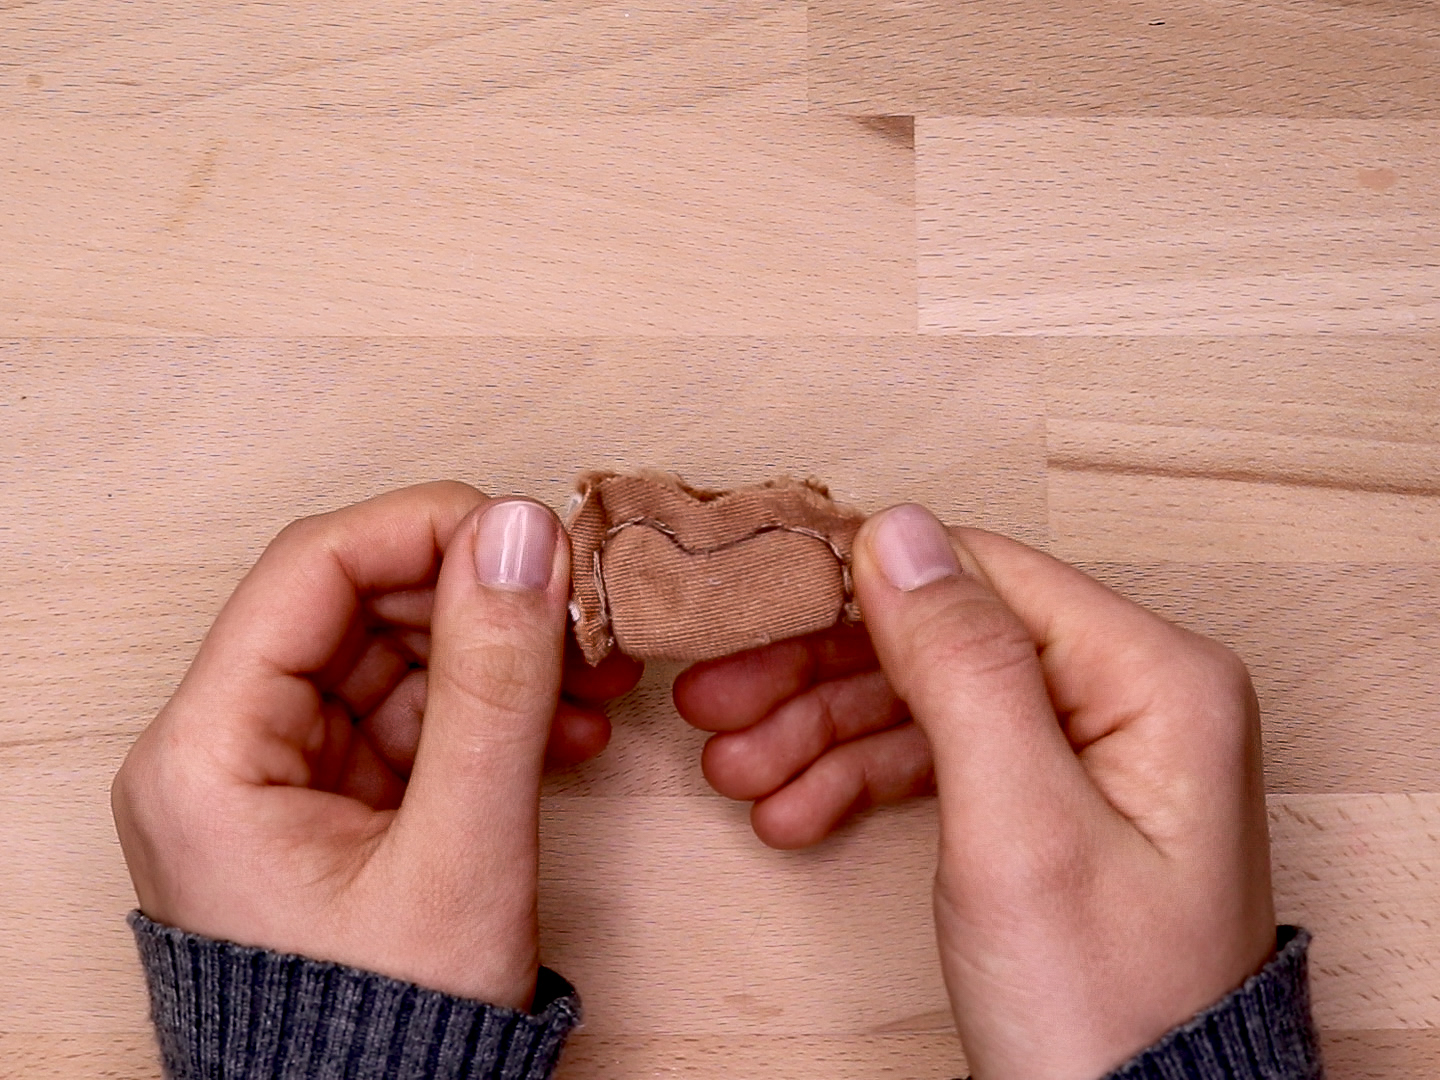
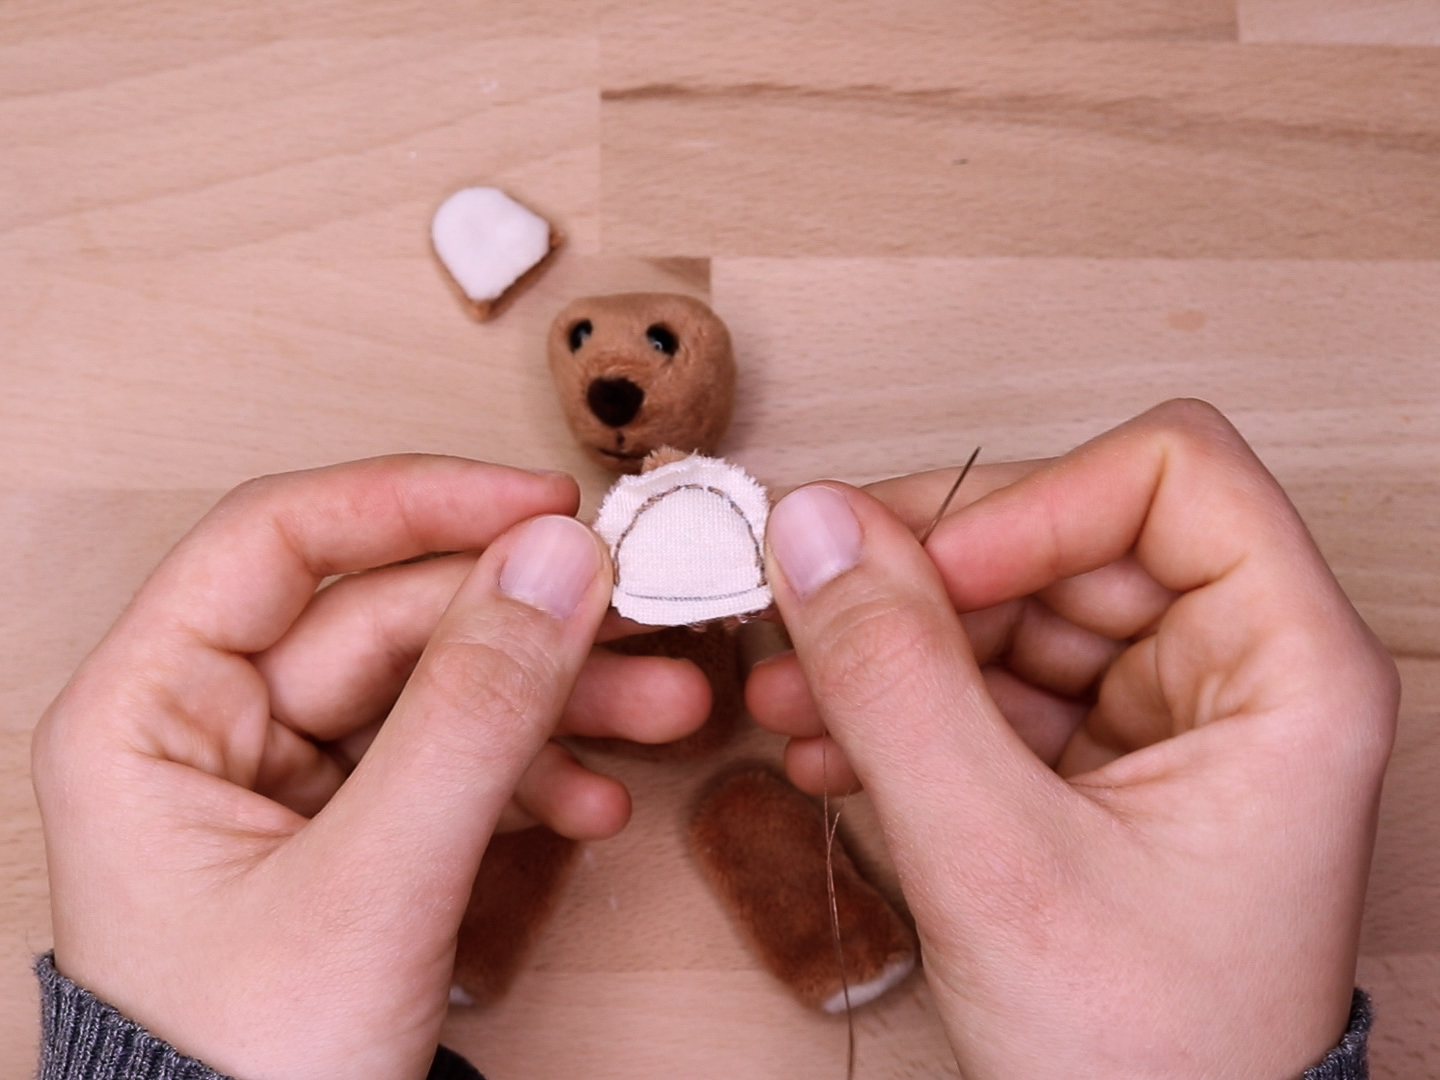
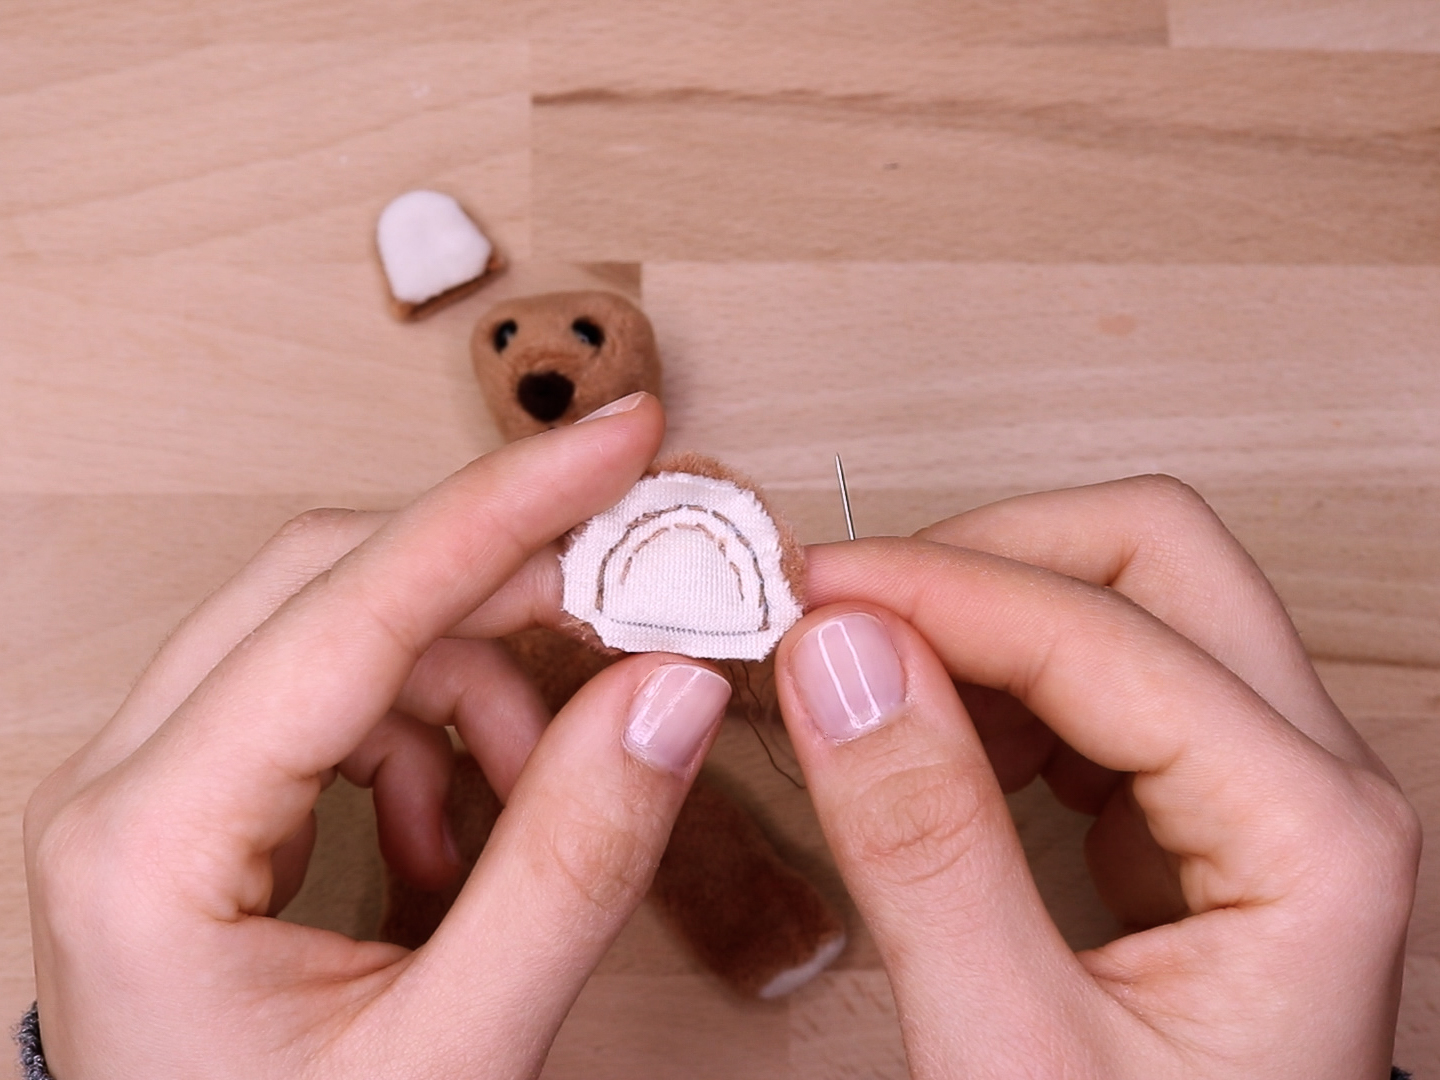
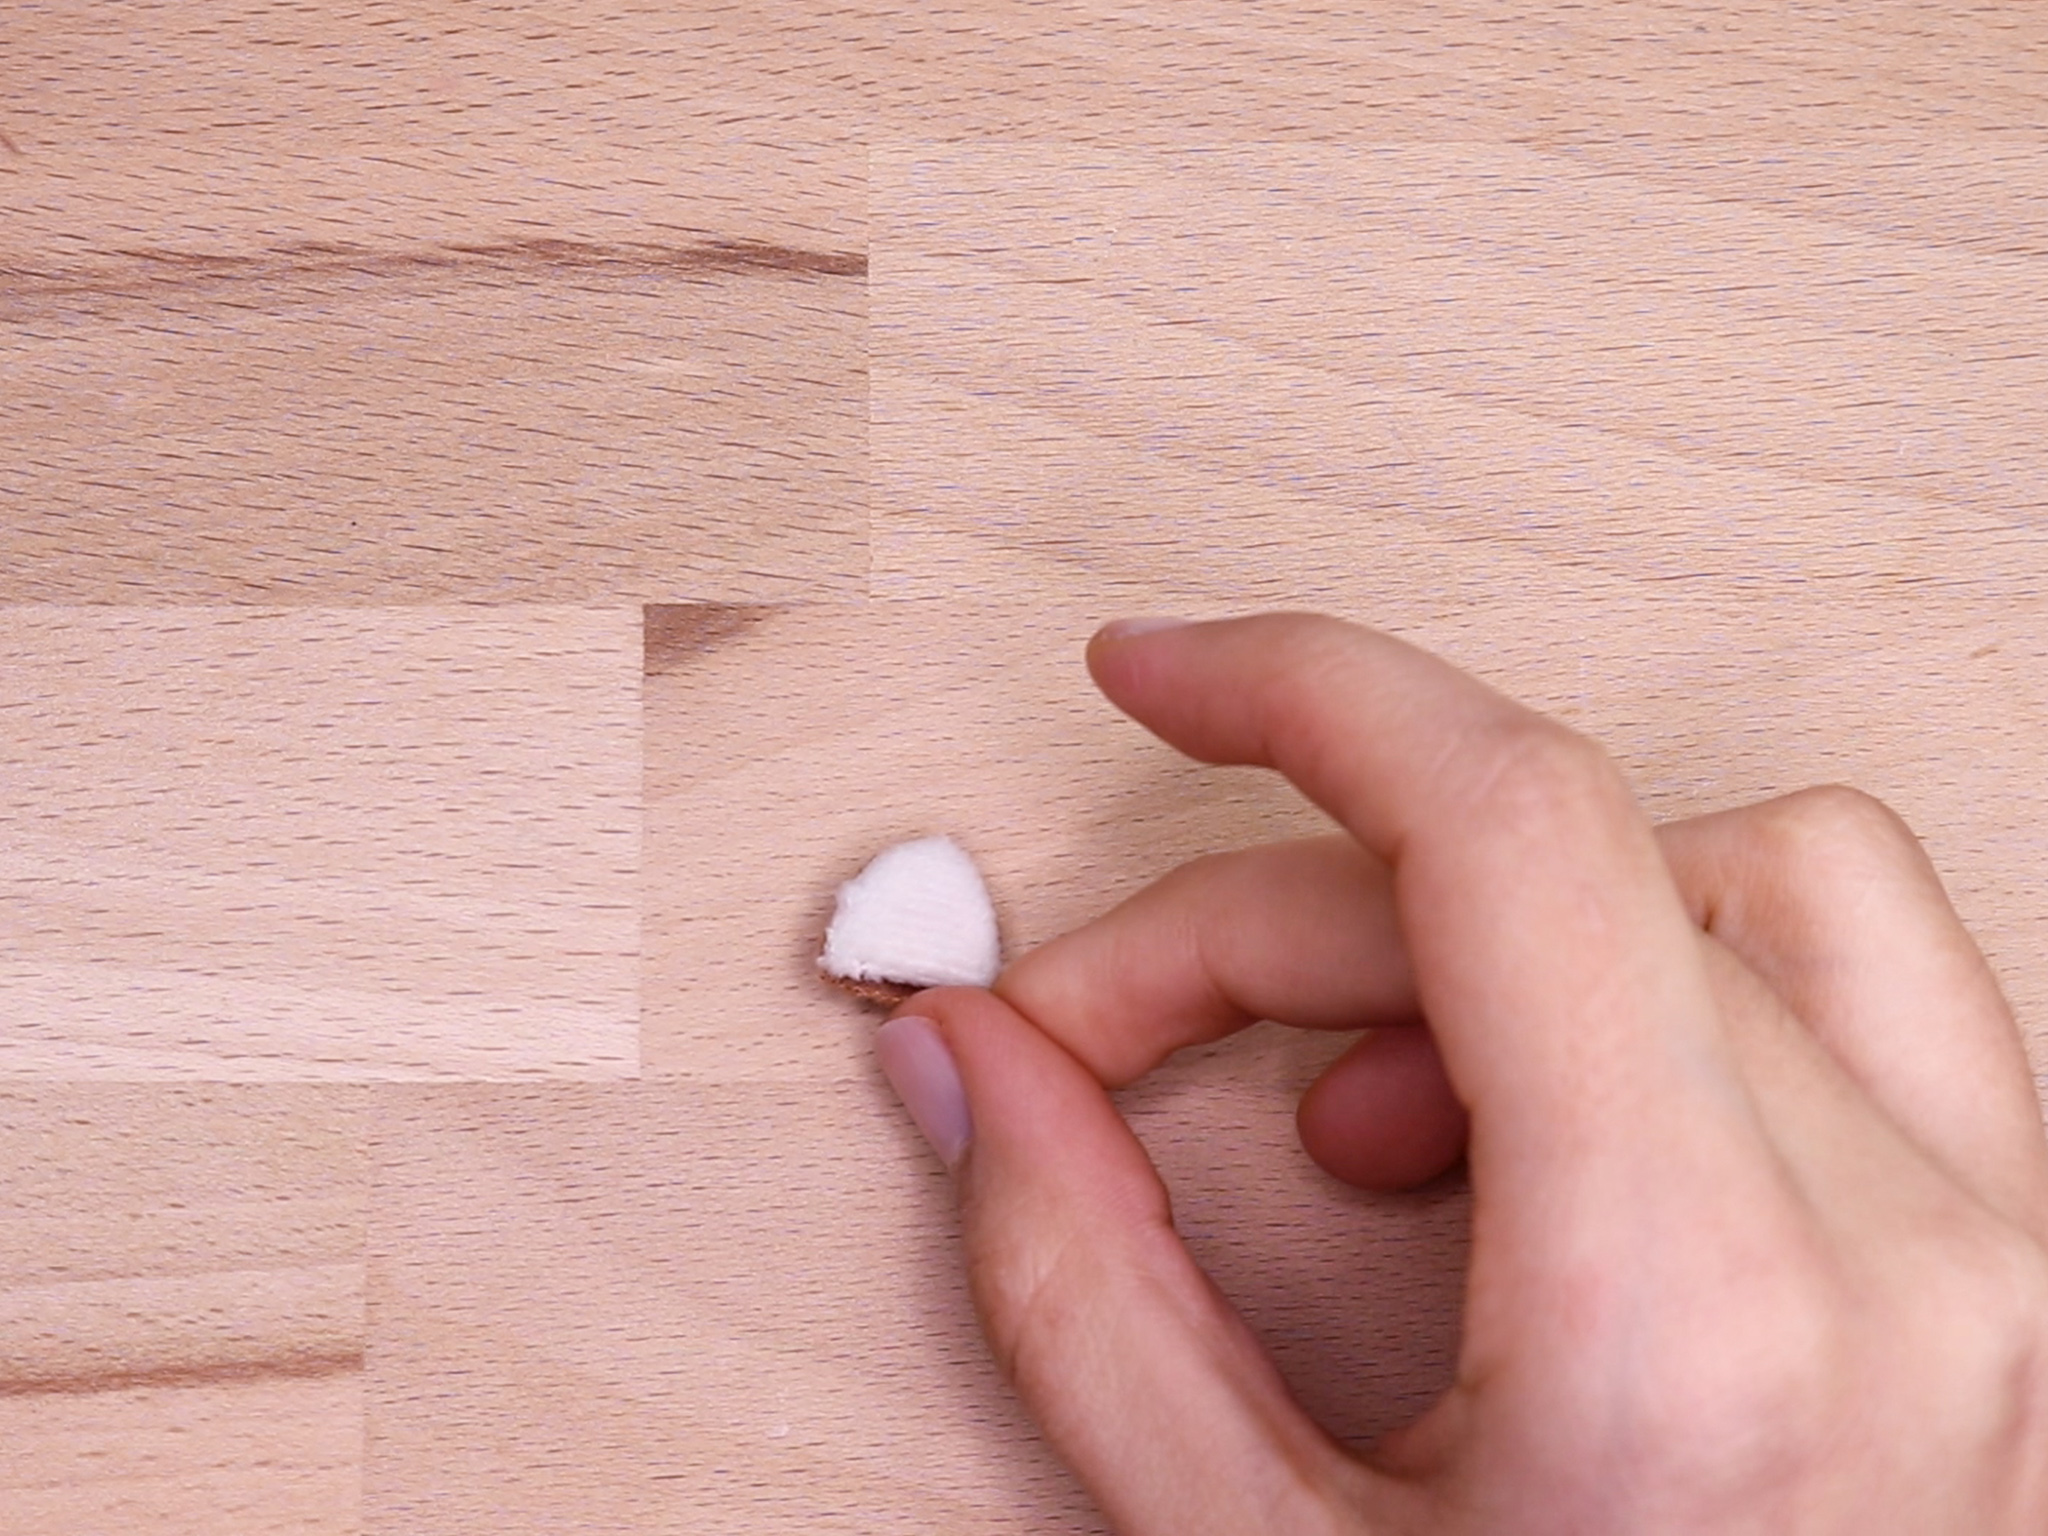
DOWNSIZING THE EARS (OPTIONAL)

My pattern lets you choose between big and small ears: in this step, I suggest checking out how to narrow down the ears. To do this, start by sewing a new, smaller semicircle (image 2). Then, cut the first seam with scissors (image 3). Lastly, turn each ear right-side out (image 4).

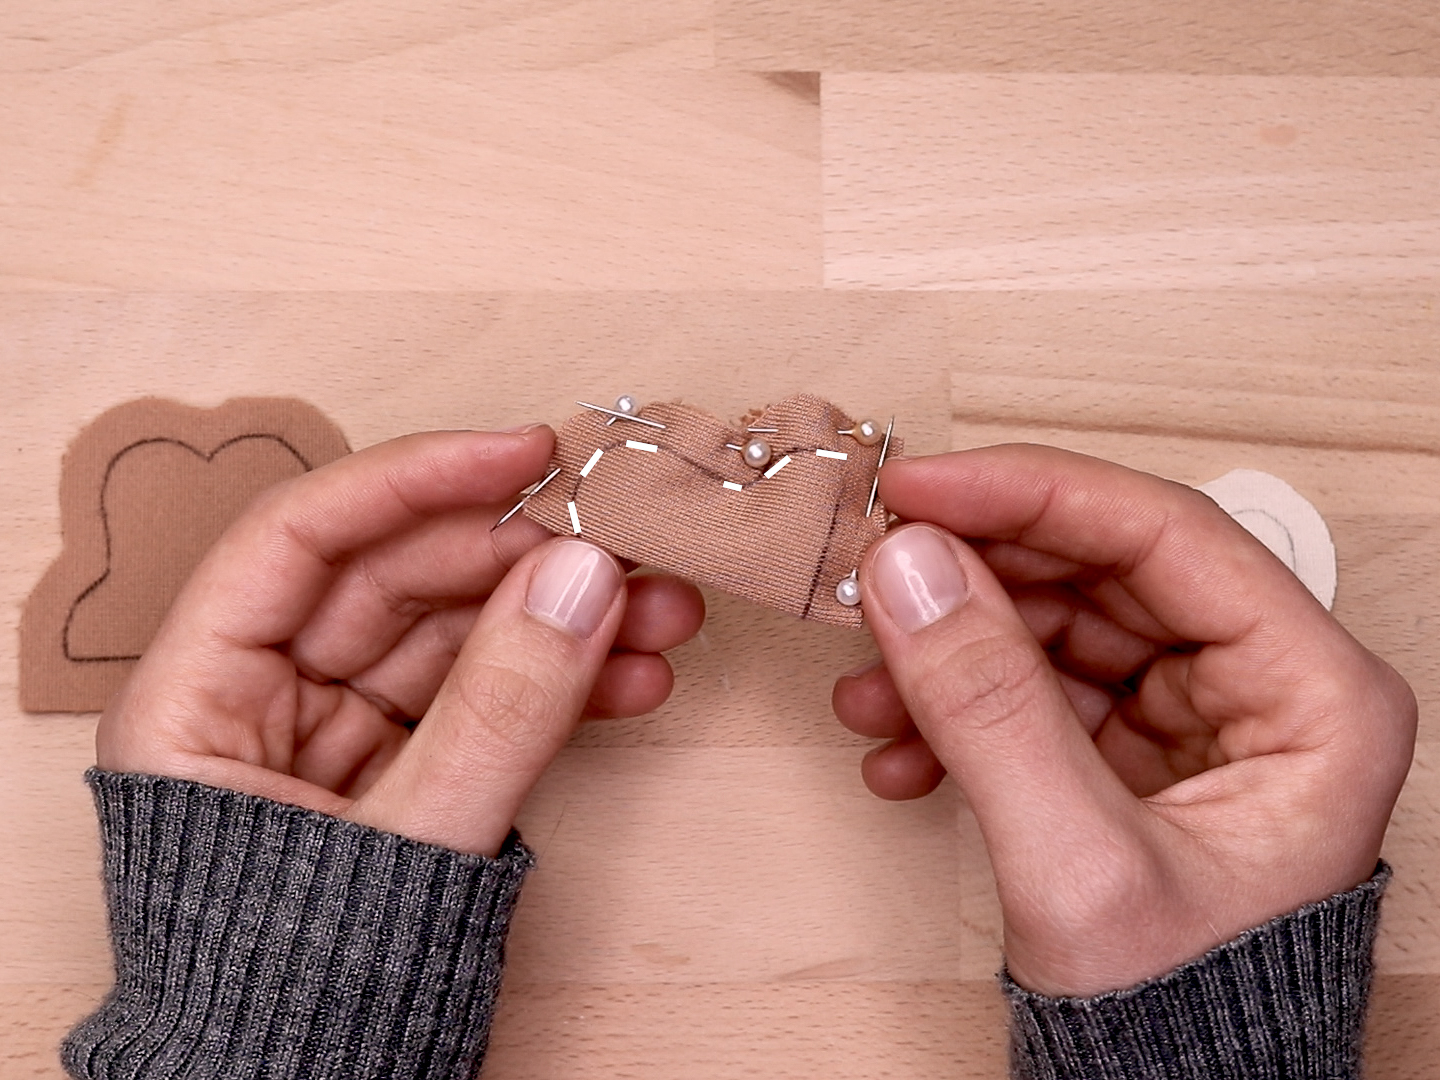
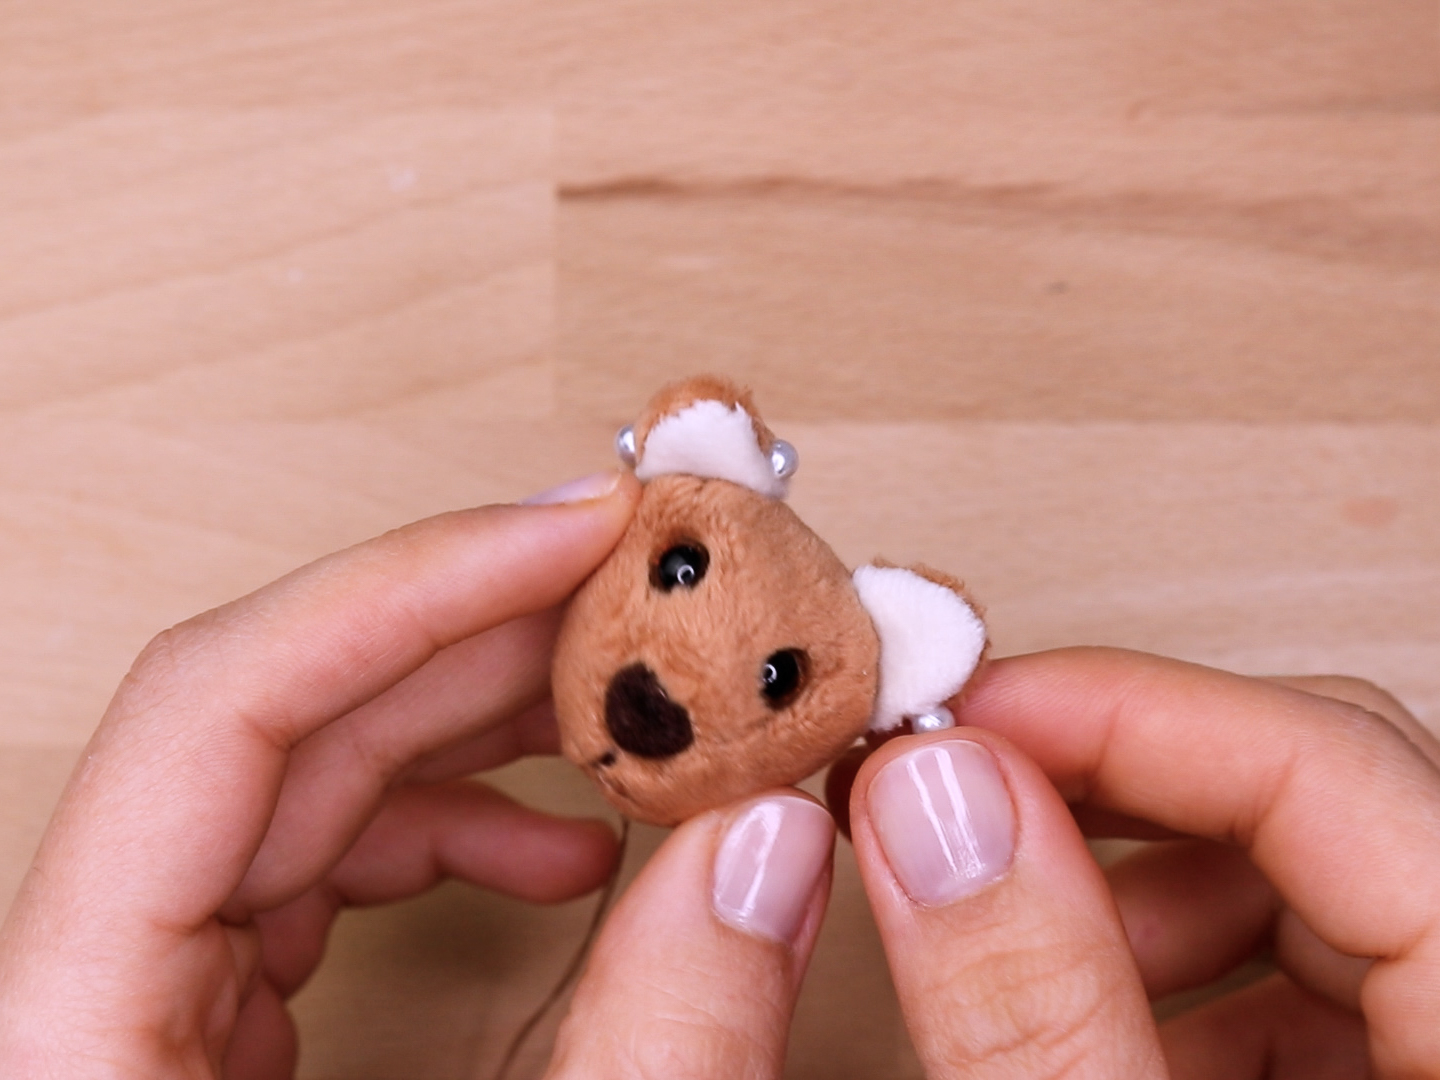
ATTACHING THE EARS
Close the bottom part of the ears by sewing them by hand. You can leave them empty or stuff them. Once closed, position them with pins (image 1). Hide the first knot in the neck area (image 2), then sew through the layers of fabric (the head and the ear) (image 3). Go through it again until each ear stays firmly in place (image 4).


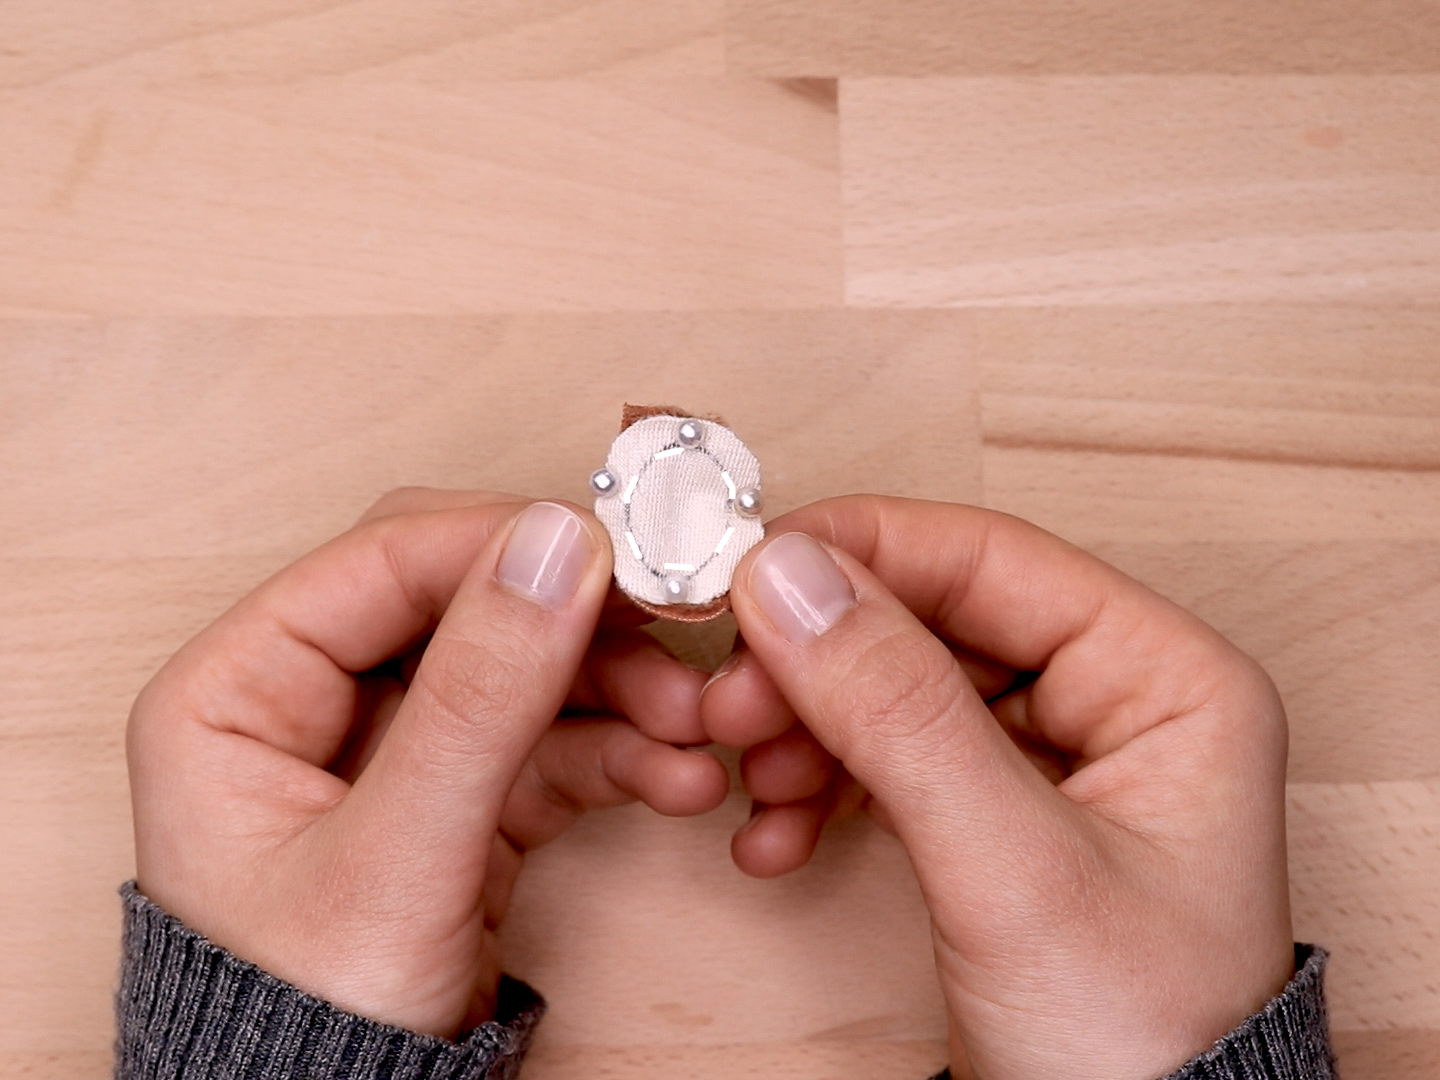
ADDING THE LIMBS JOINTS
If you did not mark the placement of the joints, or if you would like to check that their placement is correct, simulate them with pins (image 1). Once you are satisfied with the result (image 2), make a hole with a sewing punch in the limbs by going through the opening (image 3), then insert a bolt with a washer (image n°4).

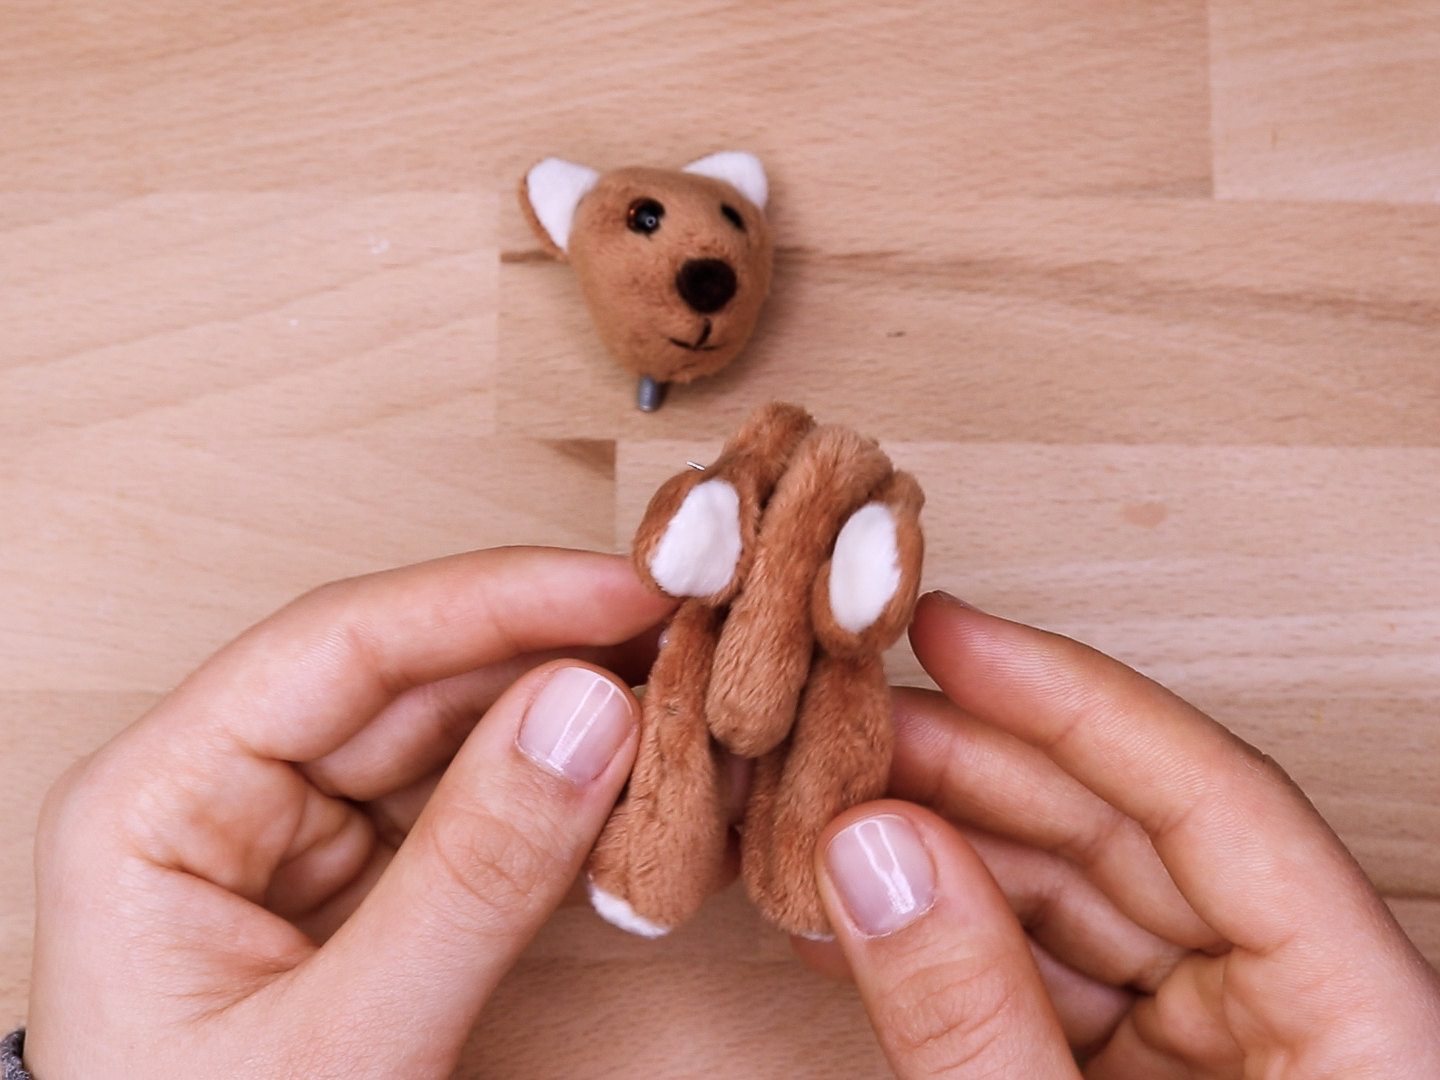


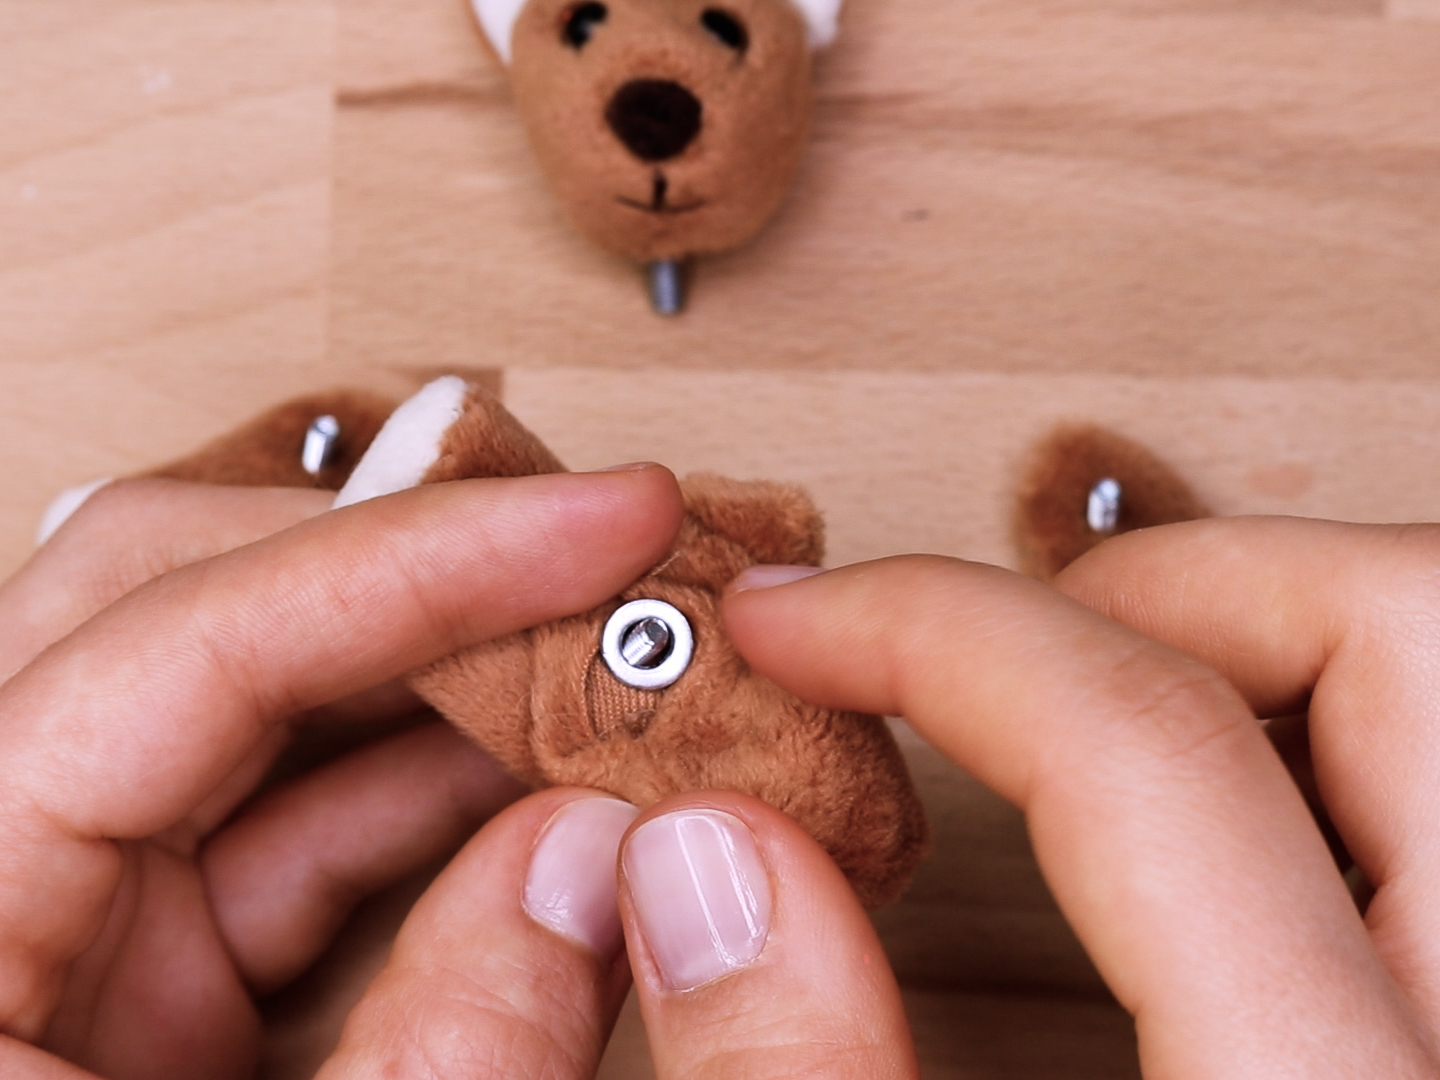
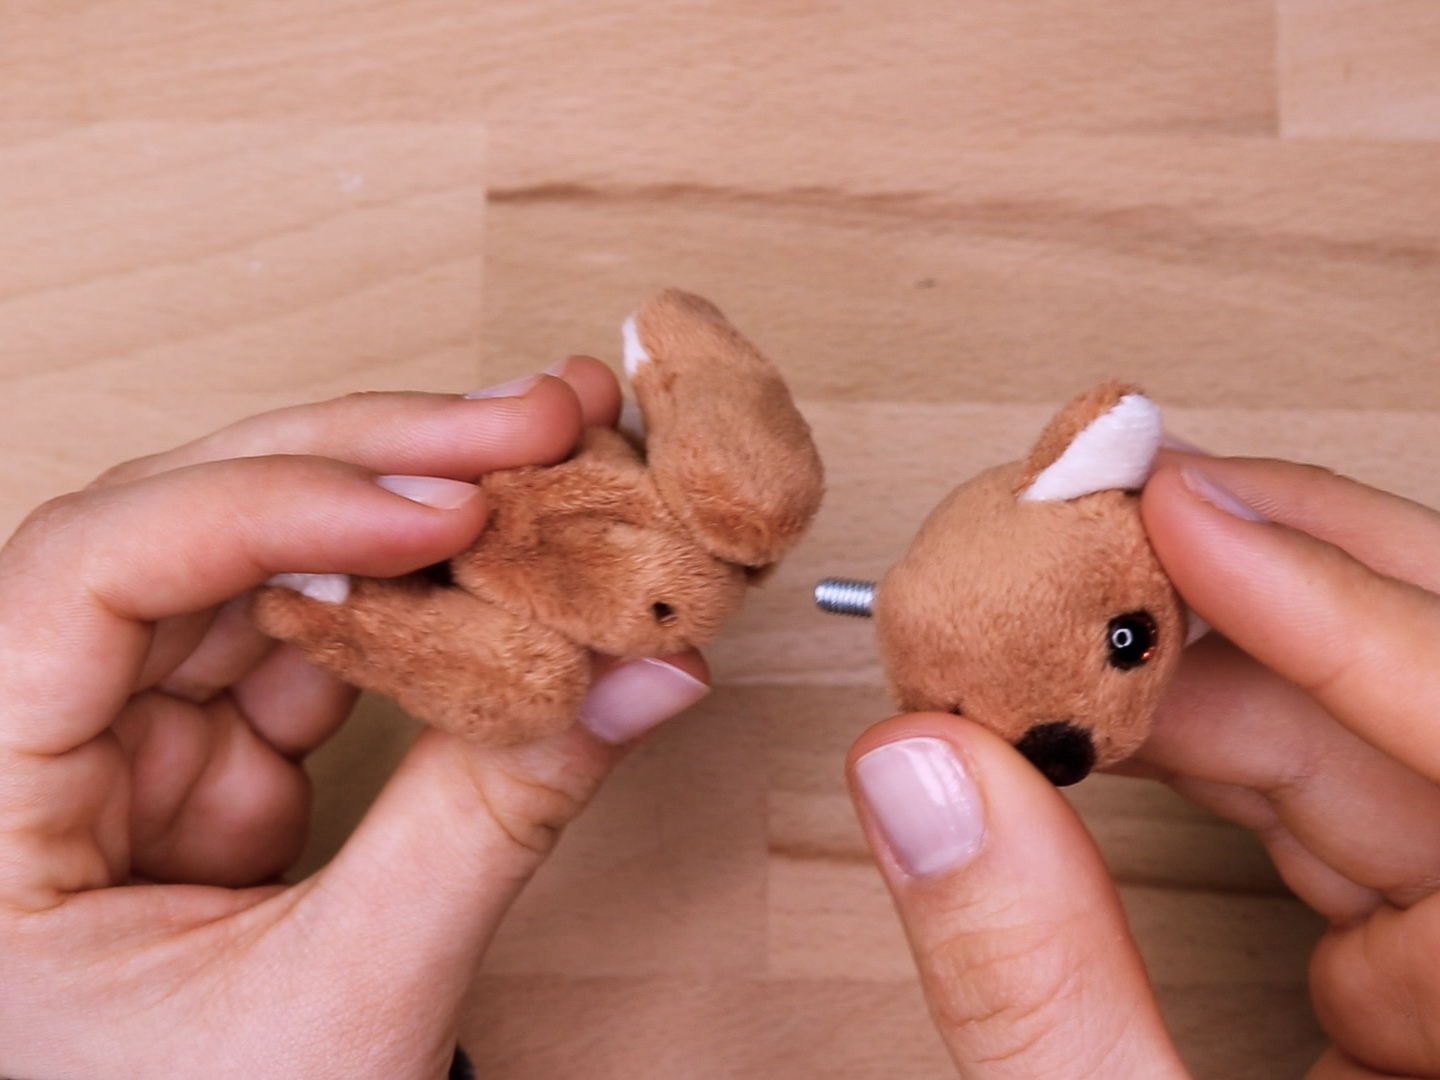
ASSEMBLING THE BODY
To attach a limb, start by making a hole with a sewing punch in the body (image 1). Insert the bolt of the limb inside the body from the outside, then add a disk to it (image 2) and secure with a nut (image 3). Do the same thing for the other parts of the teddy bear, including the head (image 4).


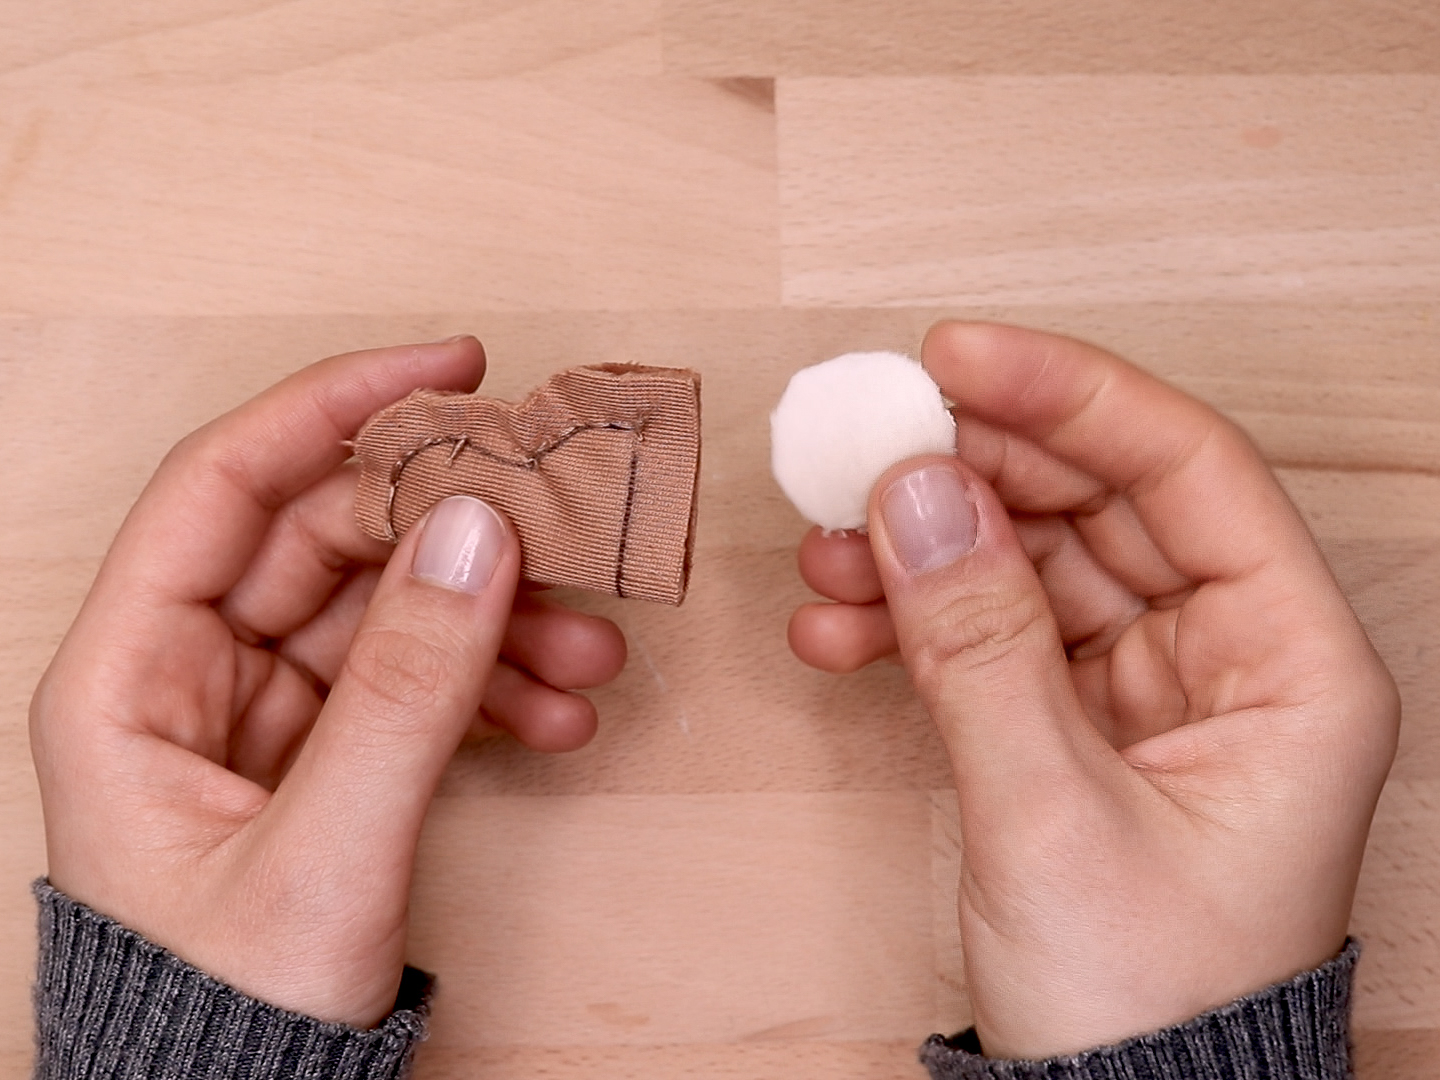
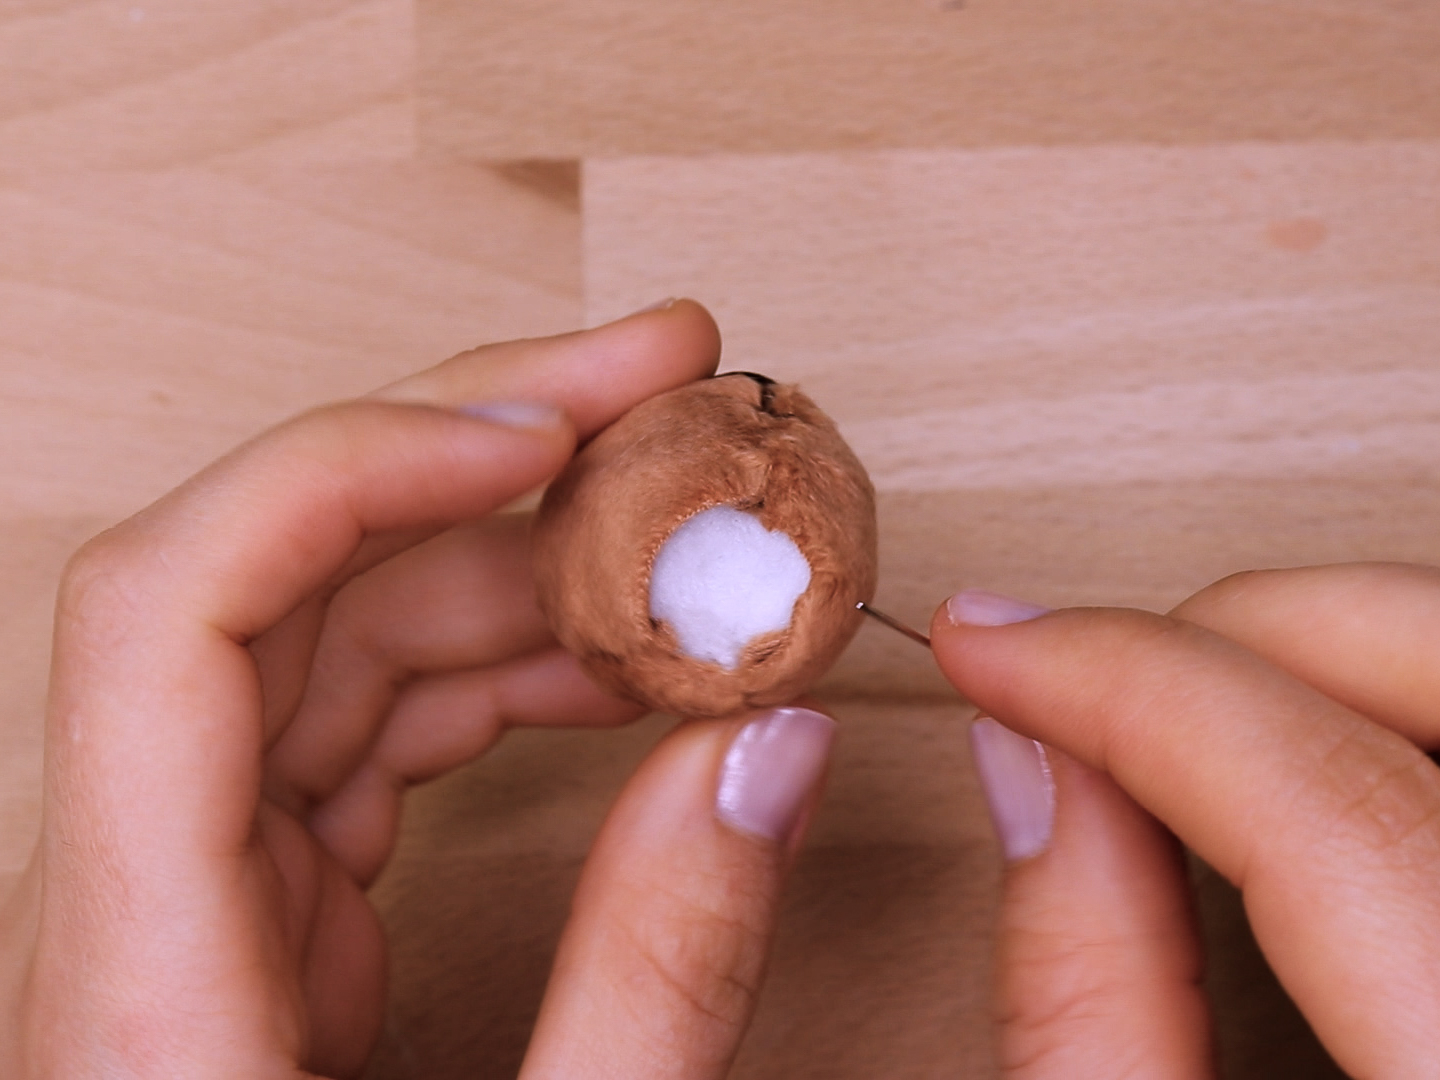
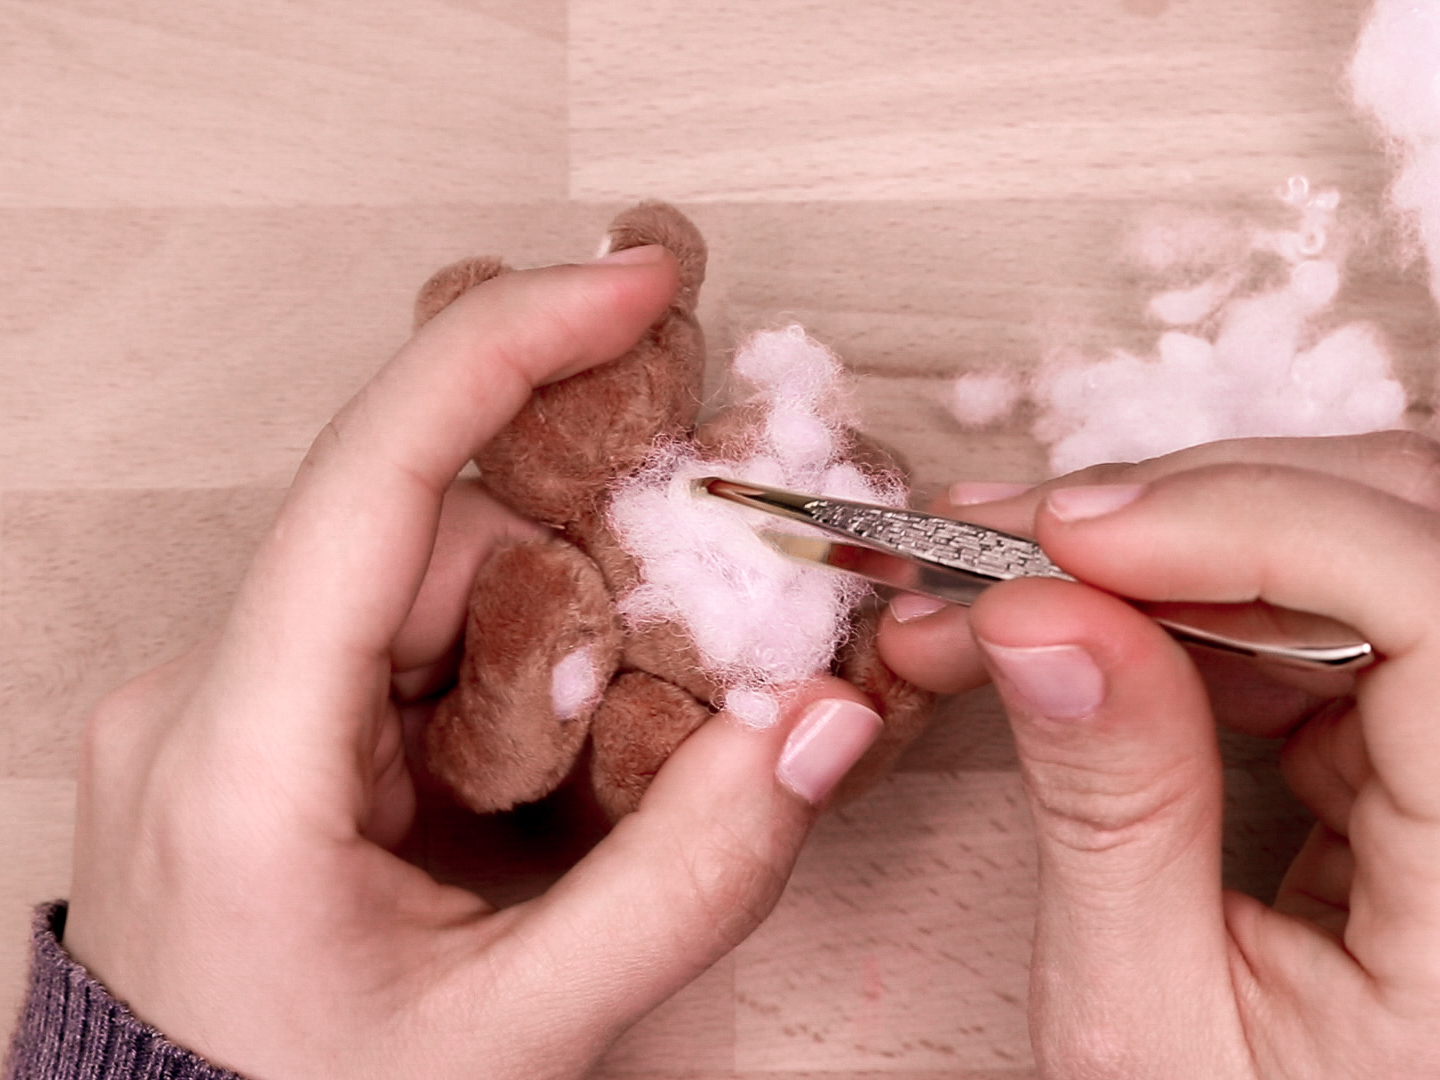
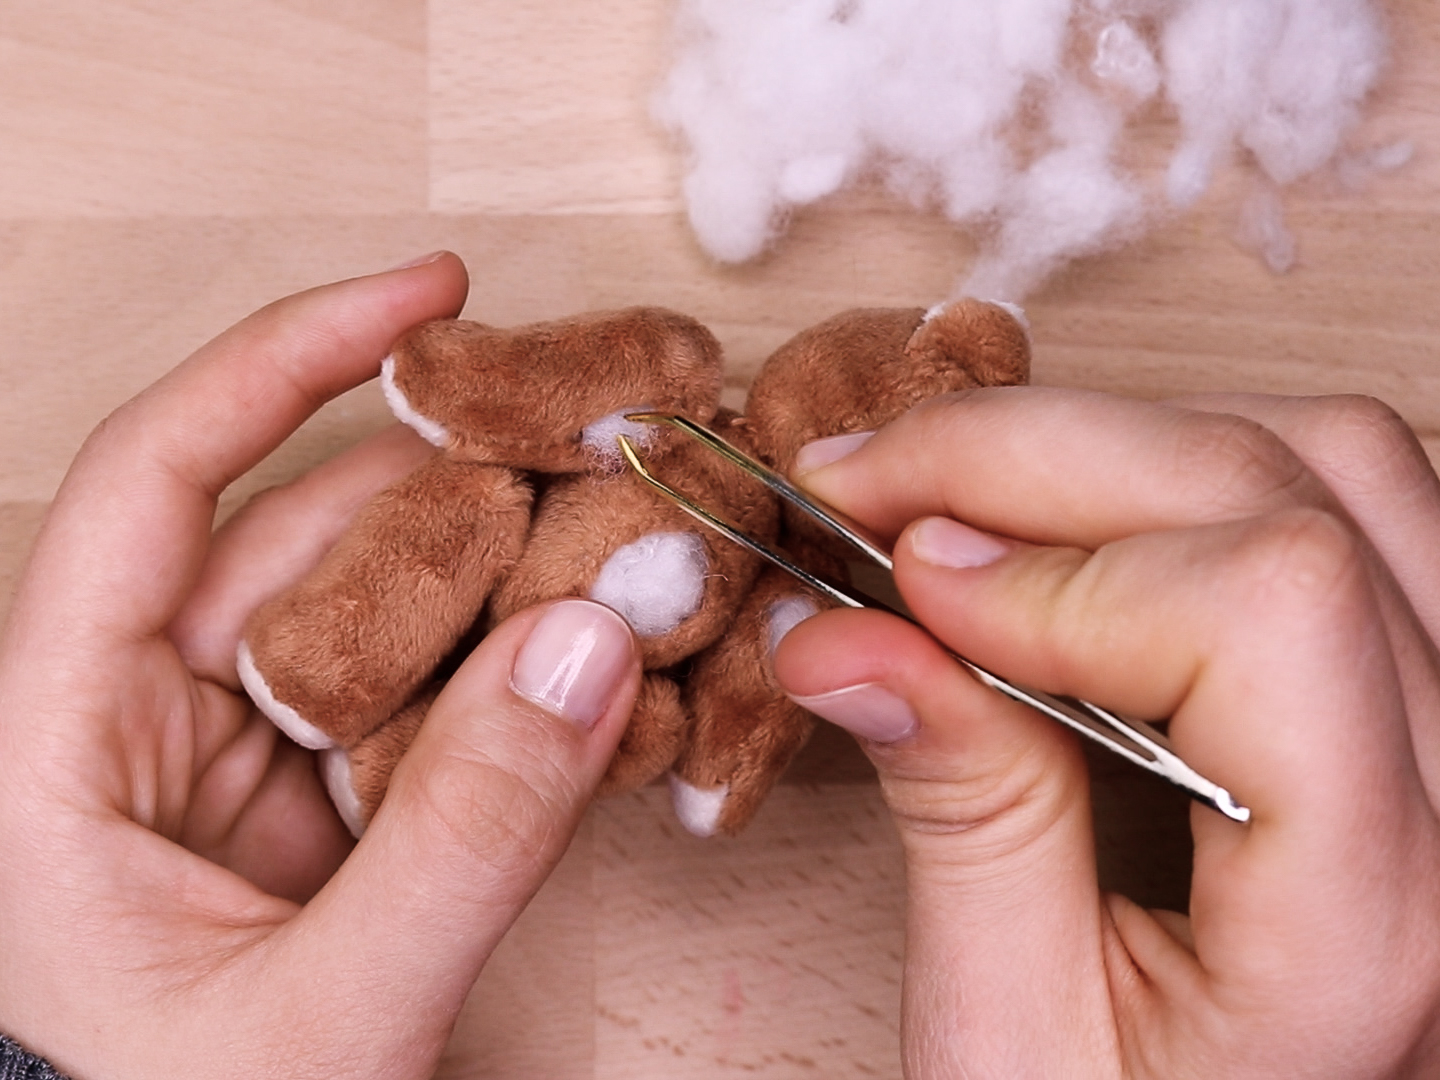
STUFFING THE BODY
You can now finally stuff your teddy bear! I am using small pliers in order to distribute the stuffing evenly. The type of stuffing you use is important, the firmer it is, the more muscular your teddy bear will be, and the lighter and fluffier it is, the softer it will be.
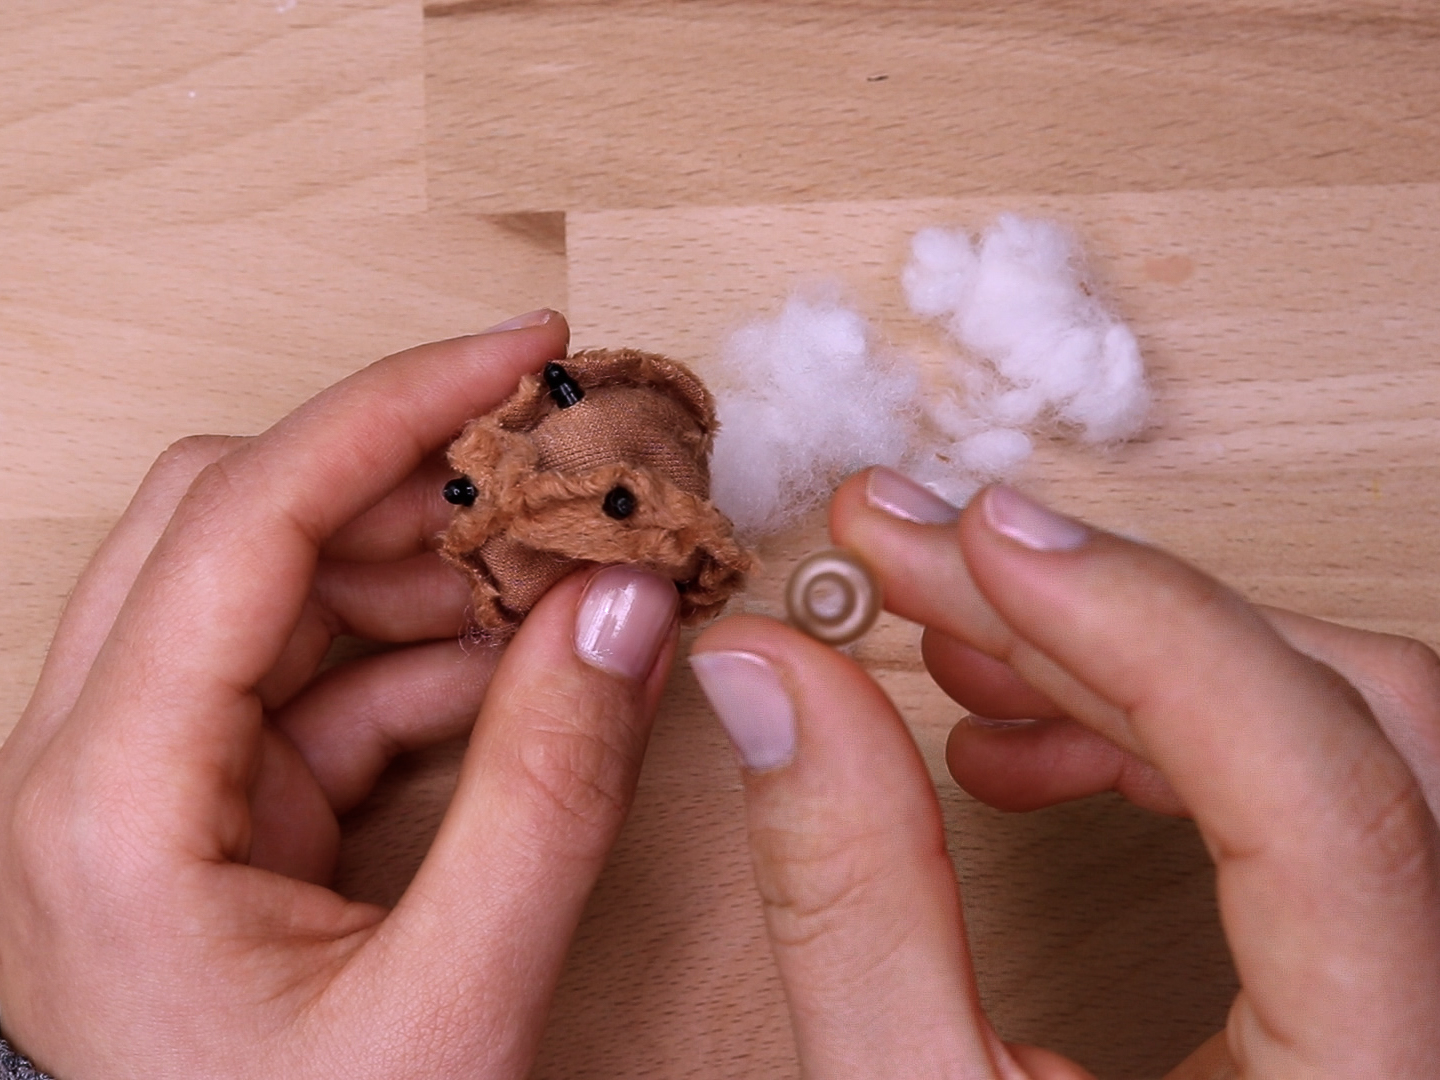
ADDING A BUTTON (OPTIONAL)
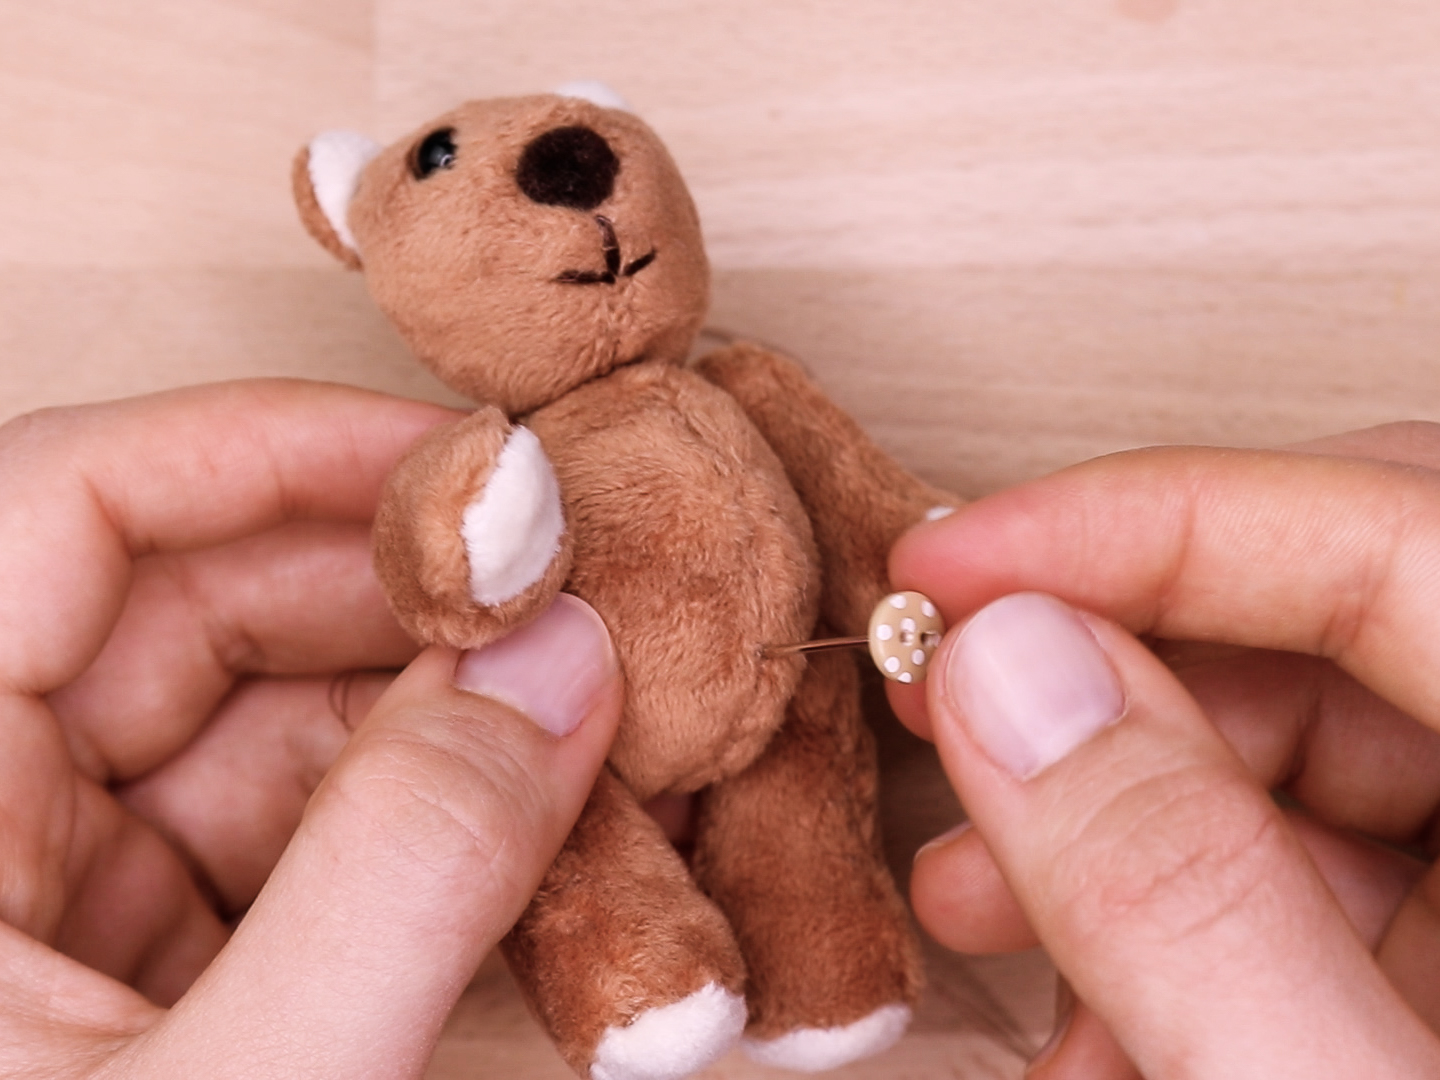
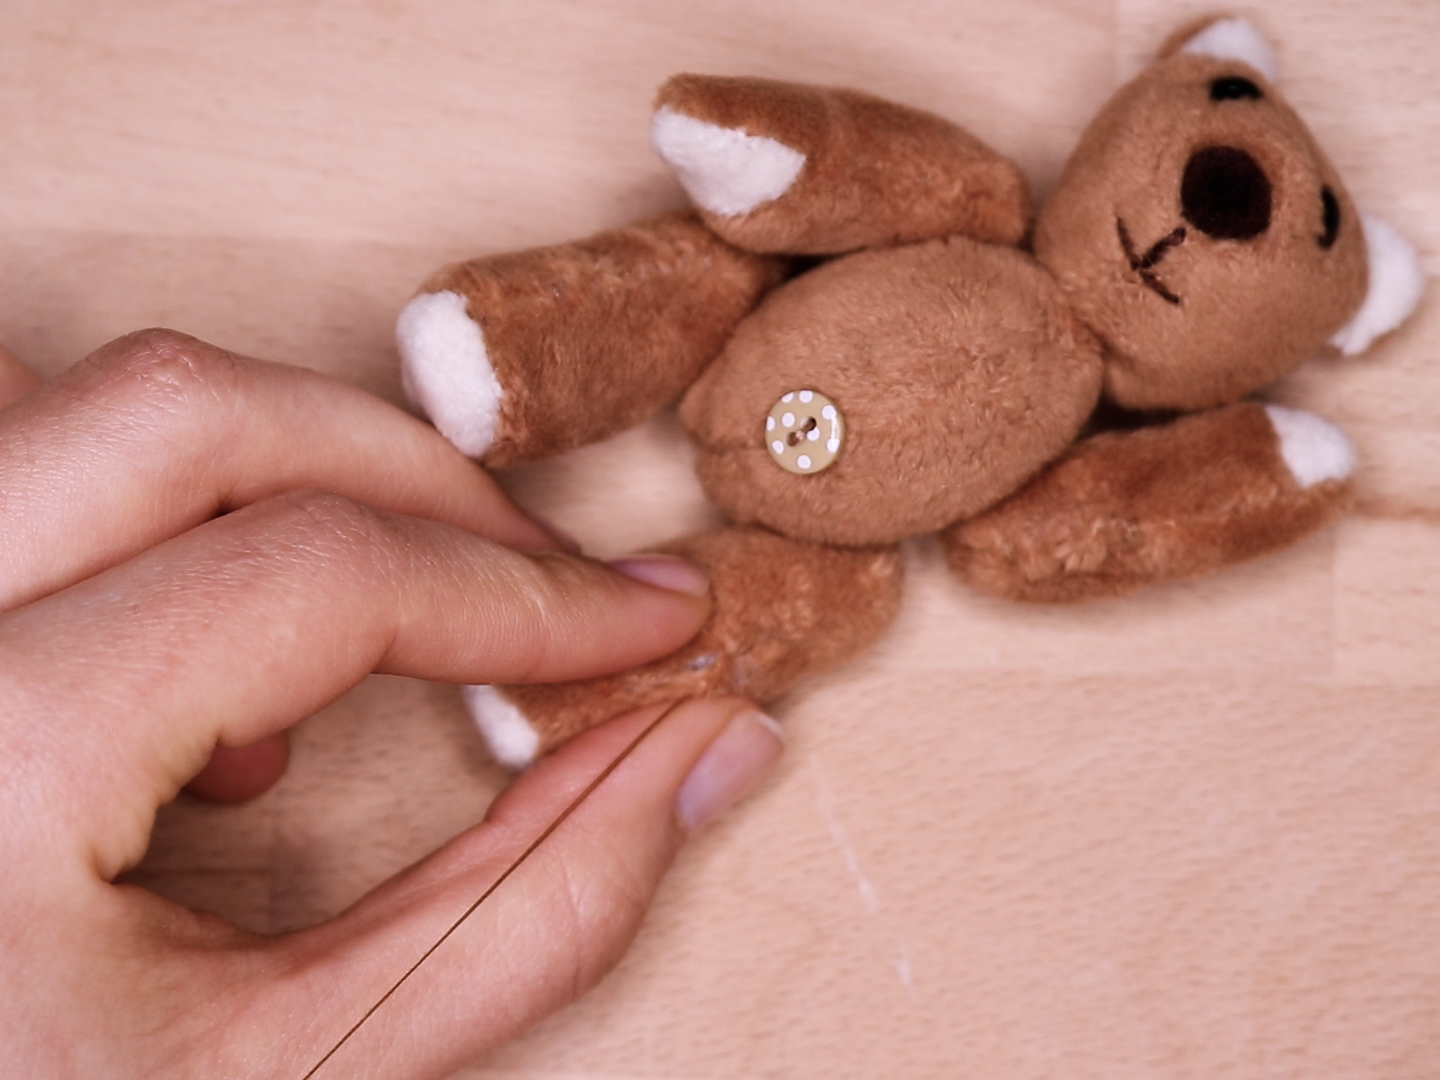
Before closing the opening of the back, you have the possibility of customising your teddy bear even further by adding a navel. Insert the needle through the opening of the back and make it come out in the navel area. Insert the button into the needle (image 1 + 2), then put it back into the belly (image 3). Pull the thread and tie a knot (image 4).


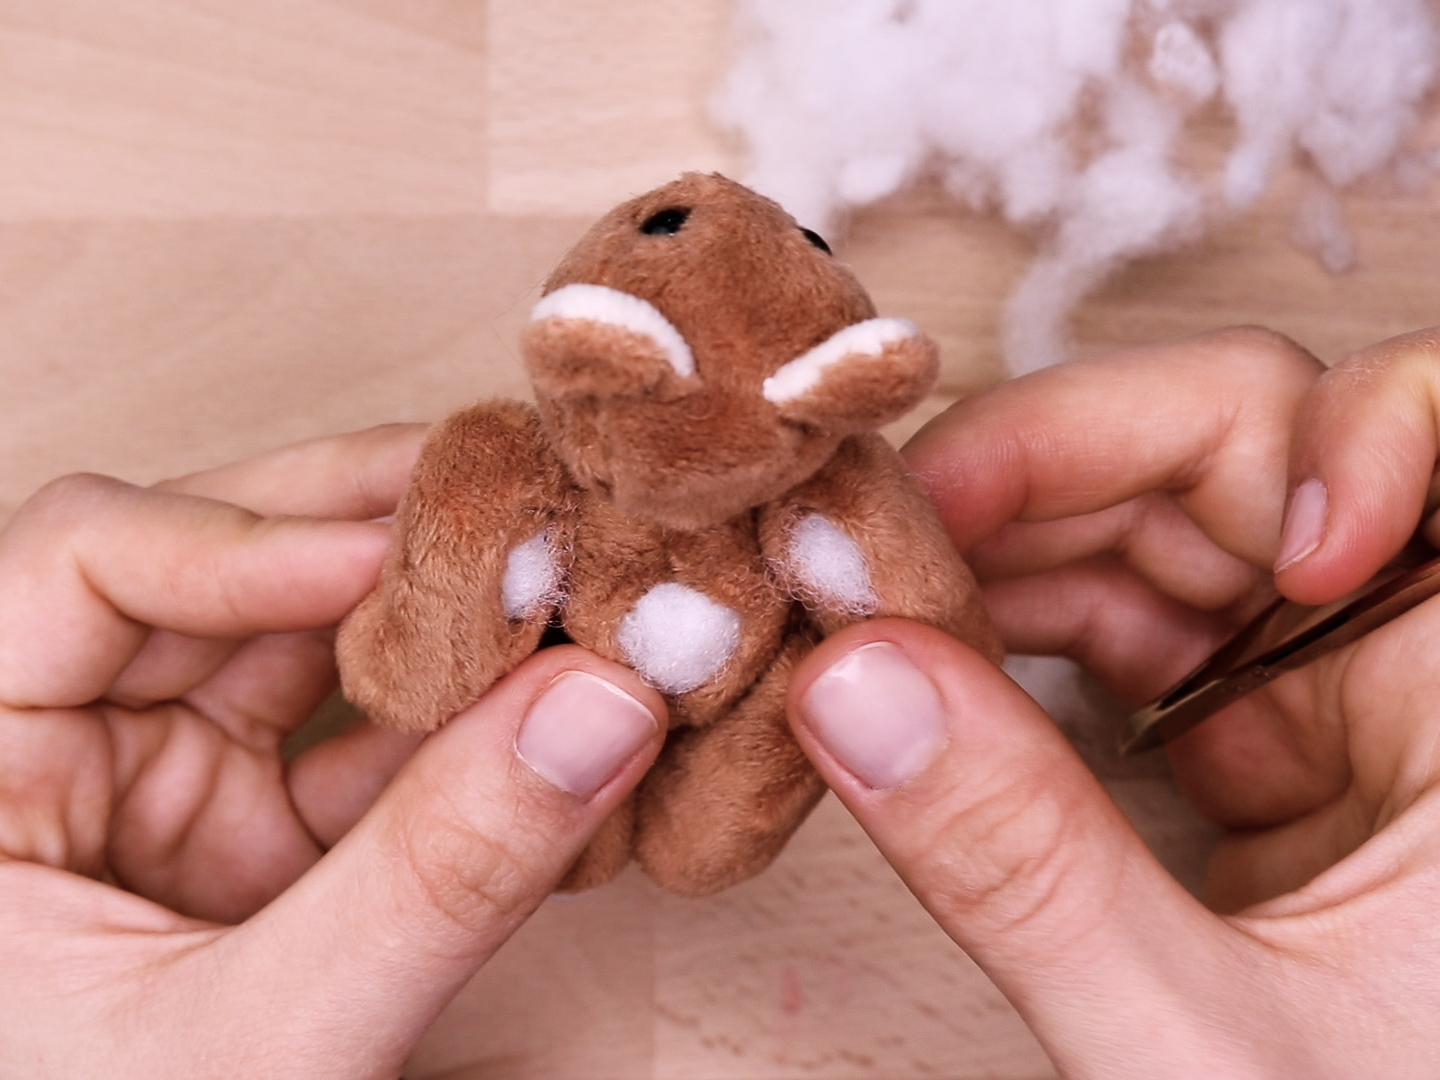
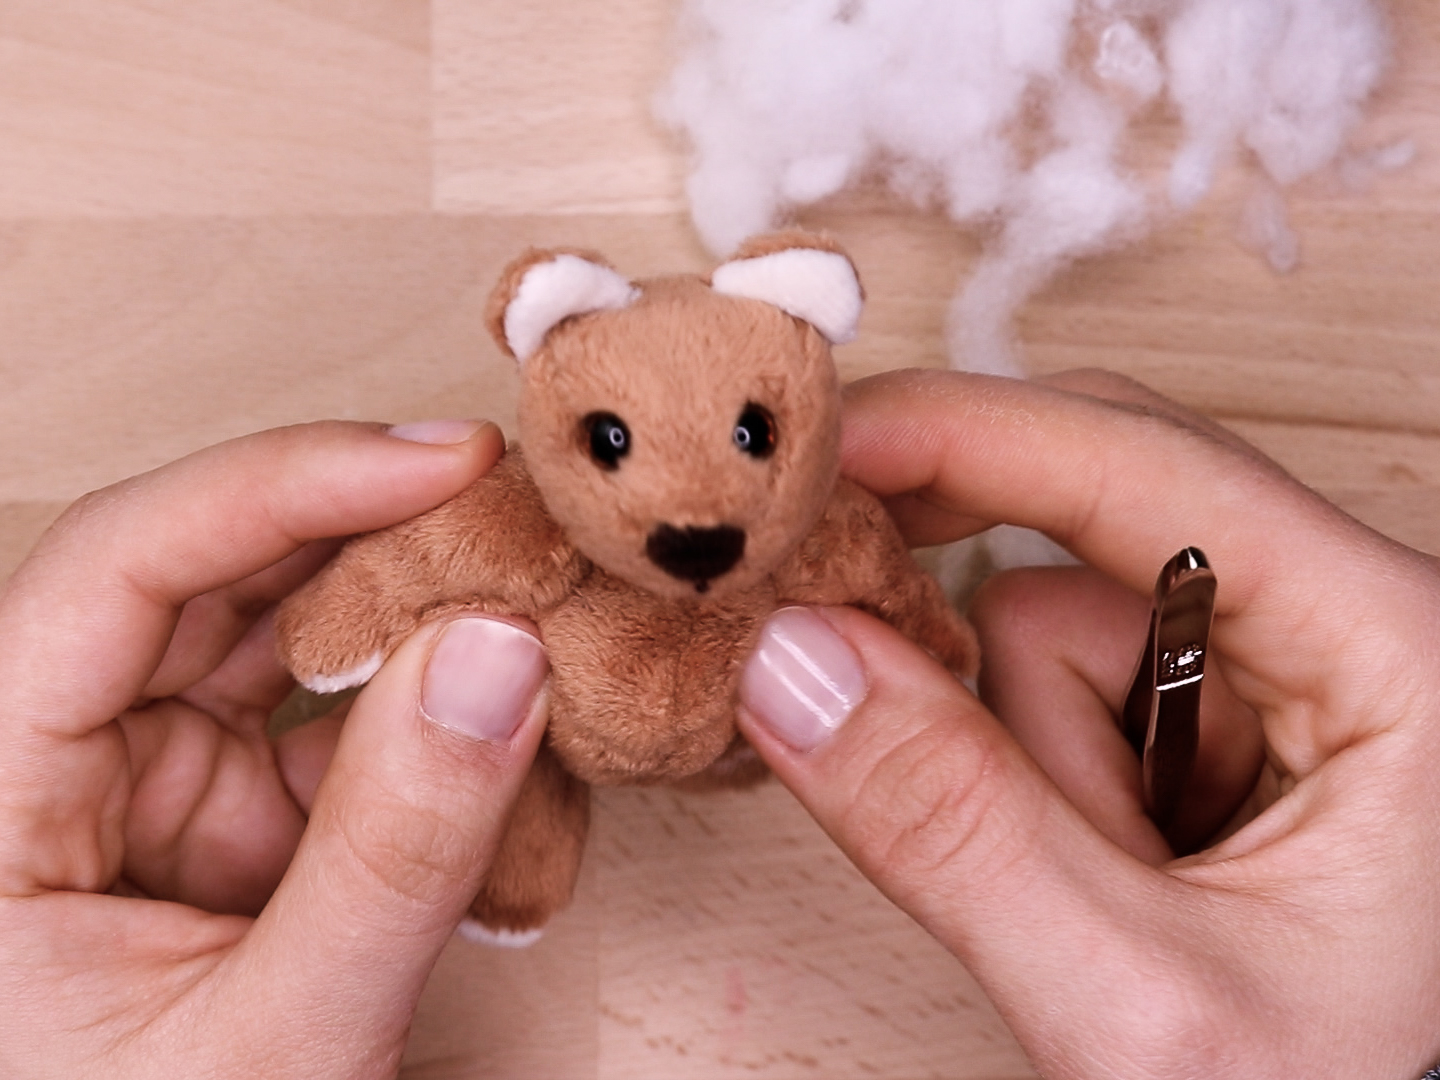
CLOSING THE SEAMS
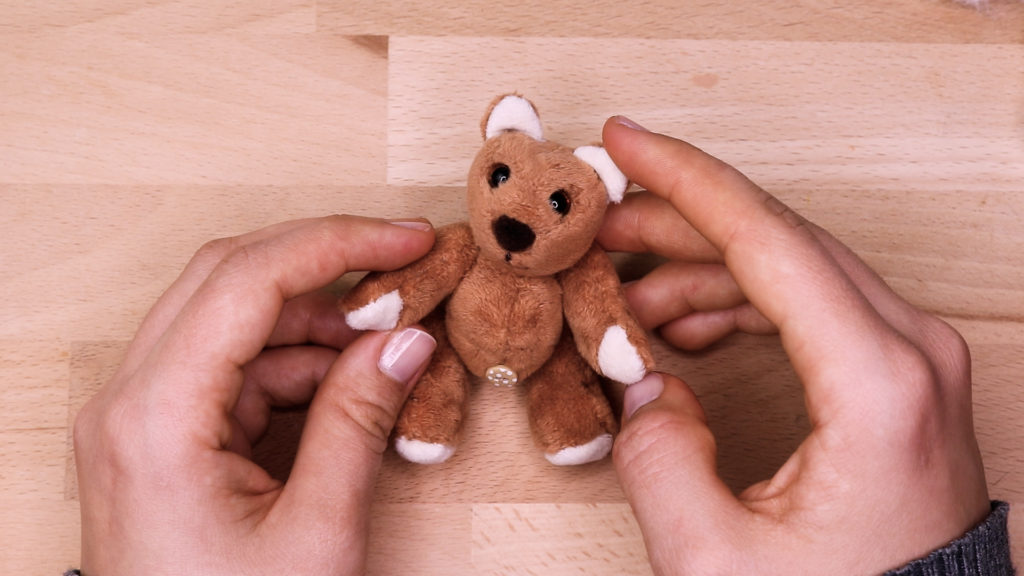
The last step before cuddling your new teddy bear is to close all the openings. One for the body, one for the head, and one for each limb. Use a ladder stitch to make the seam invisible. Hide the knot by starting from the inside. Once the openings are closed, take out the fur that might be stuck.


Do not hesitate to leave a comment below, you can even attach a photo of the teddy bear you made with this tutorial and this pattern. 🐻
Your videos are helpful,
Never stop uploading videos.
Girl,you are so talented person
🙂🌝🌝🌝❤❤
Fabulous. You are so creative. I always loved Teddybears & just wondered how to make one. Thank you for posting this video. The Teddybear’s you made are gorgeous, by the way! 🧸
Thank you for this. I am just starting out with a bunch of materials from aliexpress and look forwards to making something out of them. Need somewhere to start, so thanks ❤
wow! this is so helpful!
your so underrated! plz make more vids! 😀
I’ve just found you! What an adorable baby bear love him. You listed all the items you used but I don’t see where you mentioned a link for the nuts and bolts (joints). Please can you advise 🙂 <3